DIY Christmas Tree Advent Calendar
Hi Everyone! I hope you had a great weekend enjoying the home tours.
I know this is a little late since it is December 15th already but I wanted you see how I made our DIY advent calendar.
Here are the supplies we used:
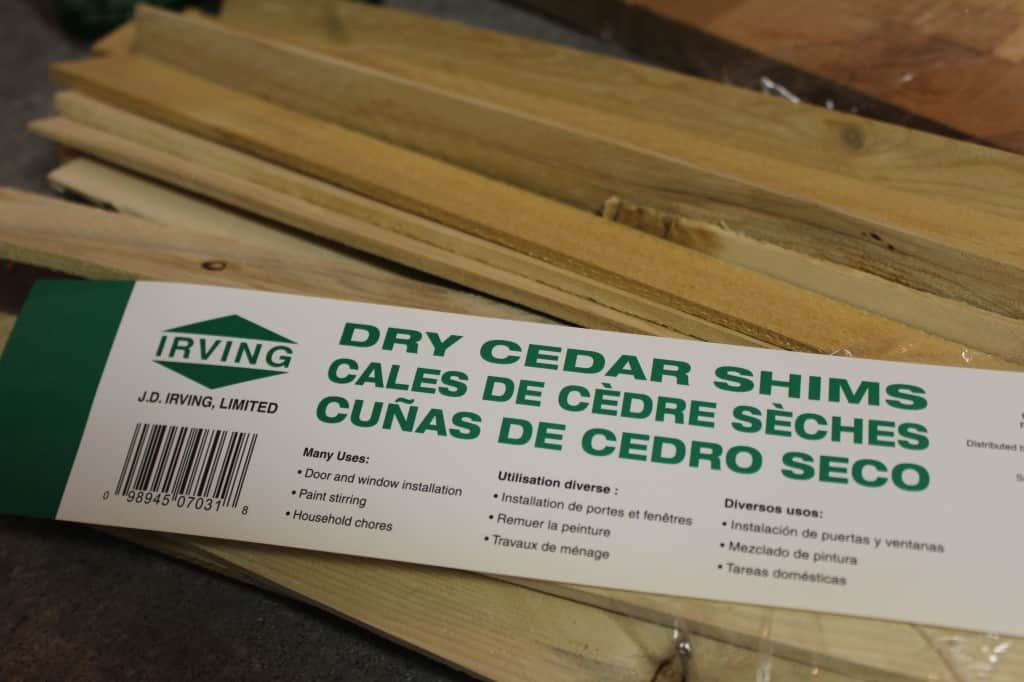
1. One pack of wood shims from Home Depot. $3.98 per pack.
2. Small nails. We used the smallest ones I had in our tool box.
3. Small clothespins.
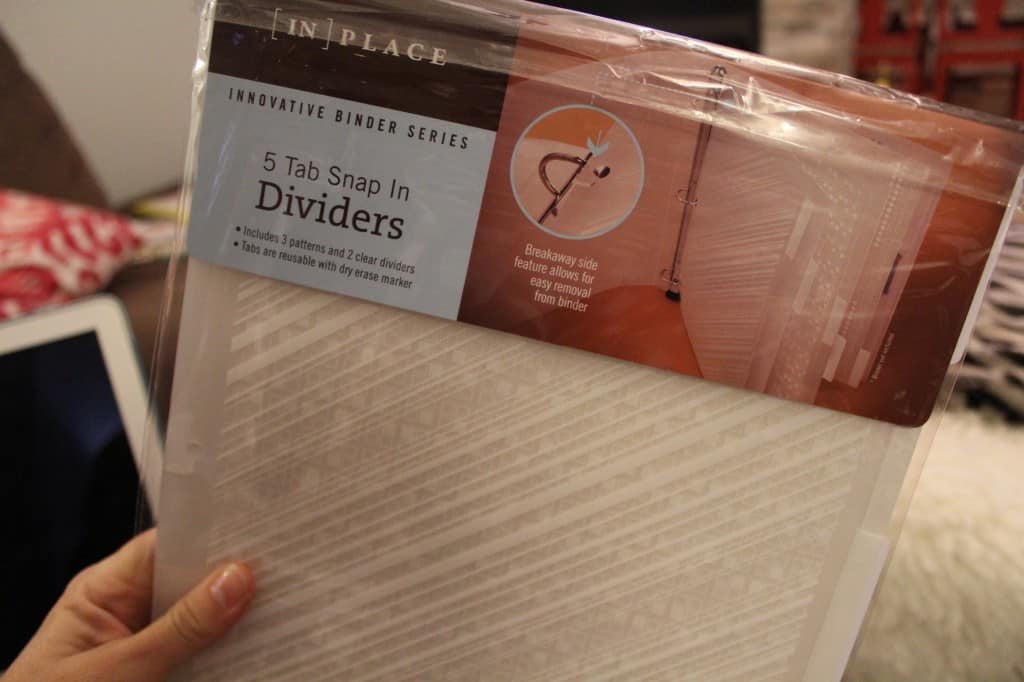
4. One plastic folder divider for advent messages. We had a pack on hand that I used for another project but you could use any paper, card stock or item you have in the house. My goal was to buy as little as possible.
5. Individually wrapped Andes mints (because these are my favorite and little man likes them too) and other wrapped candies. You can use any candy you like or you could skip the candy altogether.
6. Tools: glue gun, pencil, X-acto knife, hammer (optional), sandpaper or sanding sponge (optional), chalk, scissors, black sharpie.
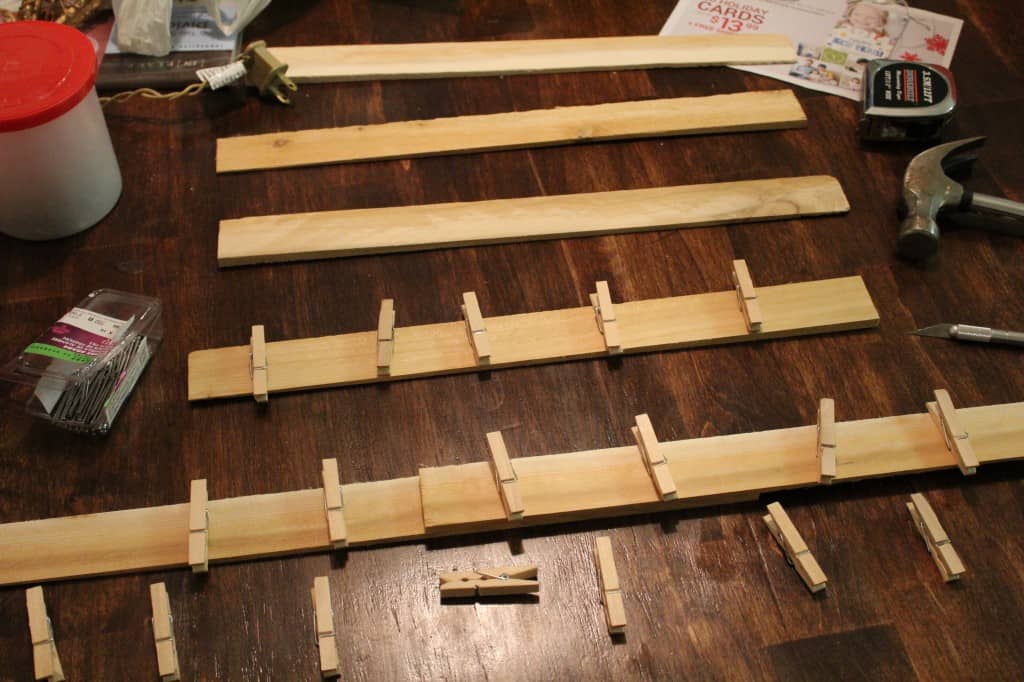
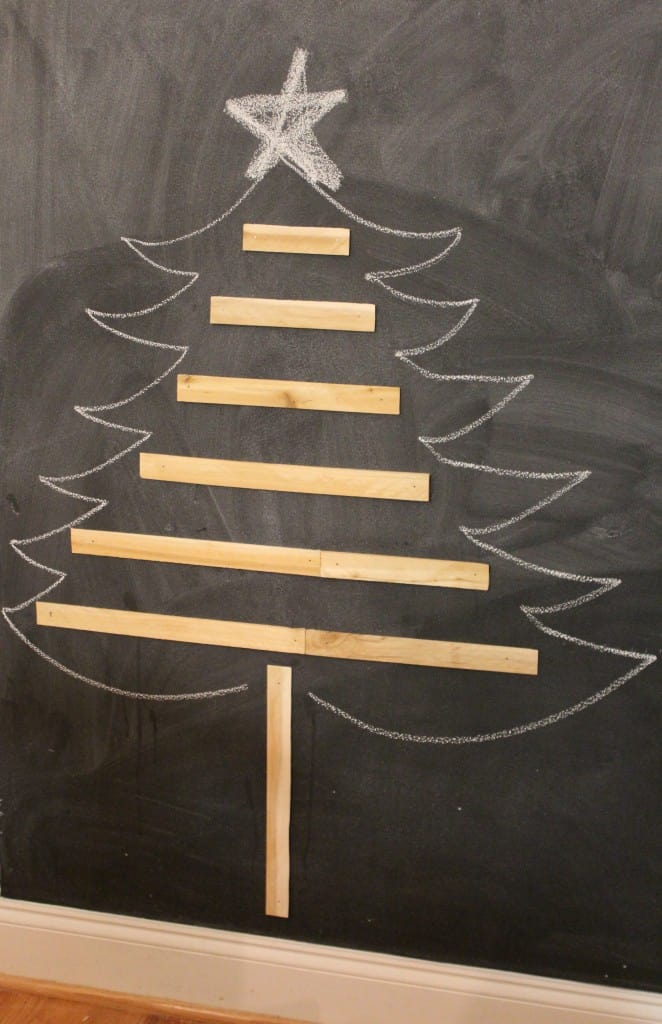
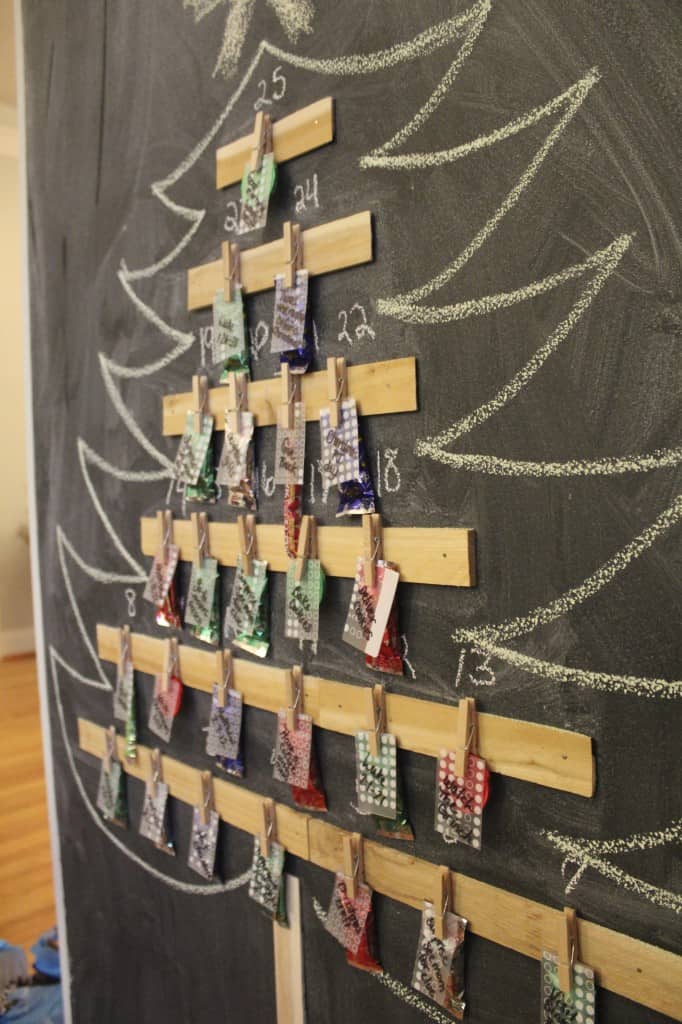
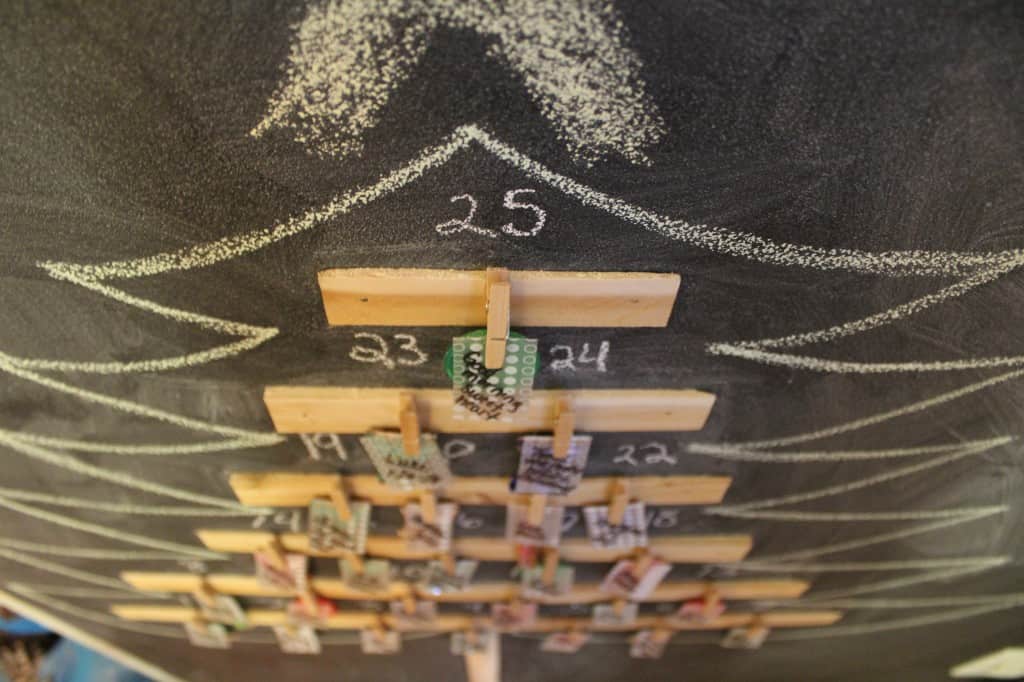
I placed the shims and clothespins on our kitchen table and counted them out, rearranging them several times to get the rows how I wanted. There is no science to this, I just wanted the rows to look even. I ended up with seven pins on the bottom row and ended with one pin at the top for the 25th.
I didn’t really measure the length of the shims for each row, I certainly recommend it though :) I just eyeballed it and laid them out in rows, the bottom row being the longest and rows getting smaller as I moved up. I had to cut several of the shims to get the lengths I wanted.
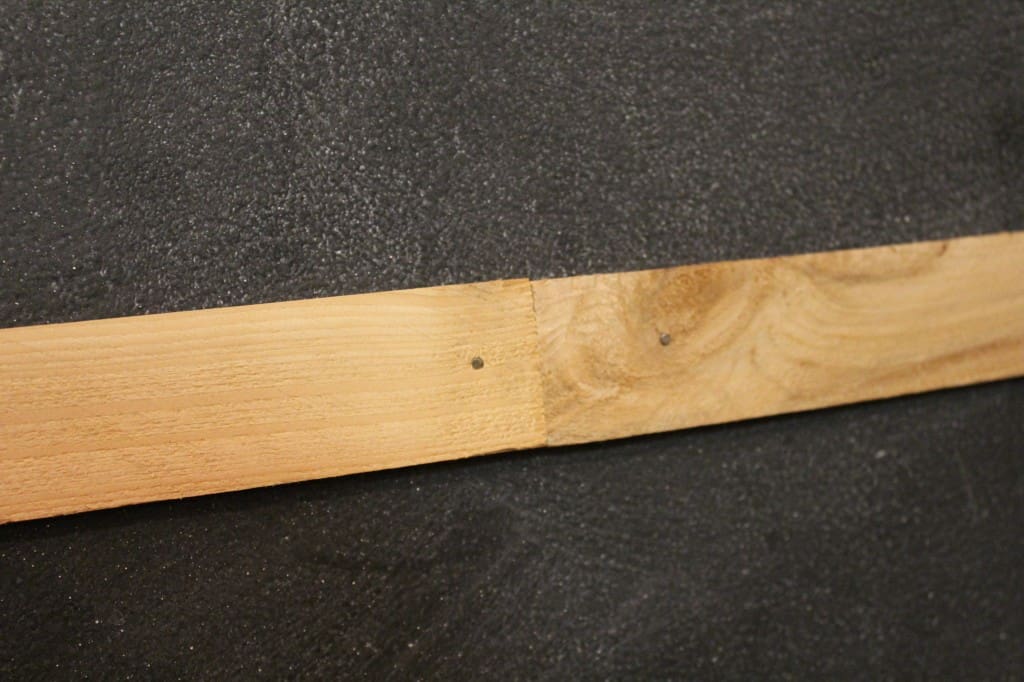
To keep the cutting simple, instead of going to my garage and using the saw I tried to score the shims with my X-acto knife (on both sides of the shims). I broke a couple before I got the hang of it but found that if I scored it pretty good on both sides I could snap them apart or place them on the edge of my counter where the line was and used a small hammer to snap them apart. Either method worked.
I also had a sanding sponge on hand to lightly sand the edges where the shims were snapped apart (literally 3 seconds of sanding) because a few of them were frayed. This step is certainly optional and I wouldn’t have bothered if I didn’t have the sanding sponge in the drawer next to me.
Once I had the shims and pins laid out the way I wanted them I marked where the pins needed to be with a pencil. Then I nailed the shims directly to our chalkboard wall.
Yup, I sure did. I know this wall needs to be repainted sometime in the near future and that the tiny holes wouldn’t show too bad on black wall.

I also wanted to save floor space and avoid a cumbersome wall hanging but you could certainly do a smaller version of this on a cardboard or wood backing and glue the shims instead of nailing.
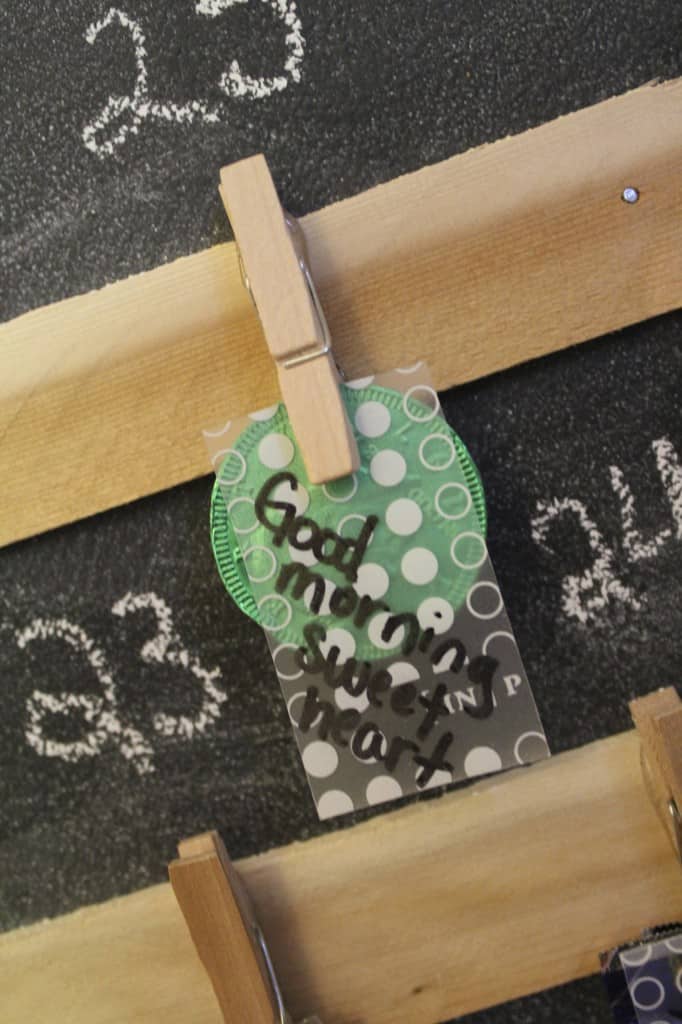
After I nailed the shims I put a dab of hot glue on the back of the clothespins and held them down for a couple seconds on the marks I had made to allow them to dry. I could have glued the pins on first but I thought it would be harder to nail the shims to the wall with the pins already attached.
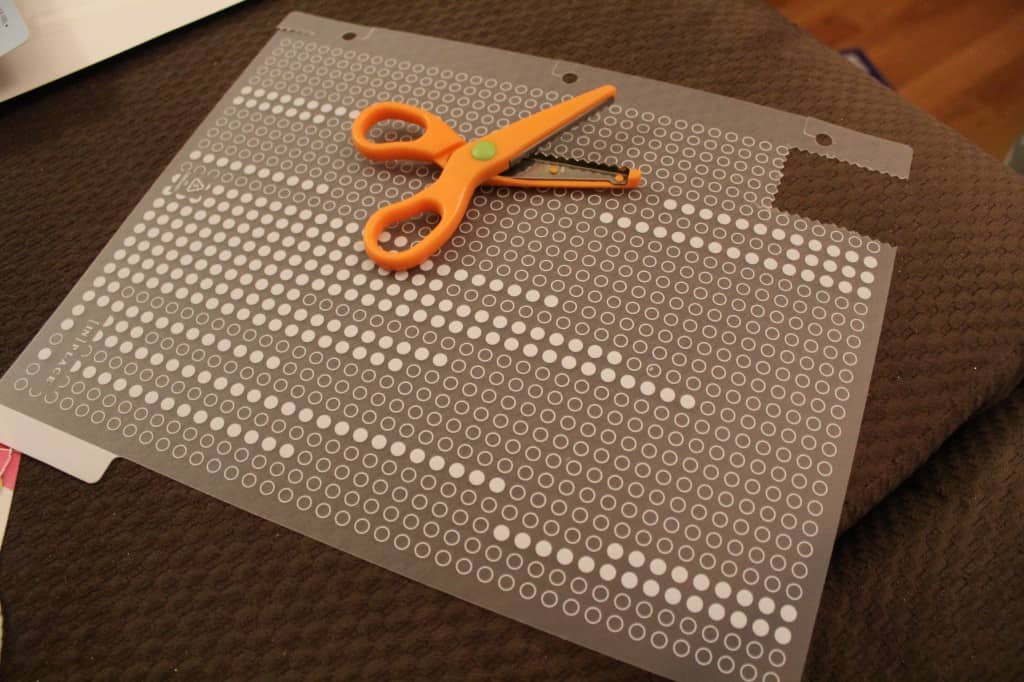
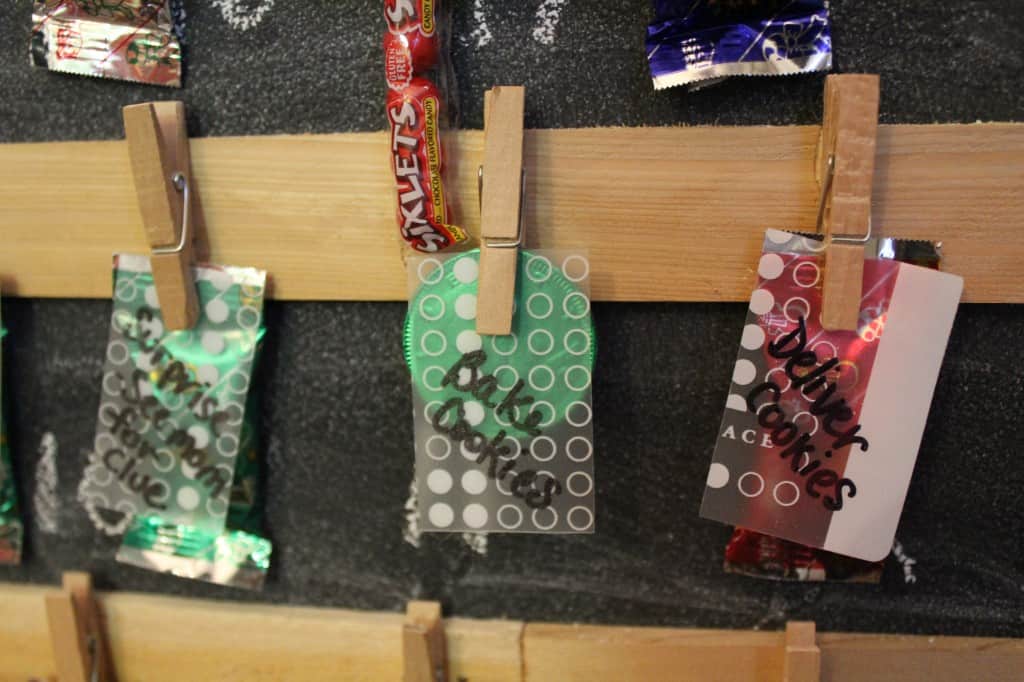
Next I cut the plastic folder into small squares and used a black sharpie to write different activities like bible verses to read, watch a Christmas movie, visit Santa, make cookies for neighbors, etc. Then I pinned the cards up with a piece of candy behind it and called little man in to see :)
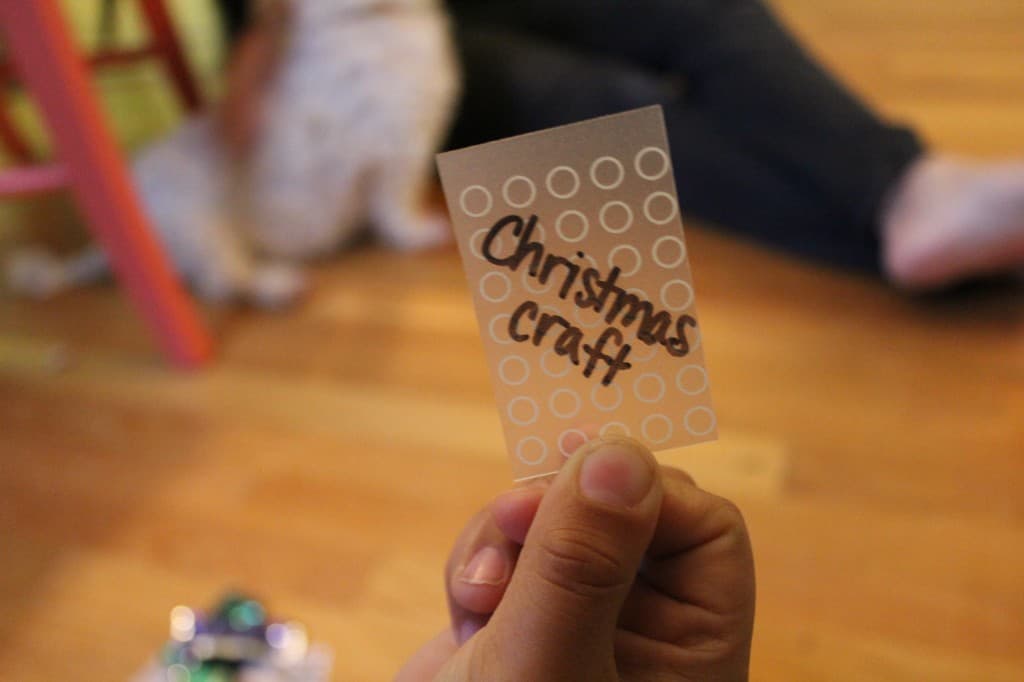
Oh, how I wish I had prettier handwriting :)
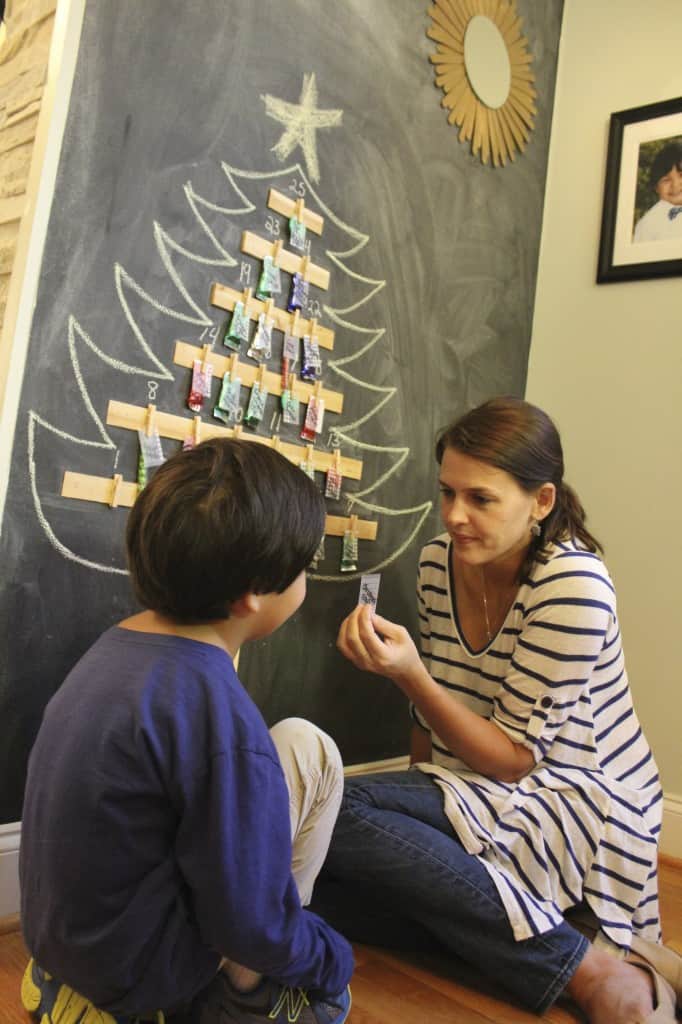
In the end I really liked the large size and the ability to draw the chalkboard tree shape around it. I think it makes a real statement in our dining room and of course little man loves it because it is just his size.
I hope y’all enjoyed this project and although it wasn’t the most simple project I’ve done I hope you can see how fun and easy a smaller, modified version could be.
You could use popsicle sticks or any wood sticks from a craft store and the mini 1″ clothespins (I think mine were the medium size, maybe 1 3/4″) and hot glue it to a wrapping paper or fabric covered piece of card board!
Have a great week everyone and stay tuned for a few more Christmas projects before the big day!!


This is absolutely adorable! I love the hand-drawn tree and wood strips…too cute!
Thanks so much Gabbi! It was a fun little project :)