Easy DIY Wind Chime
Happy Thursday Friends!
Before I start this post I’ve got a confession to make. I don’t have time to read. I WISH I did but I don’t. I keep up with my favorite blogs but that is about it. Oh, what I wouldn’t give to read a book these days.
Wednesday Reads was my attempt to encourage more reading in my life…well, that was a big fat FAIL! I could force myself to come up with reading related posts each week or scramble around and find something cool and entertaining but that wouldn’t be the right thing to do. It wouldn’t be true to me and I would almost be deceiving you into thinking I am doing all of this reading.
So, in an attempt to keep it real I’m going to suspend my short lived series and pray that sometime soon I will find more reading time. I do have another fun series in the works that is much more practical and will hopefully feature some of my favorite bloggers!
Right now I’m going to focus on all the DIY projects in the pipeline!
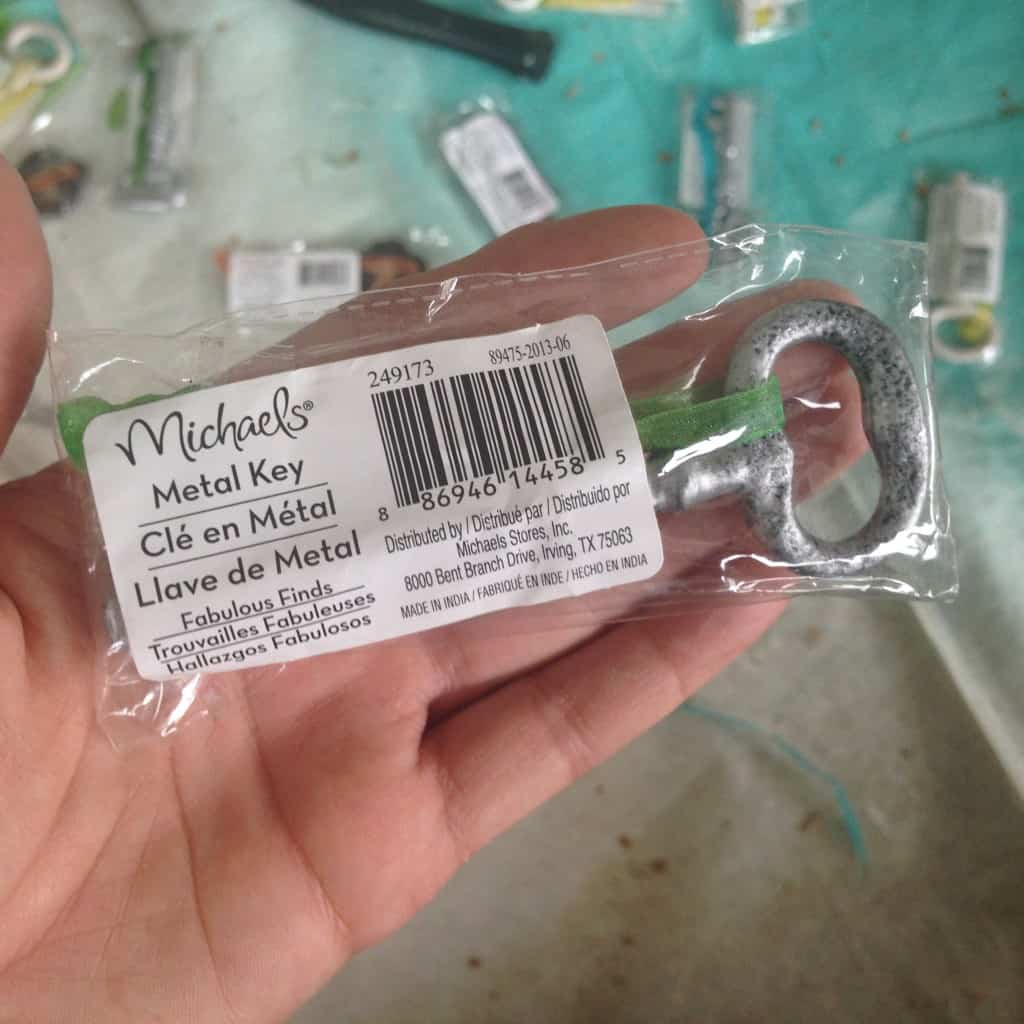
Recently little man and I tackled a fun kid friendly DIY project inspired by these metal keys we found in the Michael’s dollar aisle! If you haven’t shopped the dollar aisle you should! There are lots of fun and inspiring items to be found.
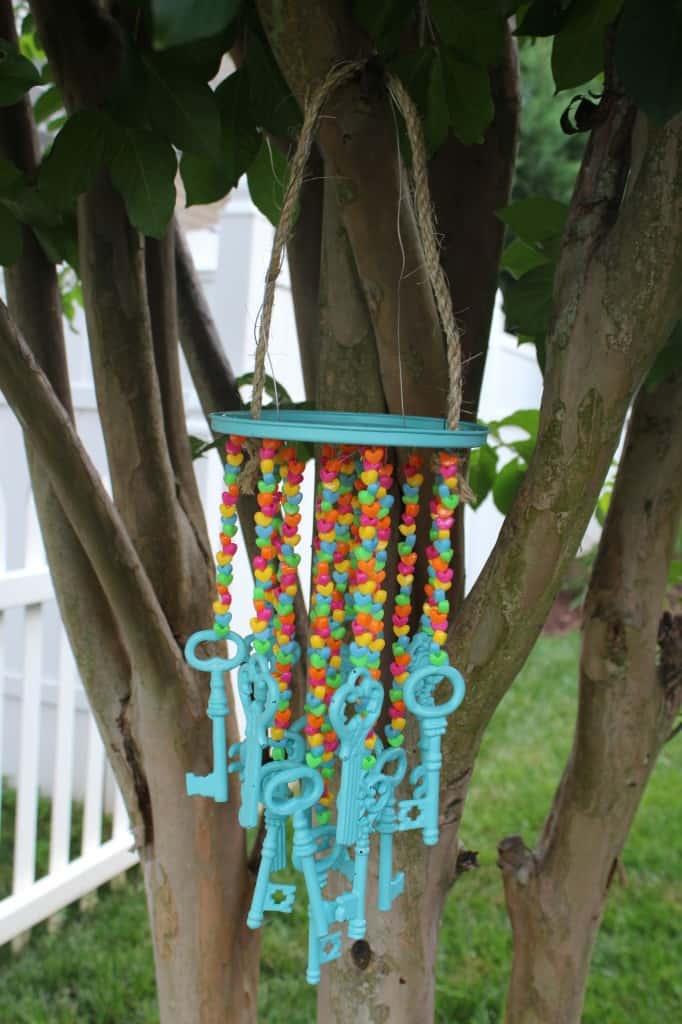
We’ve wanted a wind chime for awhile and I knew I could DIY one. As soon as I saw these little keys it hit me. They are metal and sort of heavy so they would be perfect for a wind chime!
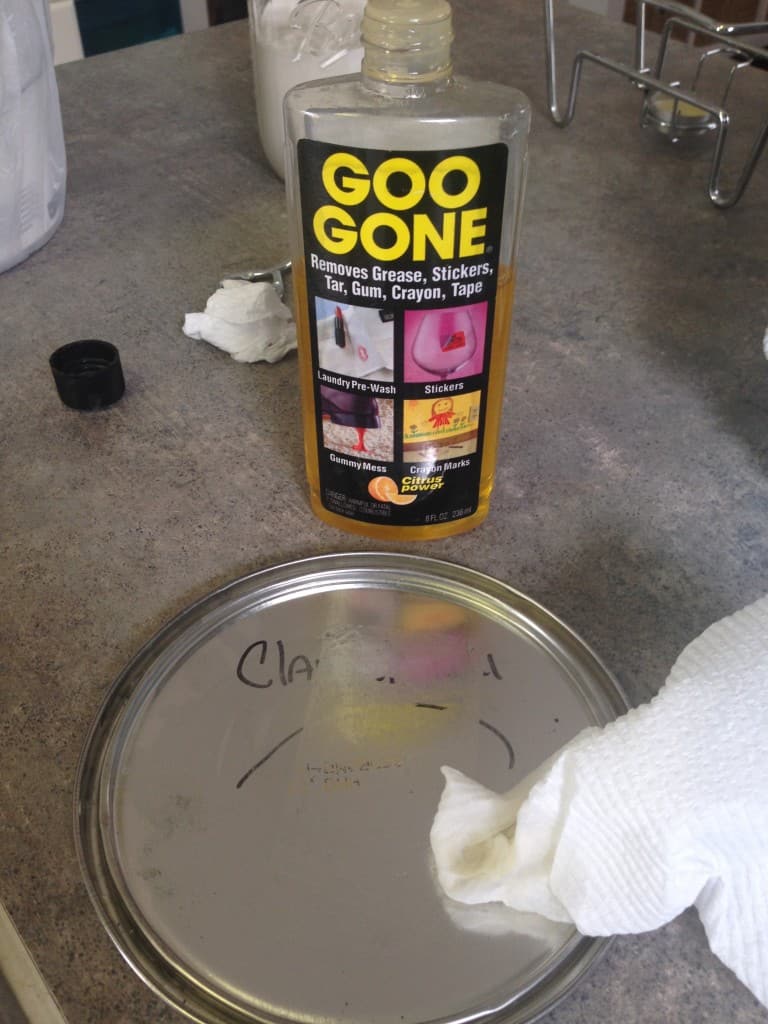
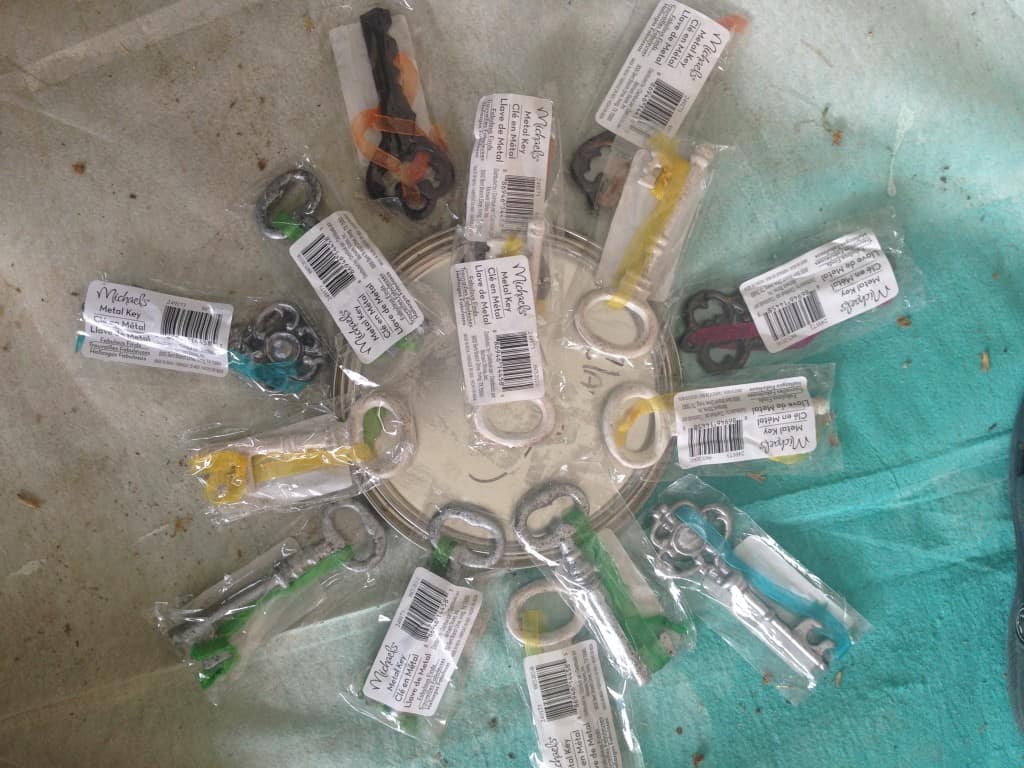
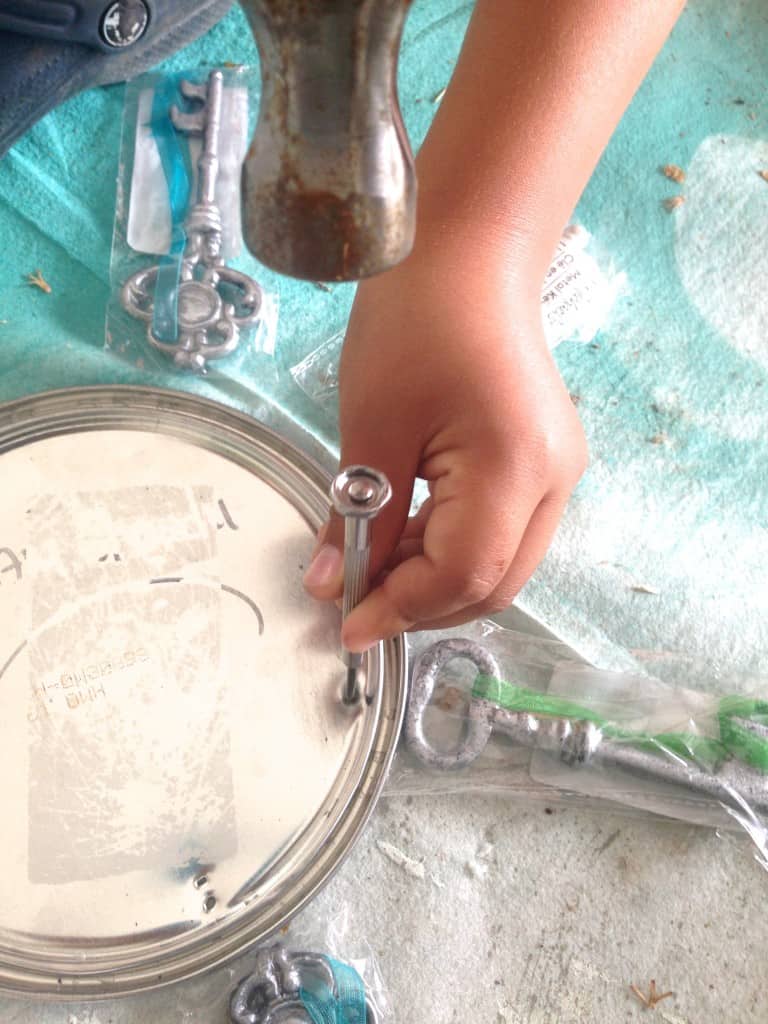
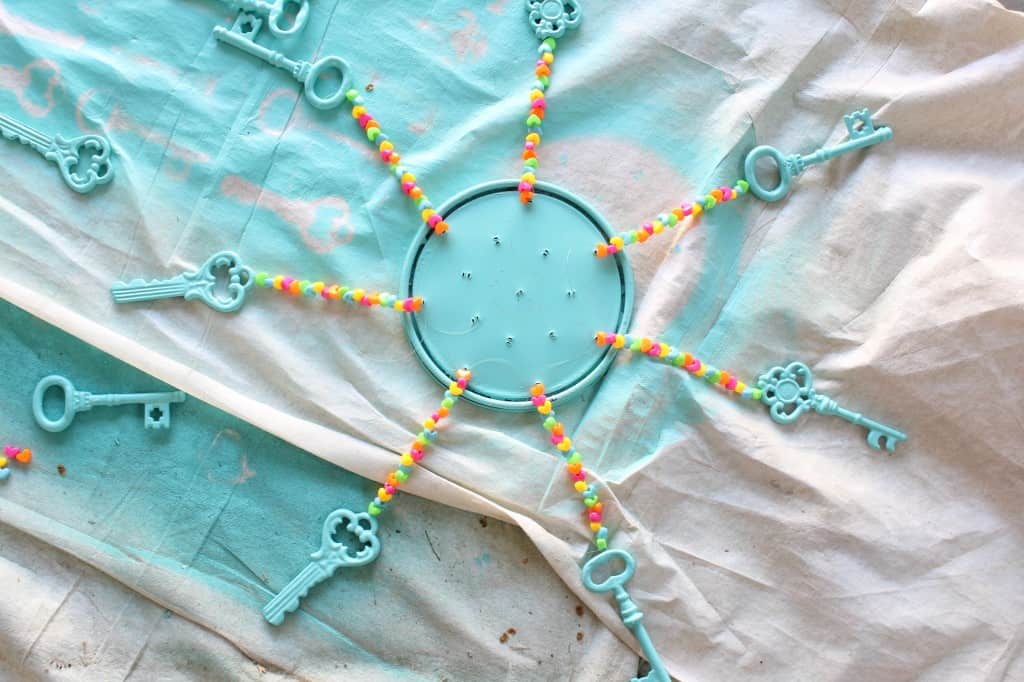
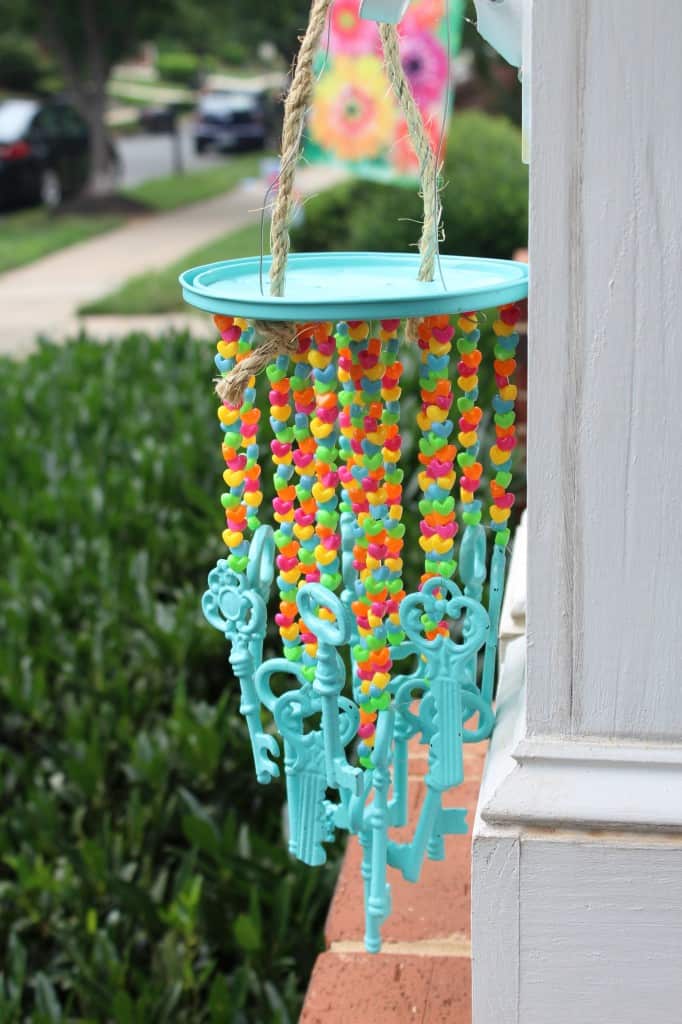
We cleaned up an old paint can lid to use for the top and then laid out the keys to see where we wanted them placed. We had fifteen keys and used seven on the outside row, seven on the next row and one in the middle.
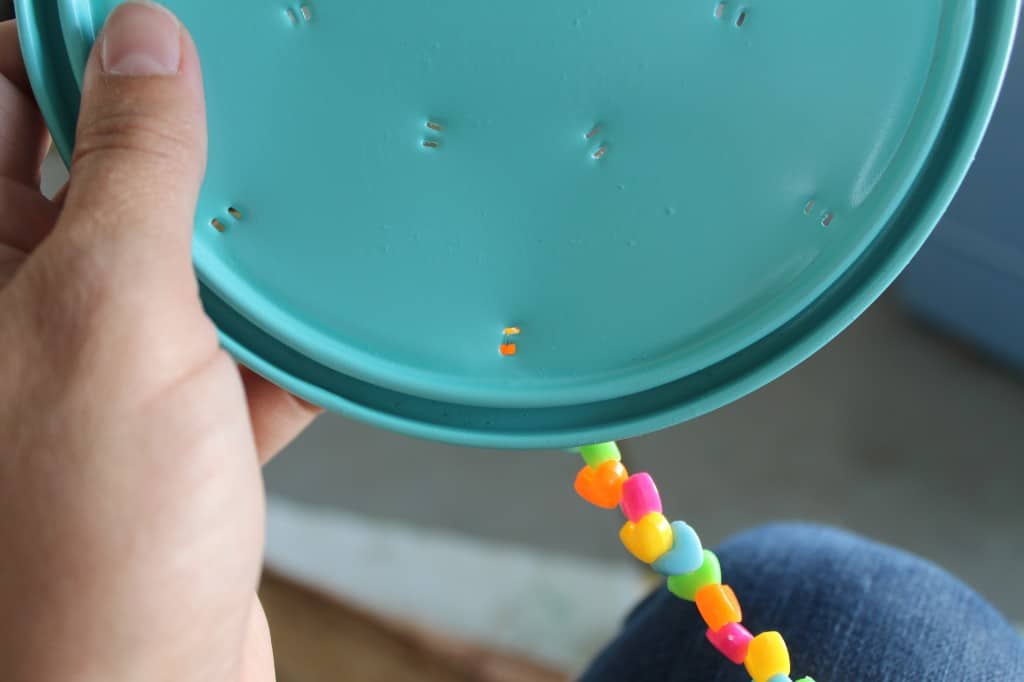
Next we poked two small holes where each strand was going to hang. We used two holes so we could thread the line up and then down so we could tie it off underneath.
We just a tiny screw driver and a hammer to punch the holes through the can lid.
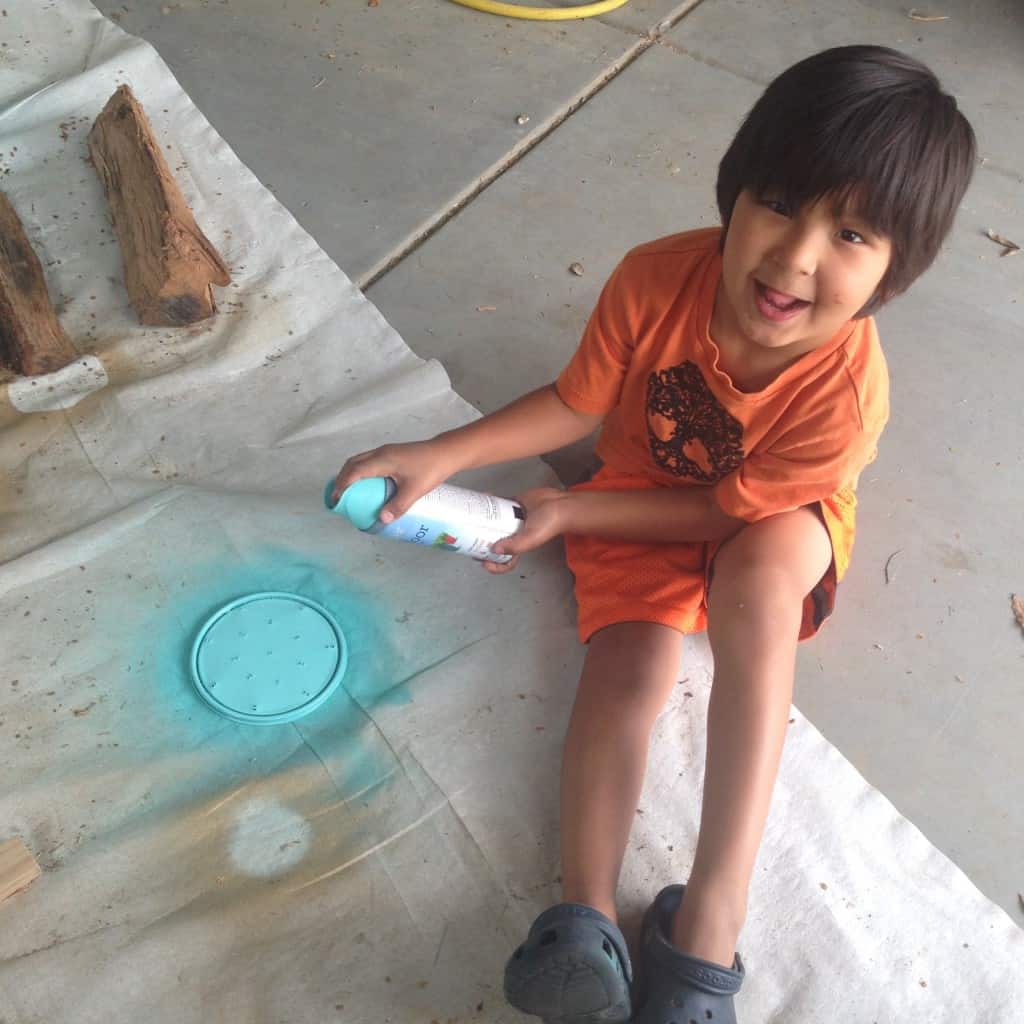
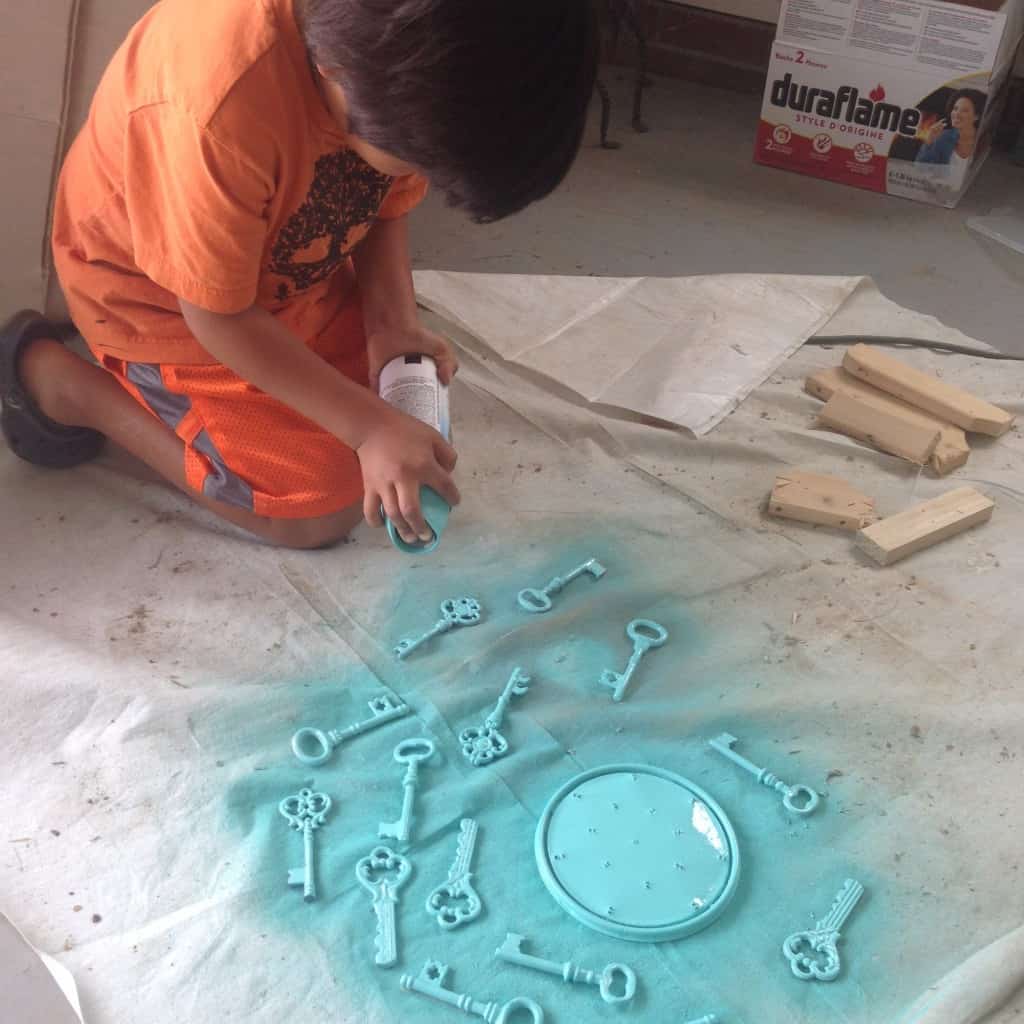
Then we spray painted the lid and keys with our favorite outdoor spray paint from Valspar! #allthingsaqua
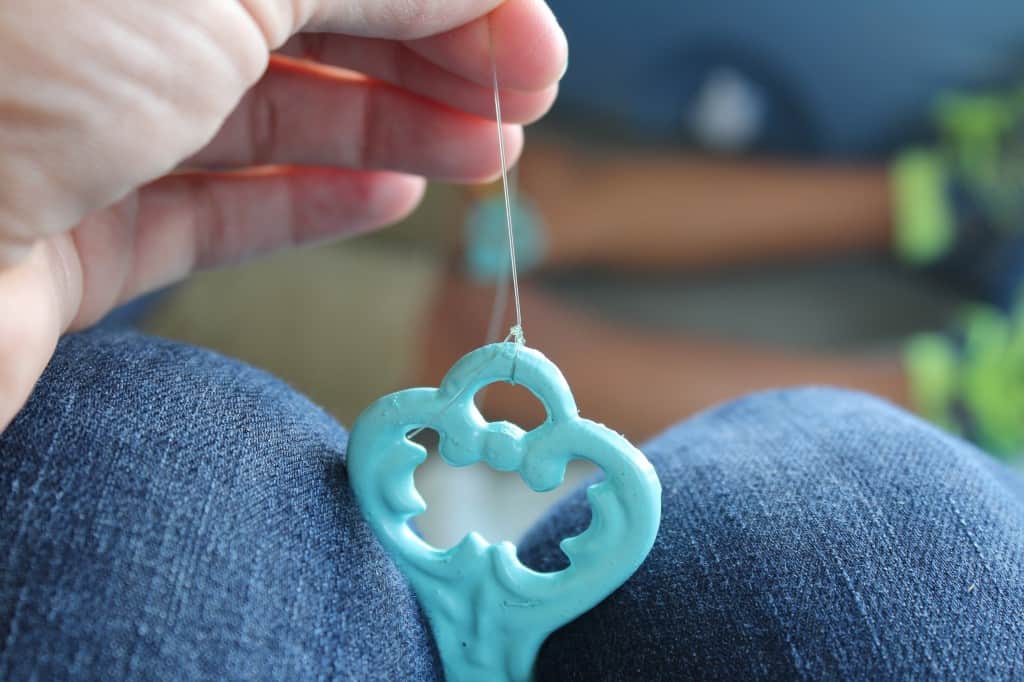
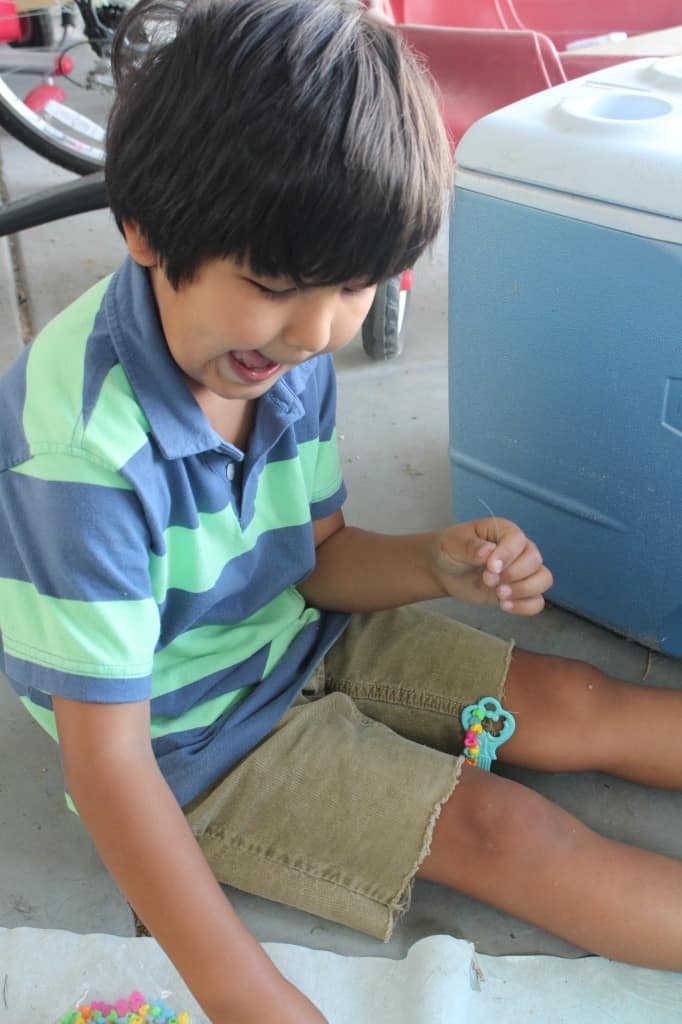
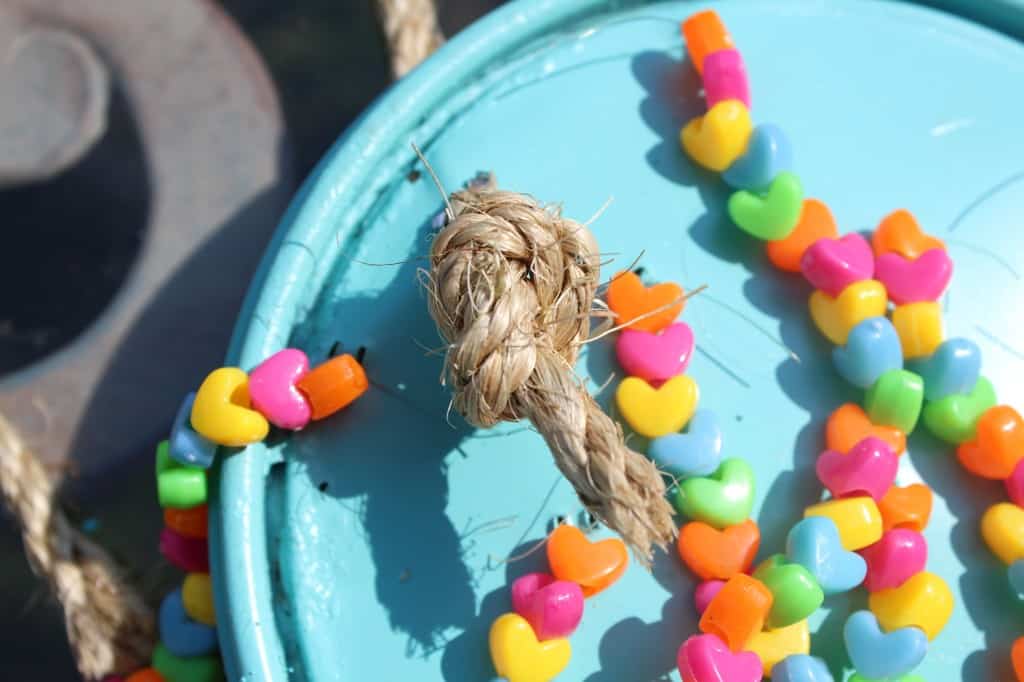
I measured the length of the string, tied it to the the key and little man strung the beads. We decided to stagger our lengths so the outer row would be the shortest, the next row would be a bit longer and the one strand in the center would be the longest to resemble a chandelier.
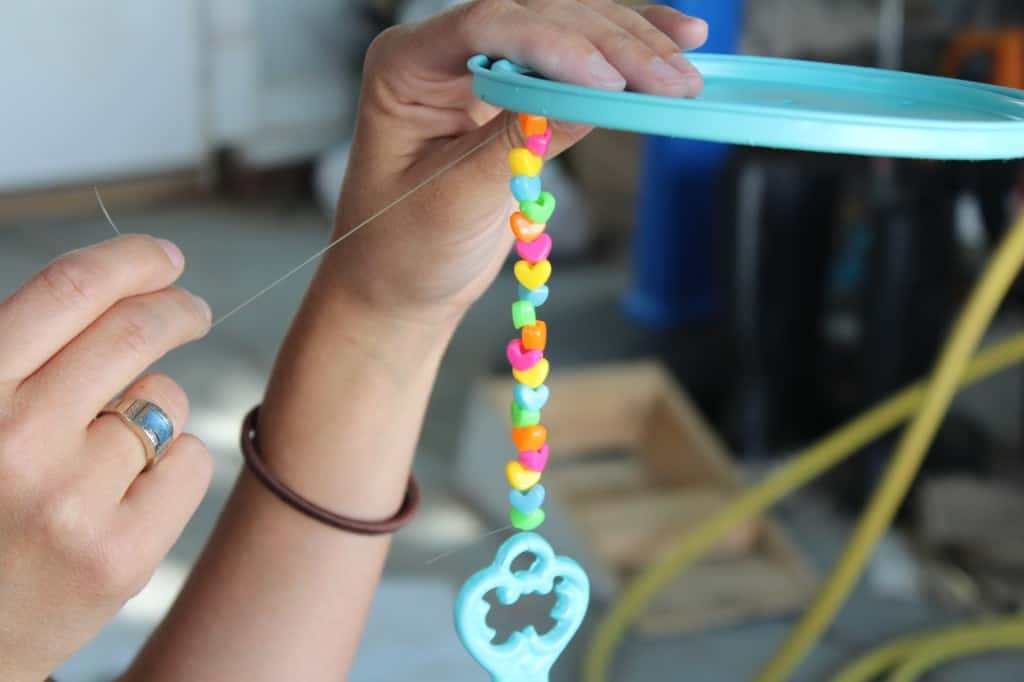
You can see the first row below.
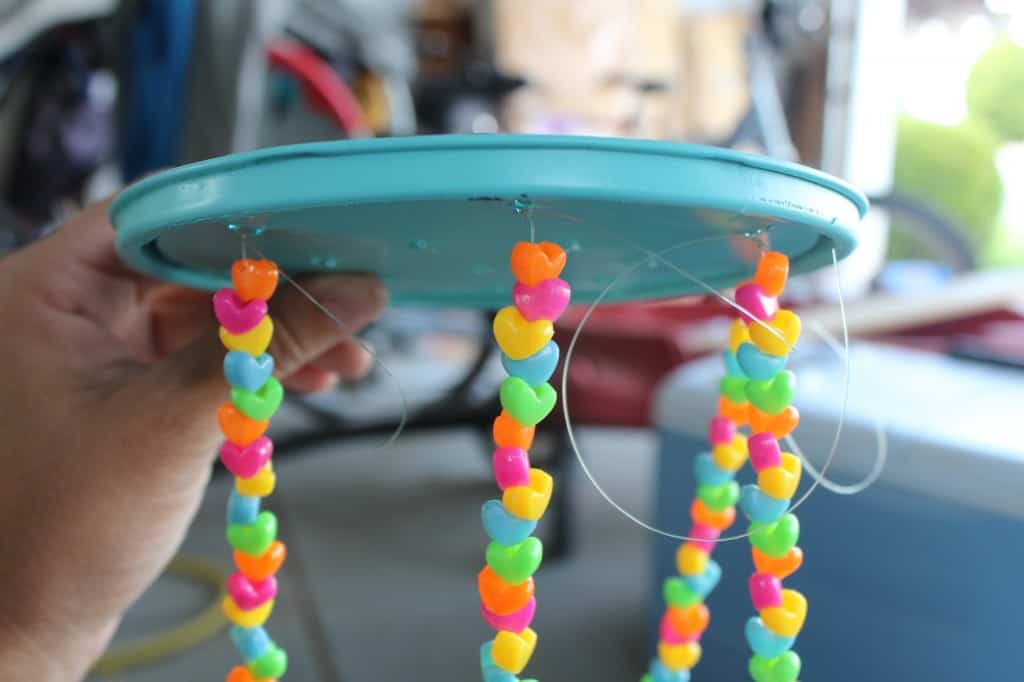
Once all the rows were done we punched two large holes on each side and used rope to hang the wind chime.
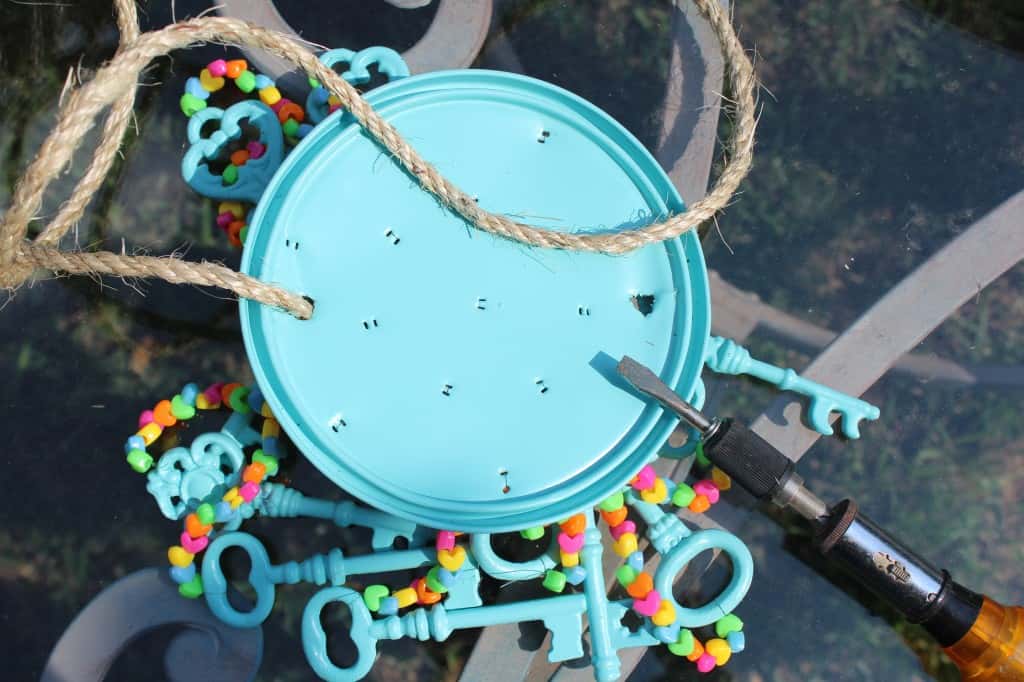
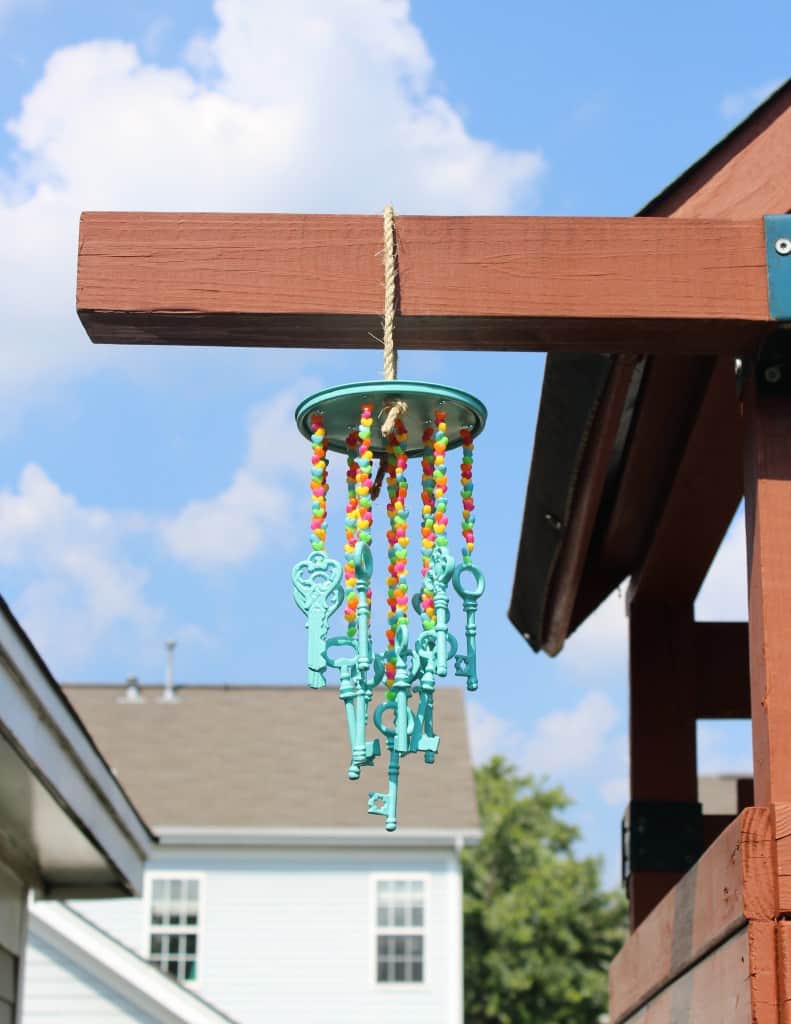
The weight was a little off so I ended up stringing some wire across to make it more balanced.
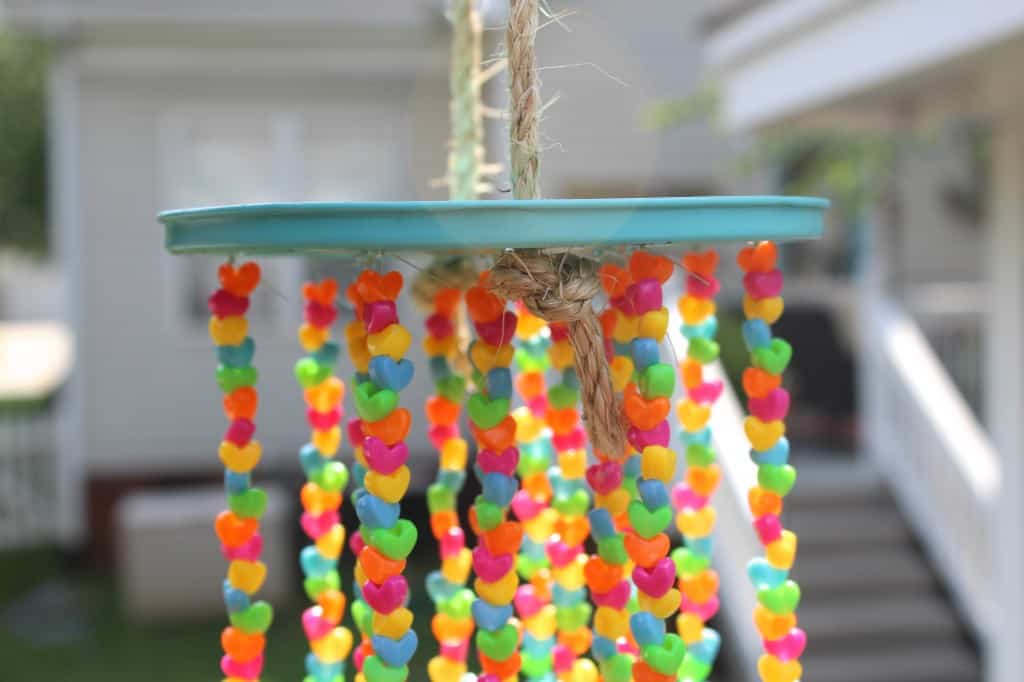
So what do you think? Of course I wanted to paint the beads {aqua too or perhaps gold} but little man liked the colors so I’m trying to let him have more freedom in our projects!
The keys actually make a really pretty sound when the wind hits them too!
Although I spent $15 on the keys and $2 on the beads from Dollar Tree {I had all the other materials} we had a really fun time working on this project together. I could probably buy a pretty nice wind chime for $17 dollars but it wouldn’t look like this!! :)
I really hope you have a great day! Stay cool, it’s hot around here!
LINKING UP:
Liz Marie Blog // Living Well Spending Less //


I love it, Summer! It caught my eye right away on Instagram! And I totally agree, it beats any wind chime you could buy in a store! Would love for you to share it again at our link party please!
This is SO adorable and crafty! My little people would have so much fun making a wind chime. Thanks for the inspiration!
Thank you so much Kelly! I was a lot of fun to make :)
Summer that is such a cute summer project to do with kids, I love how it came out! Your assistant is adorable!
Thanks Lisa! It was really fun and little man loves it! He sometimes gets tired of helping after awhile but is always so proud of the end result!
You’re so awesome! You rock some serious DIY and I love how excited your little man is about it and how he helps! My boys are always trying to help!
Thanks Krystine!!! Don’t they love to help!?!?
So cute and I can tell your little man had a great time making it! I love the Michael’s dollar section, so many great things in there!
Thanks Bethany! I love the dollar section too and it was fun to make :)
This is super creative, Summer! I love that your little boy took his part in the making!♥
Thanks Aniko! It was fun :)
So sweet! He looks like he is having so much fun.
Thanks Julia, it was fun :)
super cute- emmy would totally love this- it’s got all of her favorite colors! :) and hearts!!!
Thanks Cassie, it was really fun :)