DIY Paint Can Herb Garden
Happy Wednesday everyone! It is still Wednesday, right?
Okay, so I’m still in the midst of posting One Room Challenge details so I’m going to skip Wednesday Reads again. Oops, I’m bad :(
Anyway, I know a lot of you have been anxious to find out details about the DIY herb garden so that’s what we’re going to talk about today. It is really SO easy!
As part of the deck makeover, I thought an herb garden would be a practical, fun and CUTE element to bring into the design. Flowers and potted plants are great but I don’t have much of a green thumb so I thought this was a perfect solution.
I tossed around several ideas of different items to use for pots. There were lots of affordable plastic ones that I could have used but I was trying to keep costs down as much as possible. That’s when the paint cans popped in my head.
Cleaning out and organizing my paint collection in the garage has been on my ever growing “to do” list so by reusing the quart-sized paint cans I could move my paint into mason jars for better storage.
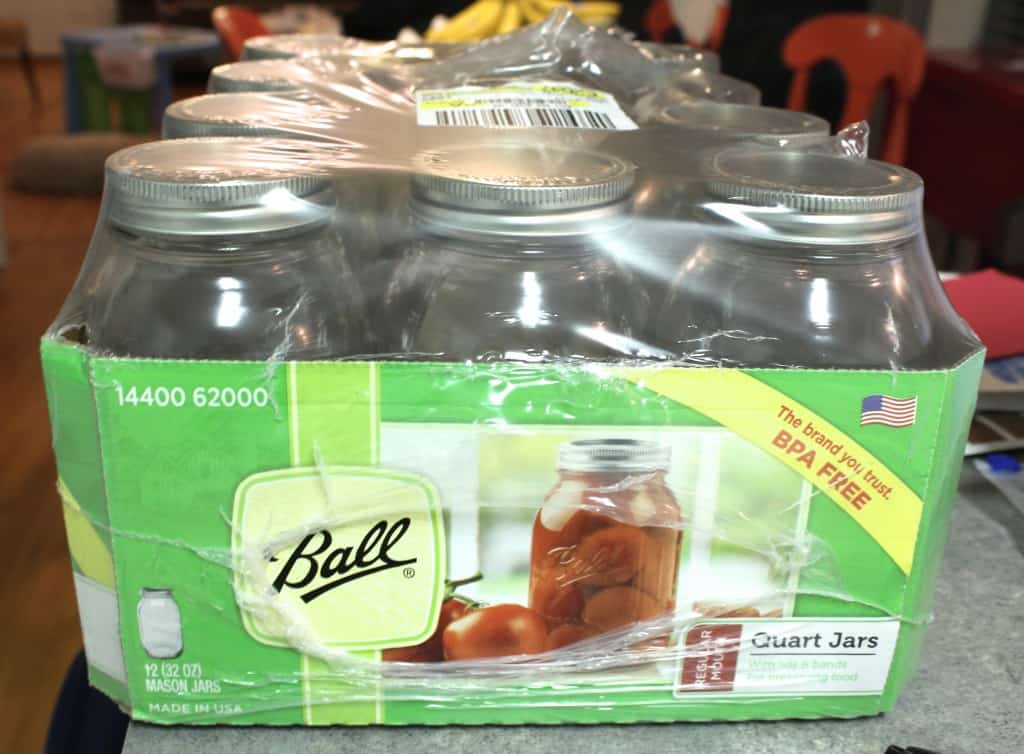

Eventually I will make some pretty labels but until then they’ve got sticky notes and pics on my iPhone so I don’t lose formulas.
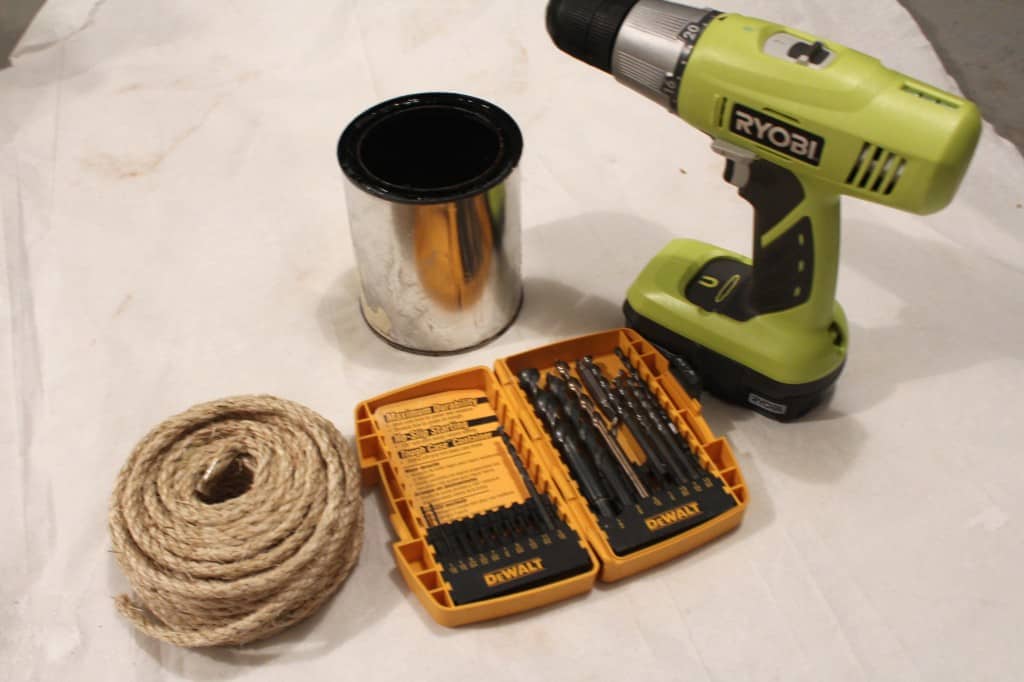
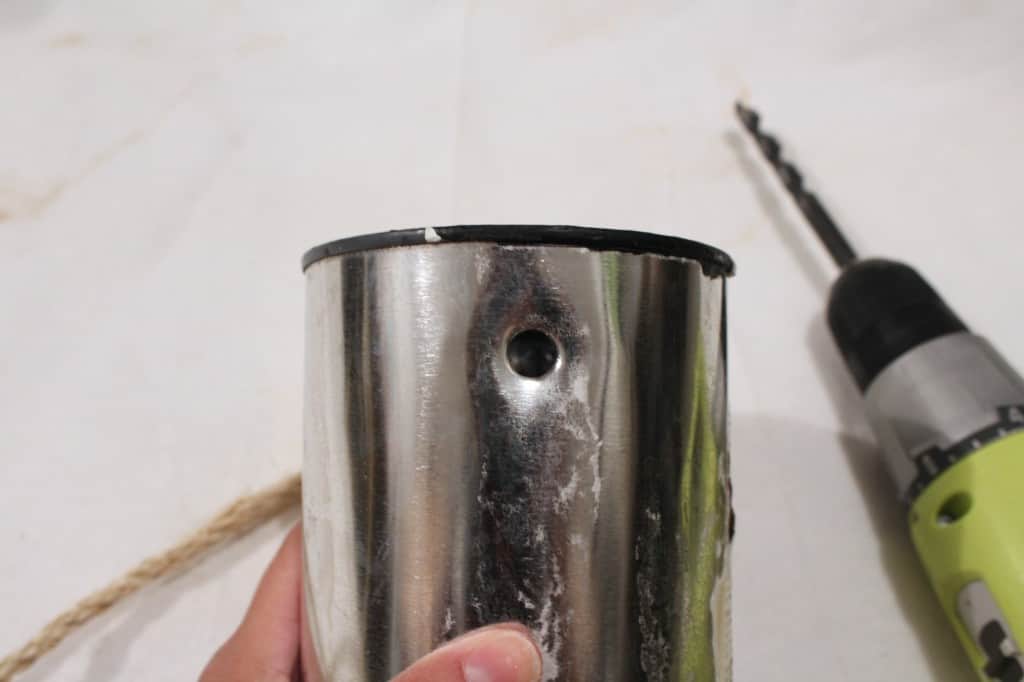
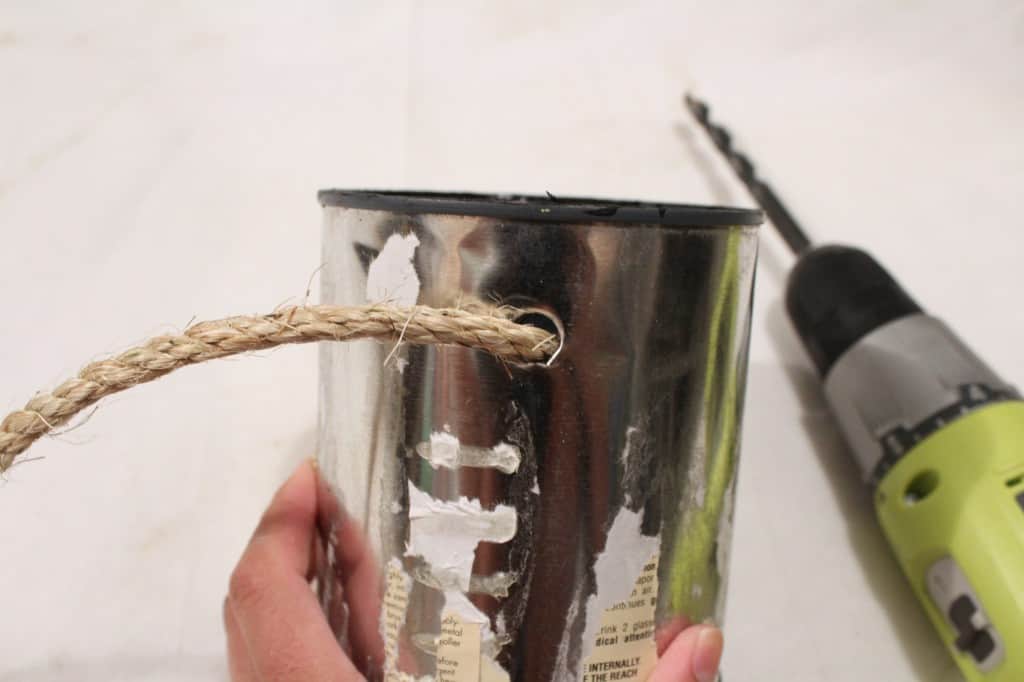
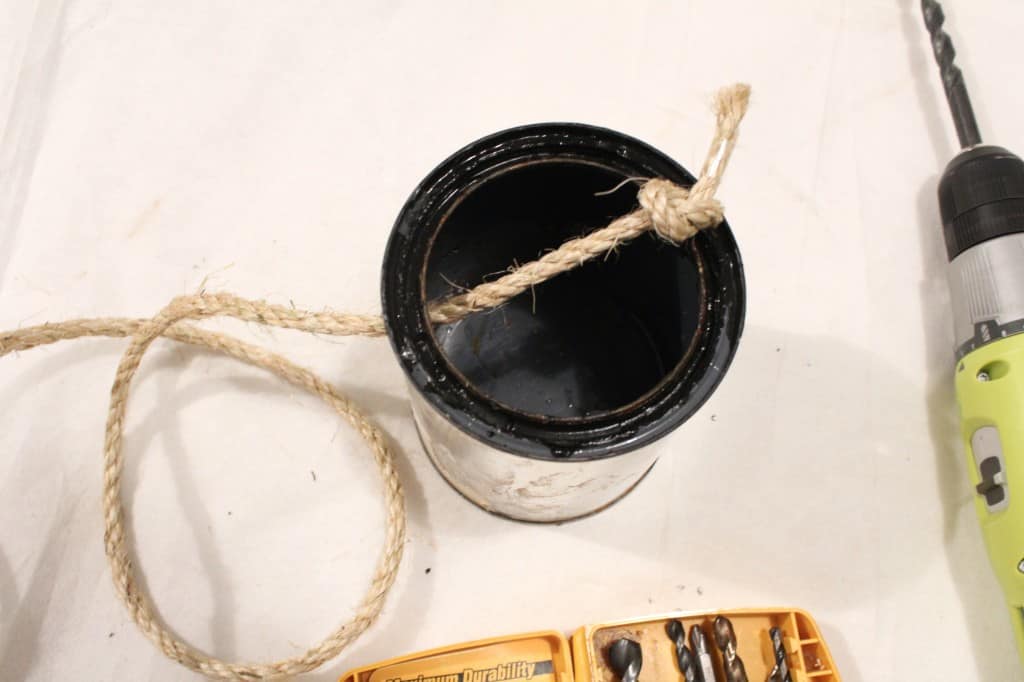
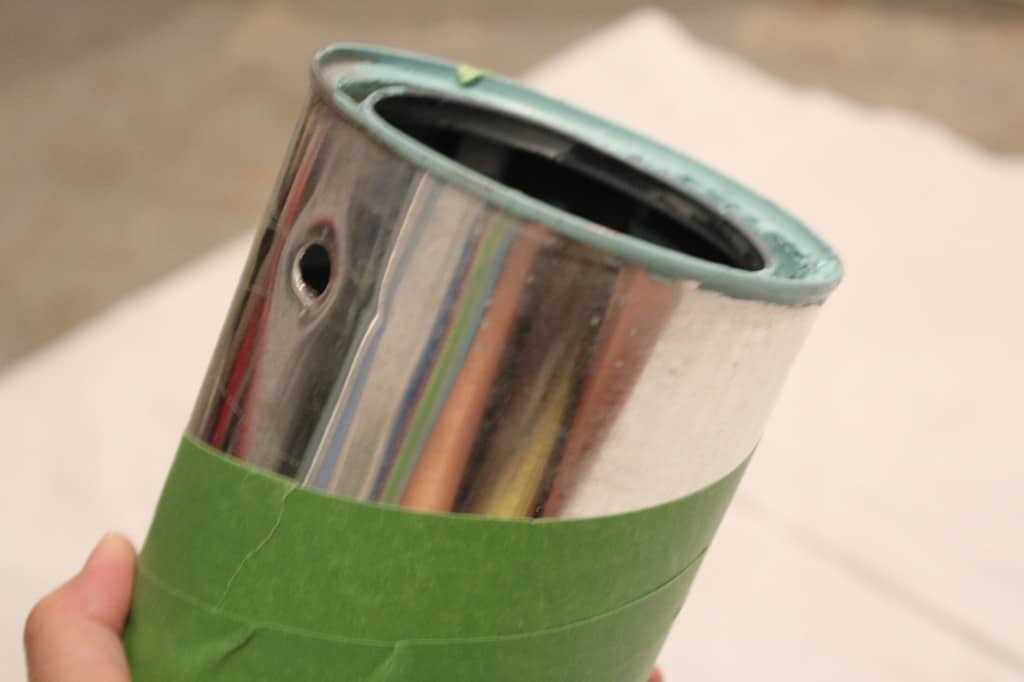
Once the cans were rinsed and cleaned I drilled holes in the sides of each can and a small hole at the bottom for drainage. I wanted to use rope to hang them so I made the holes big enough on either side to thread the rope and then knotted the ends.
I used regular drill bits that are good for drilling through wood or metal.
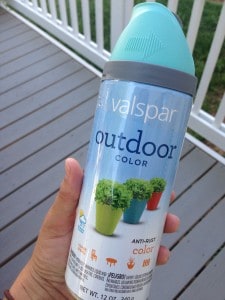
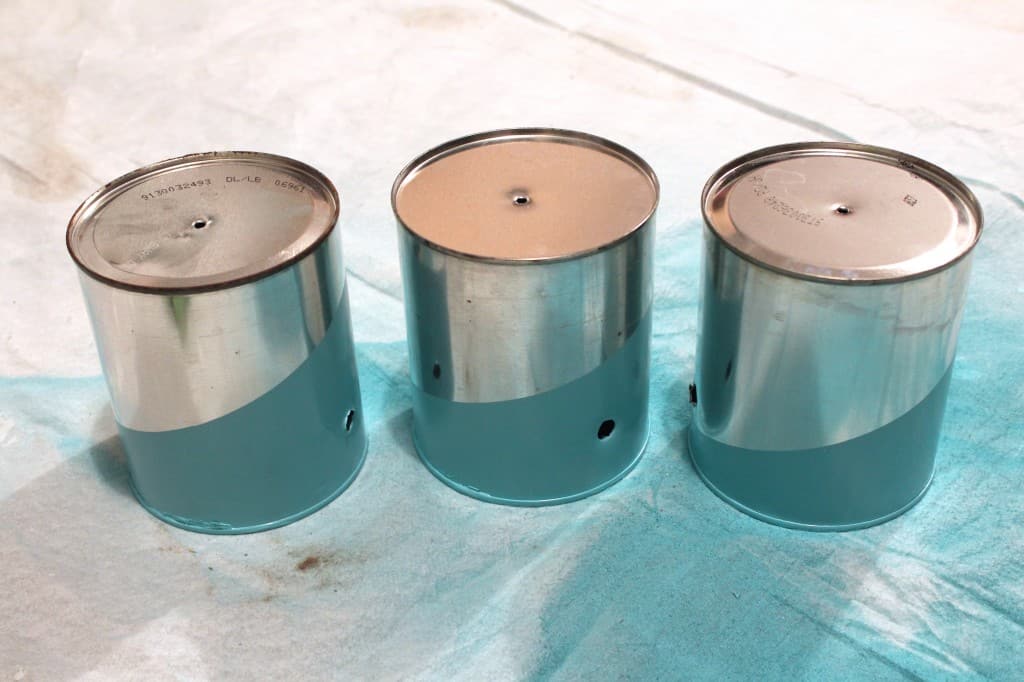
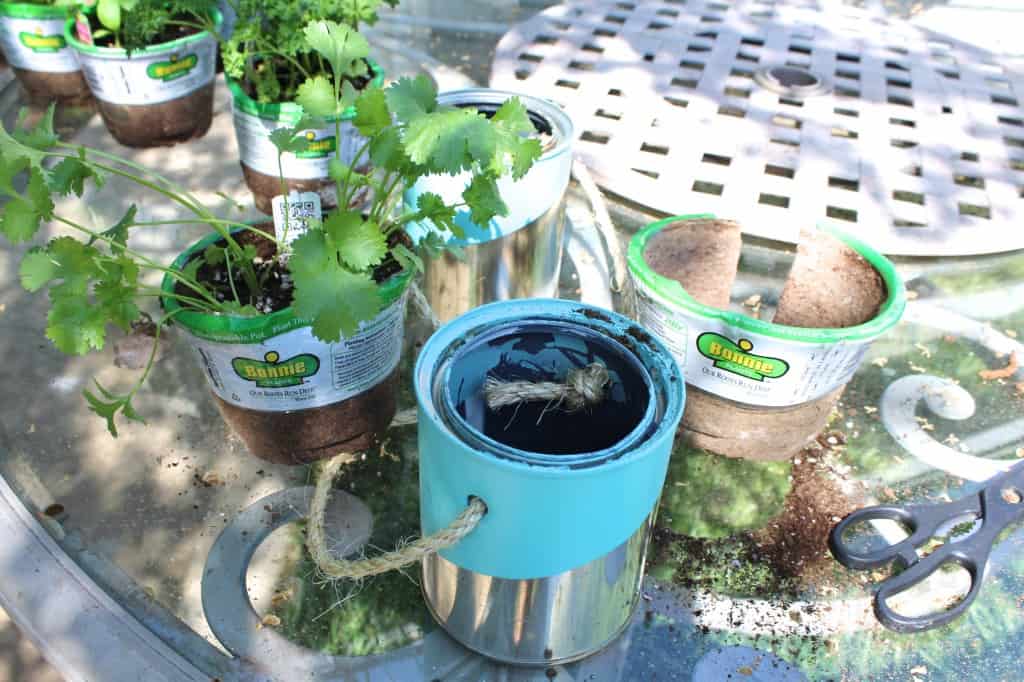
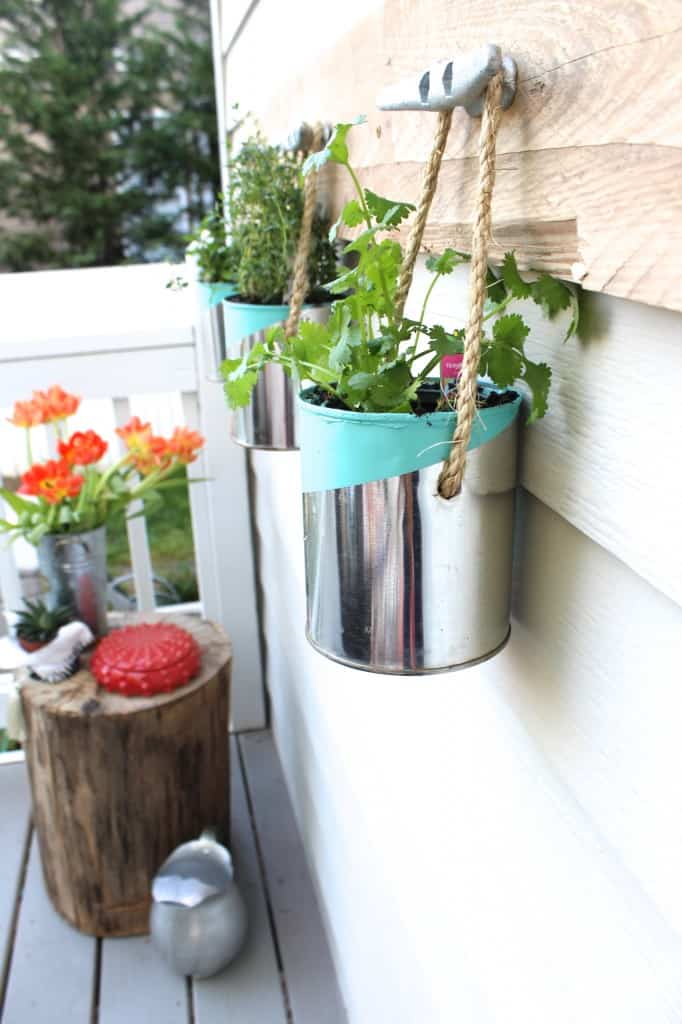
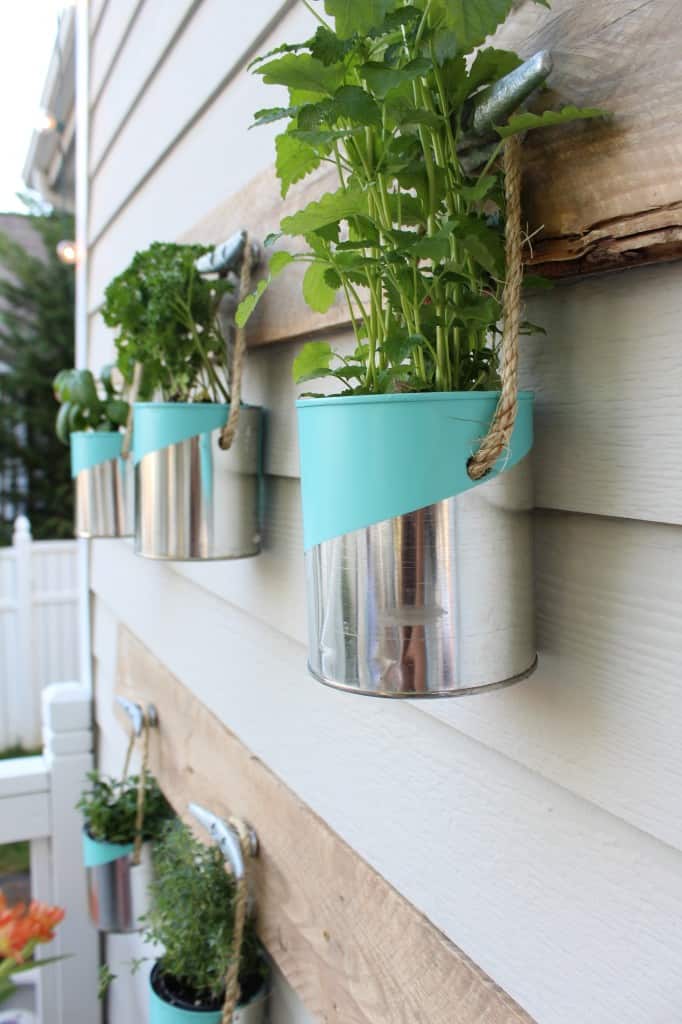
I used galvanized metal in my design plan so at first I was going to leave the cans silver but quickly realized that was too BORING! So I decided to paint the cans diagonally with aqua outdoor spray paint in order to keep the silver but give it a more modern feel.
Also, the paint was able to cover up some of the imperfections on the cans. I used Valspar’s Outdoor Color in Koi Pond and I can’t tell you how much I love this color and it almost matches perfectly with the aqua on our door! So far the coverage and durability has been great too!
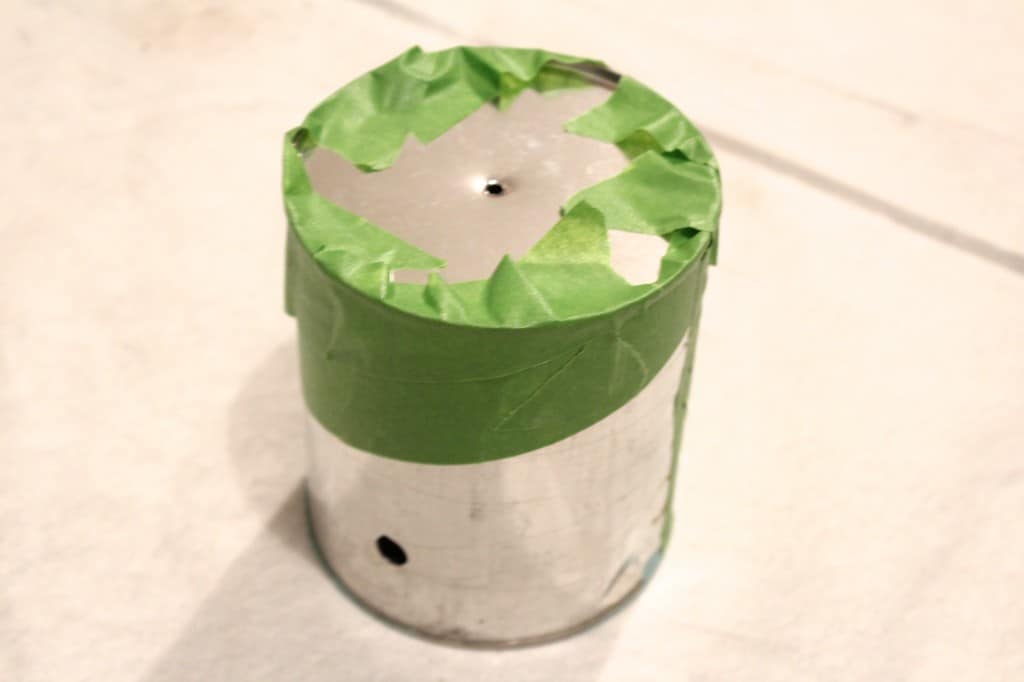
I used my favorite Frog Tape and covered the part of the cans I didn’t want painted. No real science to this, I just eye balled it.
Next was figuring out how I was going to hang these bad boys!
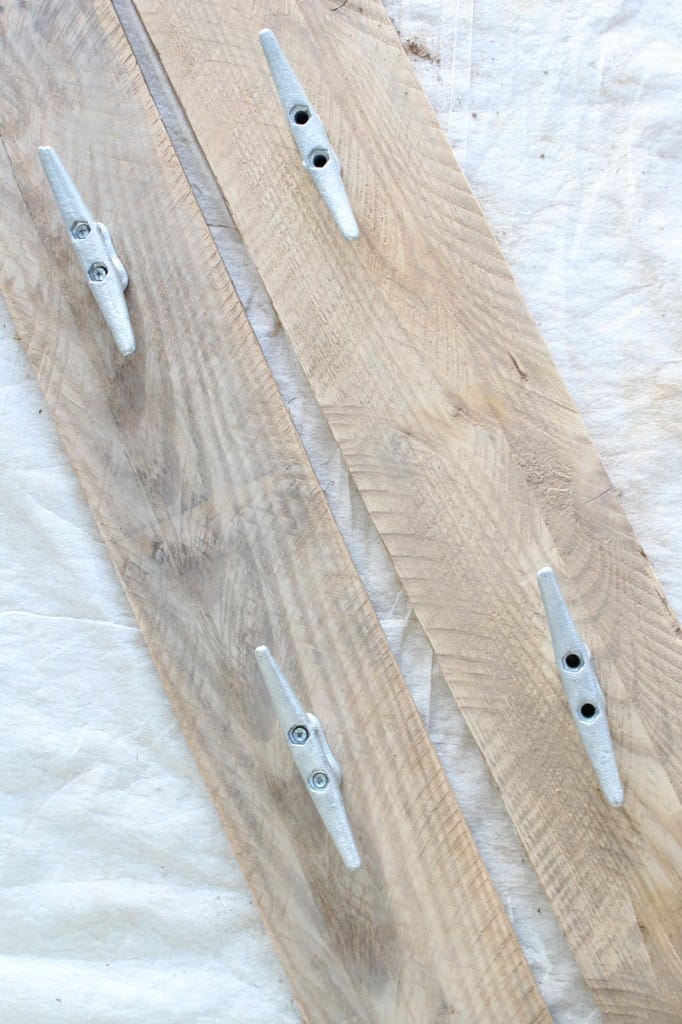
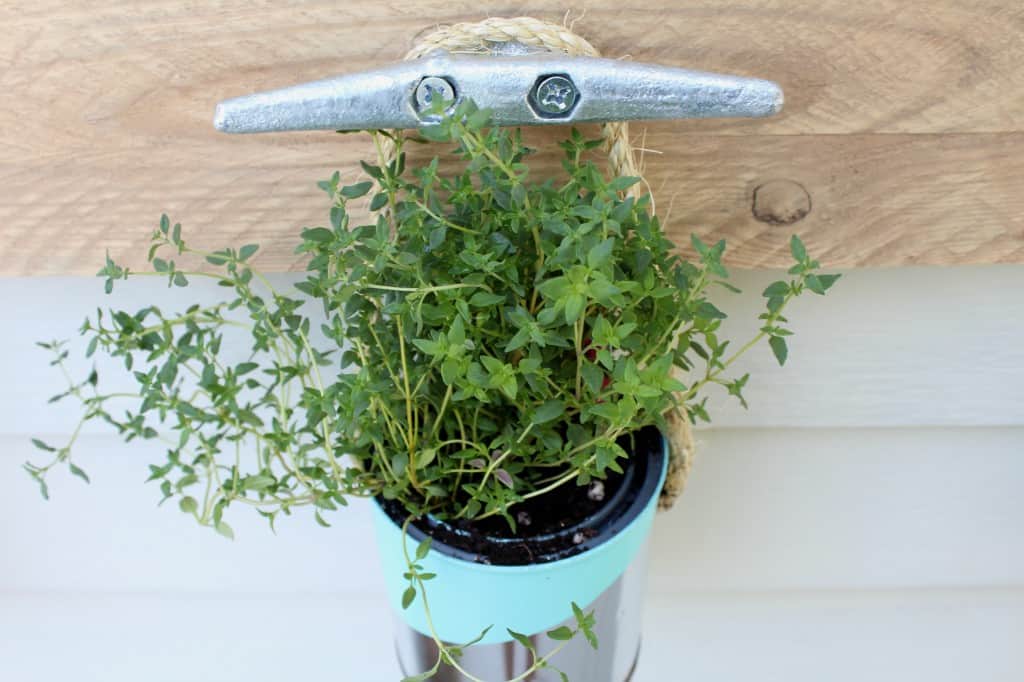
I had already bought the dock cleats from Walmart knowing that I wanted to use them in my deck design but I wasn’t quite sure how at the time. I thought I would attach them to the deck rails and hang the herbs there but I realized that the deck was getting full of stuff and I had a completely empty wall to fill.
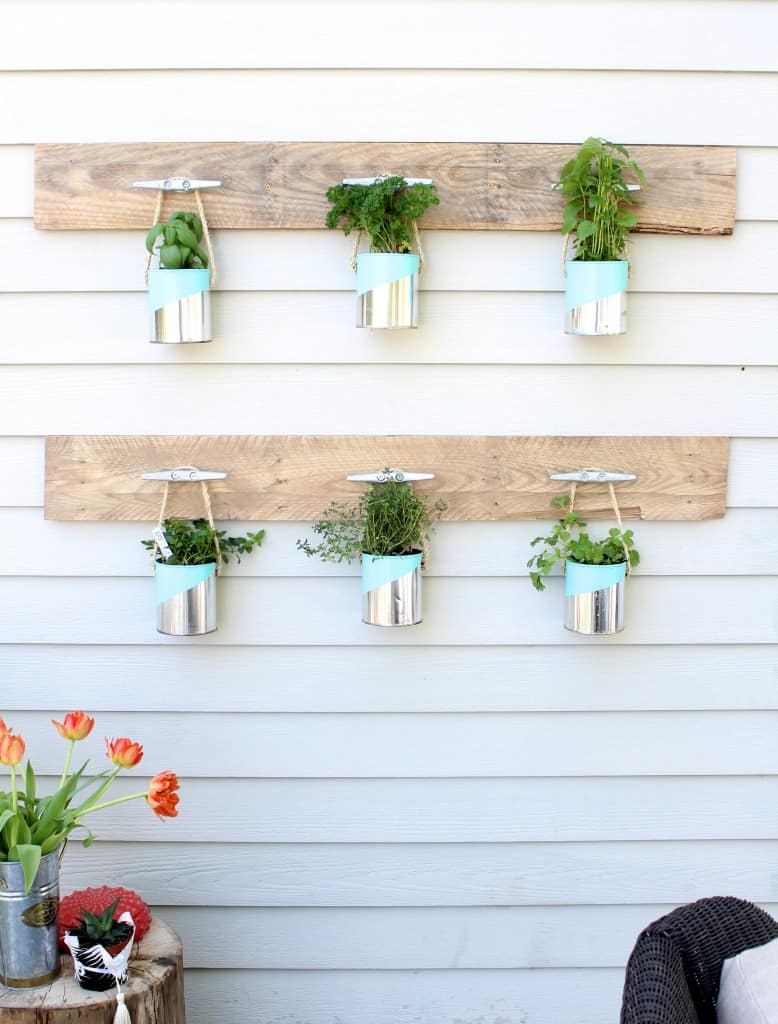
My mom suggested I hang them on the wall so we started brainstorming about how I could do it and then it all came together with the pallet boards and the cleats.
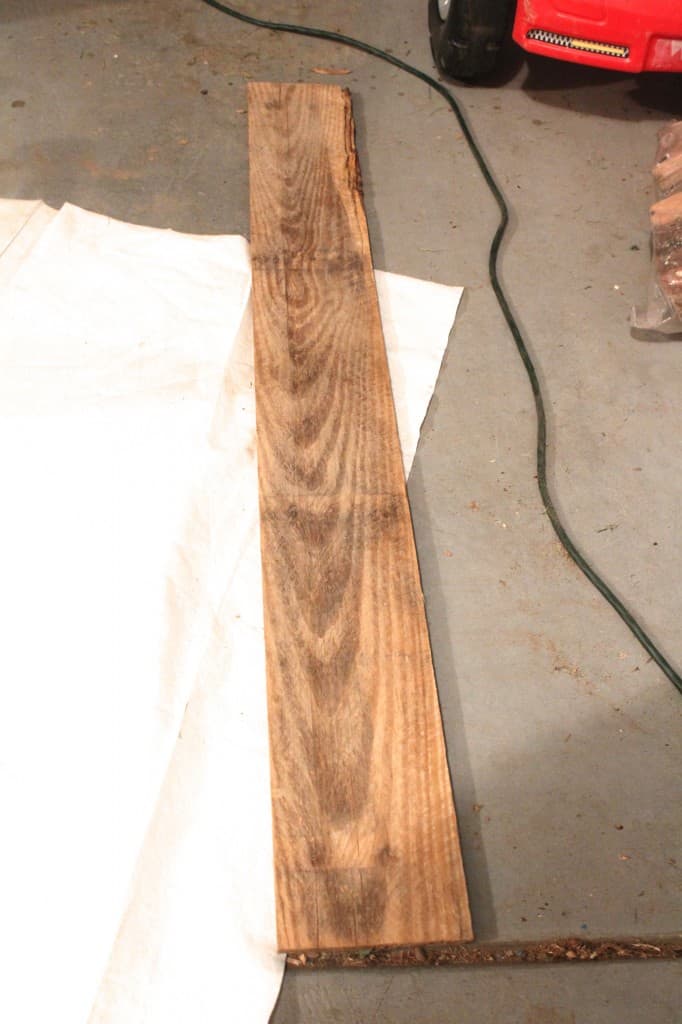
I happened to have these leftover pallet boards in my garage from the desk that I built that happened to be the perfect size. You can read about my desk here if you missed it. But, if you don’t have any boards you could buy some at a home improvement store and have them cut to size. You could also paint, stain or distress them to fit your style.
I thought about staining my boards to give them a more finished look but I decided their existing color tied in perfectly with the stump table. And it would have taken more time and effort of course :)
I gave them a quick sanding and they were ready to go.
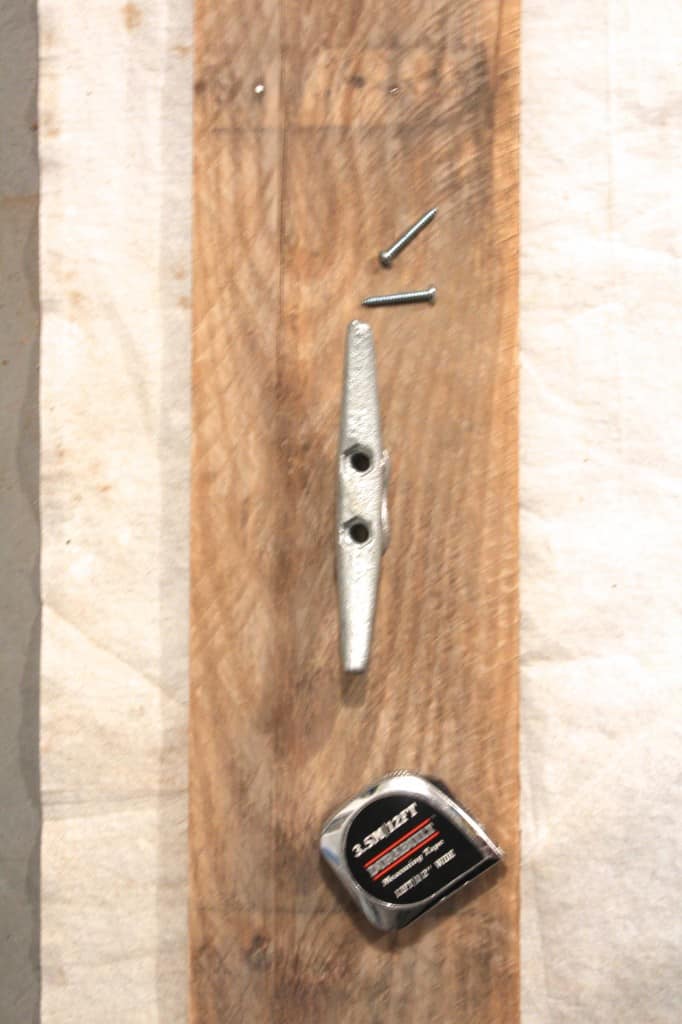
I used 1 1/4″ wood screws to screw the cleats to the boards that I spaced out evenly. I had to try a couple times to find the right screws because I needed them to screw into the boards but not through them and out the other side.
And the heads had to be big enough so the screws wouldn’t slip through the holes in the cleats.
I decided where I wanted them on the wall and I screwed the boards directly into the siding with two exterior screws. First I pre-drilled the holes into the siding and the boards separately so it wouldn’t be too difficult to hold the boards up and screw them in all the way.
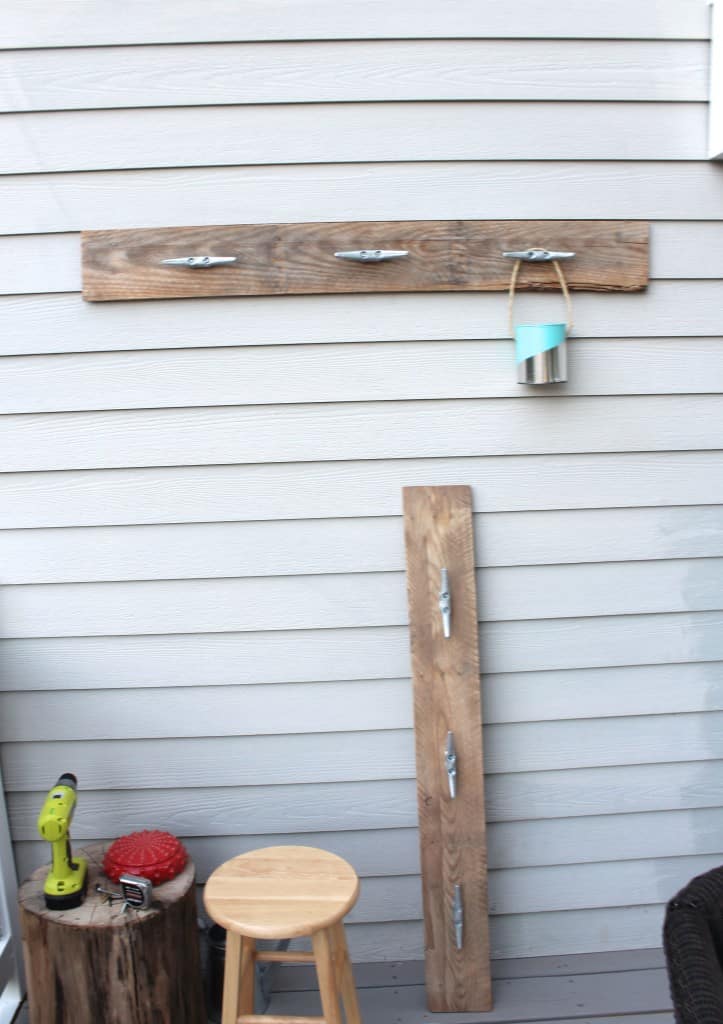
After I had mounted the first board I hung one of the pots so I could decide on and measure the length for the rope and where the second board needed to go. Then I attached the second board.

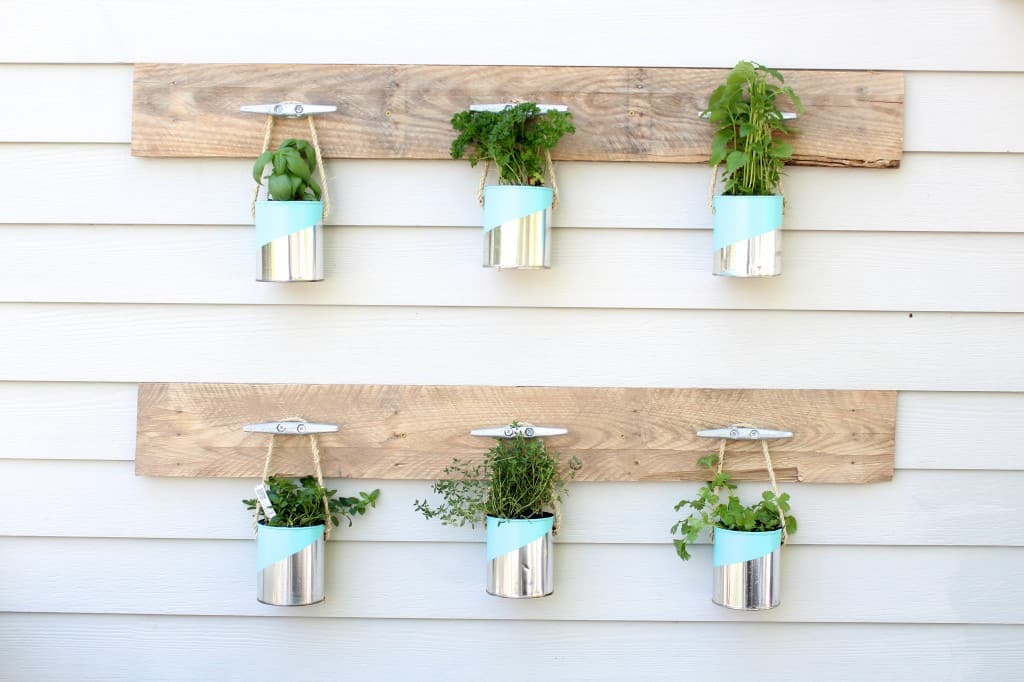
Once all the cans were painted and the rope tied I planted the herbs we chose: lemon balm, parsley, basil, thyme, peppermint and cilantro, naturally!
***fyi, I did not line our paint cans because this was our first attempt but I would recommend lining the cans with a liner for safety if you plan on using the herbs for cooking***

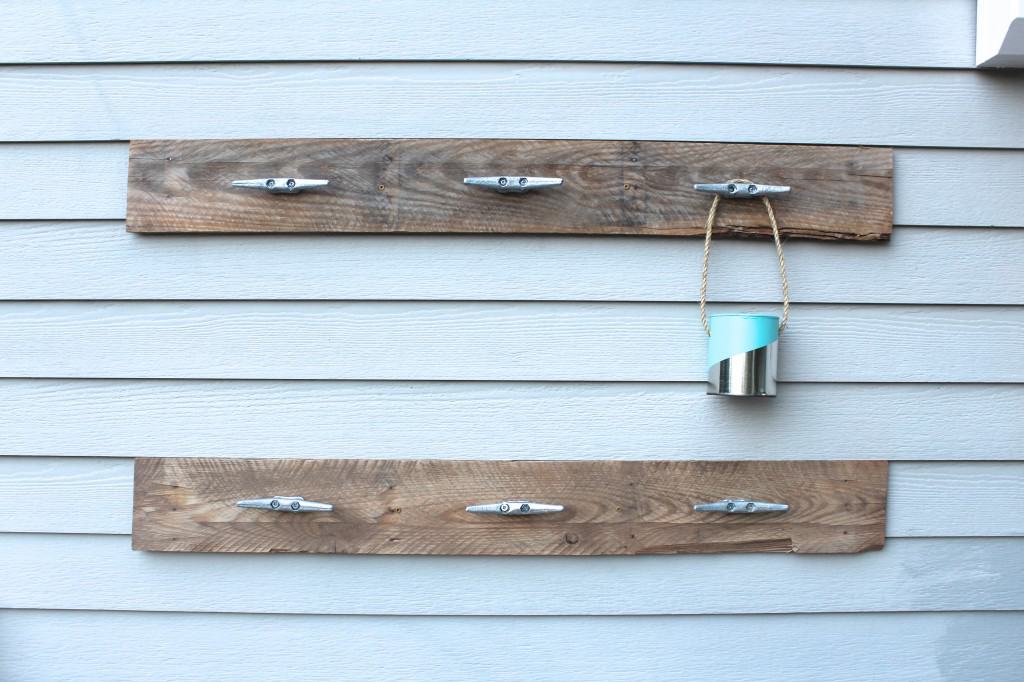
And there you have it! I absolutely LOVE the way it turned out! And I can step outside my door snip what I need.
My only costs were the cleats {$2.86 each} and the herbs themselves {5 for $10 I think} so not too shabby for a pretty cool project!
And so far so good…they are all still living and I plan on using the cilantro at a little fiesta on the deck this Friday. Follow me on Instagram to see a mini Charlotte blogger girls night!
There are still a few more ORC posts coming including a source post and the marquee anchor tutorial so stay tuned!!!
LINKING UP:
The Blissful Bee Work It Wednesday // Upcycled Treasures The Makers // The Style Sisters // Living Well Spending Less // Whipperberry // Tatertots and Jello // I Should Be Mopping The Floor // Craftberry Bush // Everyday Enchanting


That is a great idea, thanks for sharing it.
Thanks so much!
Fabulous, what a web site it is! This web site presents useful information to us, keep it up.
These are just awesome! Gardening is my hobby and always in search of new ideas for updating my experience. Yours is really unique and I even never thought like that! I will make a big change in my house! Thanks Summer for sharing such great idea!
Aww thank you so much! This made my day!
I absolutely love the way you paint, Summer! As a gardener, I”m so amazed to see your herb garden. Have a blessed weekend.!
Thanks so much Ruth!
Oh I’m there!!! Did you use quart or gallon cans? Where does one find liners?
Thanks so much Deb! I used quart size and I didn’t use the liners but looked them up and I think they are from Amazon!
Great post Summer! Will definitely be trying this out this year, thanks for sharing!
Thanks so much Matthew!
SUCH a creative idea!!! I can’t wait to share this tomorrow with my favorites from the week at www.makingitinthemountains.com! Wishing you a fabulous weekend!
Thank you so so much Kristi! You are so sweet! I hope you have a great weekend too!
I absolutely adore this! I love the colors and that it is so functional. It’s beautiful!!
Thanks so much Megan!
What size boards and cleats did you use?
I love this fun project! I would love to do something like this in our backyard to spice things up a bit. Plus I love using fresh herbs when I can!
Thanks Bethany! I love having fresh herbs too!
Love the idea! I also love reusing items to keep costs low. How clever :). I have one question though, any ideas on how I could mount the board to the siding with out nails? We are in a rental and I worry the owner may get upset. I have no deck or porch or flat ground outside to work with. The wall might be the only way but how to mount the boards?? Thanks
Thanks so much! I’m not sure how I would hang it without drilling into the siding because it does need to be sturdy to hold the weight of the pots. You can attached the pots to vertical boards and lean them against the house but you would still need to find a way to support them. Could you hang the post from somewhere instead of attaching them to the wall? Hope this help and thanks for reading!
This is such an awesome (and super cute!) idea, Summer. It looks fantastic! Thank you bunches for linking up and partying with us. Pinning this!
Thanks so much Kristi!!!
I absolutely love this idea! I couldn’t wait for the tutorial! Hope you’re enjoying your deck this weekend!
Thanks so much Amber! We have spent so much time out here already!
Summer, this is absolutely stunning! Who knew cans could look so pretty and functional? LOOOOOOVE this! Thank you so much for sharing at The Makers, Pinned :)
Thank you so much Katie!!
So cute….looks great!
Thanks Gabbi!
So awesome! Love it and pinned
Thanks so much Julia!
that looks great! i planted some different kinds of basil this year, and in just a week they look huge. love the way you used these to jazz up that wall.
Thanks so much!
This is such a neat idea to hang herbs, Summer! Our deck renos begin next week and I am definitely thinking I “need” this!
Thanks so much Kendra! You should definitely do it :) Good luck with your deck!