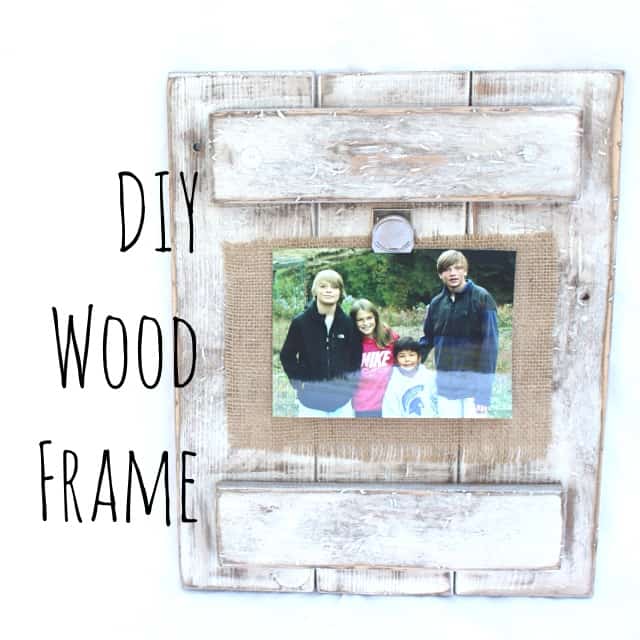
DIY Wood Frames: The Perfect Gift
Happy Saturday!
I wanted to share with you an easy DIY project that you can totally do and would be a great personalized gift to someone special.
I had hoped to get this post out to you prior to Mother’s Day but as you know I’ve been kinda busy :) But, these are great gifts for any holiday or event so build away!
I’ve always admired unique wood frames but the ones you find that look vintage or handcrafted usually come with a high price tag. So, naturally I decided to attempt my own.
I modeled my first frame after the ones that Shanty-2-Chic made. They are gorgeous and you can see their tutorial here.
I started with scrap wood from a futon frame that I found at Goodwill over the summer for $7.99. It is an Ikea futon frame and at the time I didn’t know what I would use it for but I knew it was worth the money!

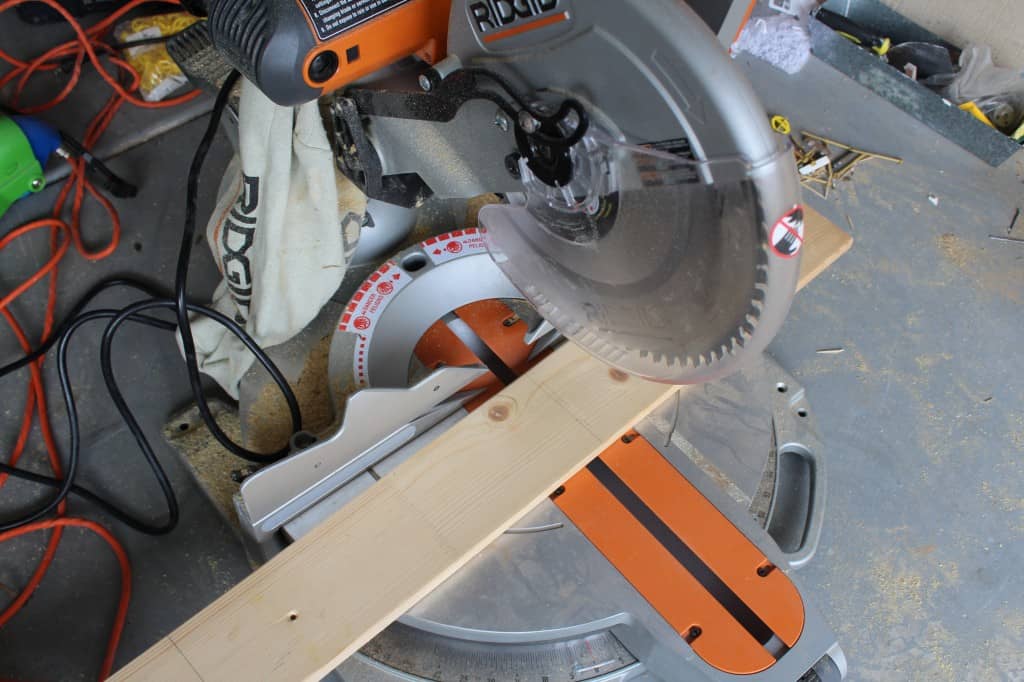
I disassembled the frame and measured the size of the frame I wanted. Then I cut the boards to size.
***If you don’t have a saw you can purchase 1″ x 4″ boards at your home improvement store and they’ll cut them for you for free!***
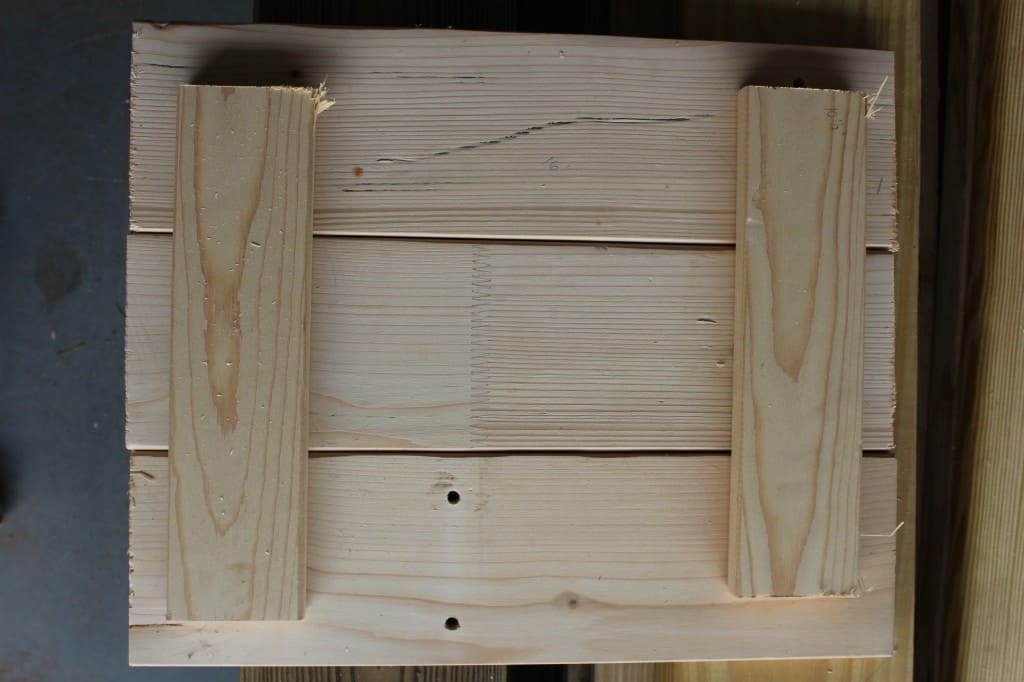
I decided to use three boards for the frame and two smaller pieces for accents.
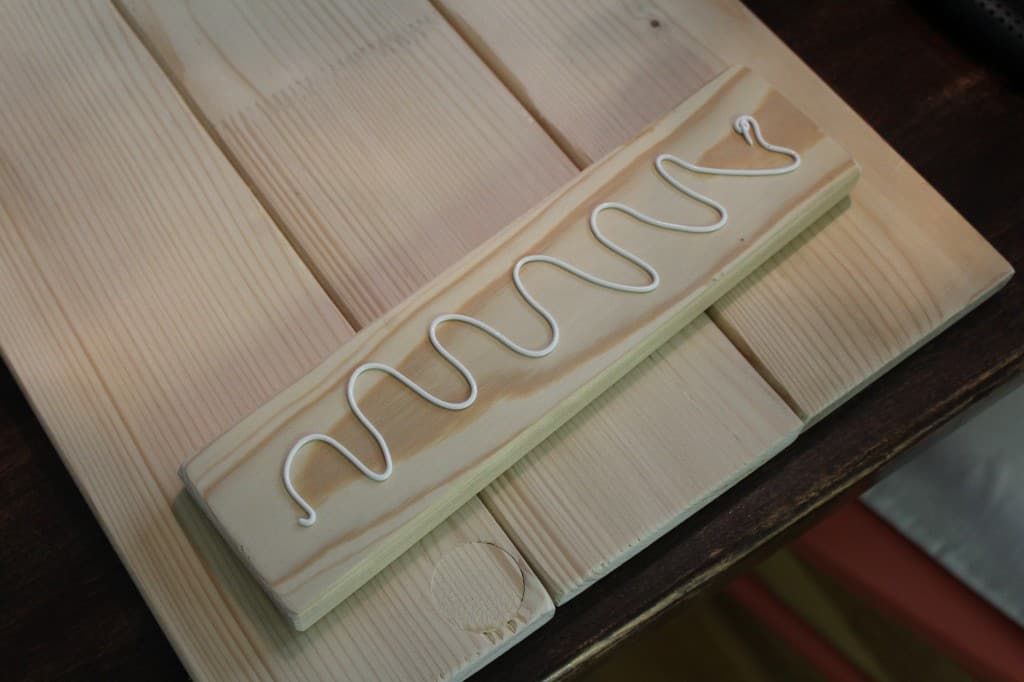
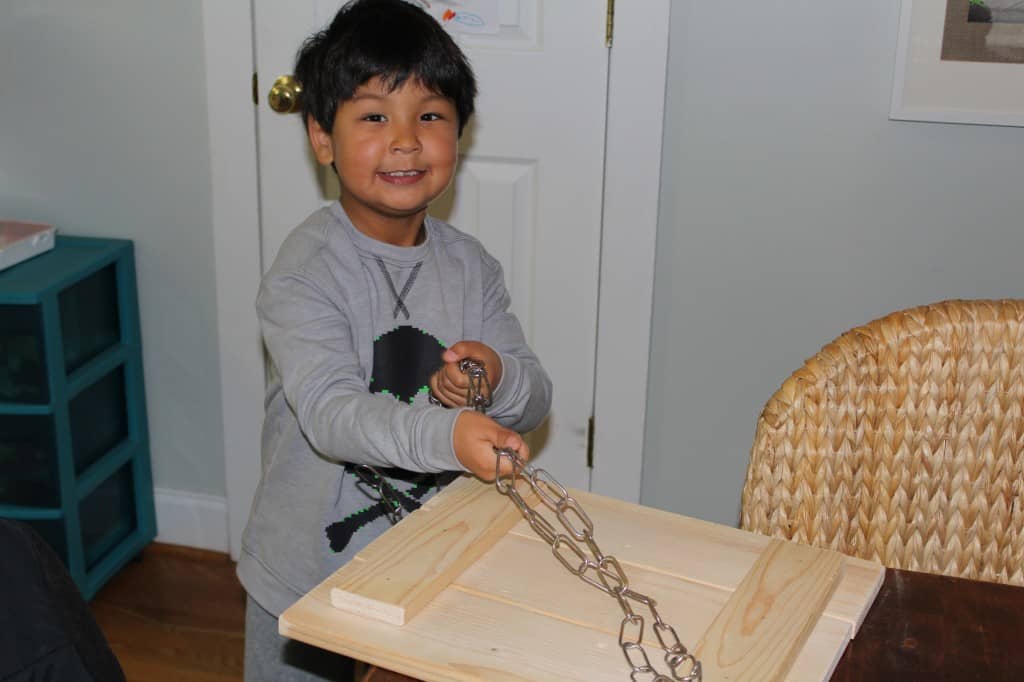
I used Liquid Nails, a hammer and some nails to put the frame together.
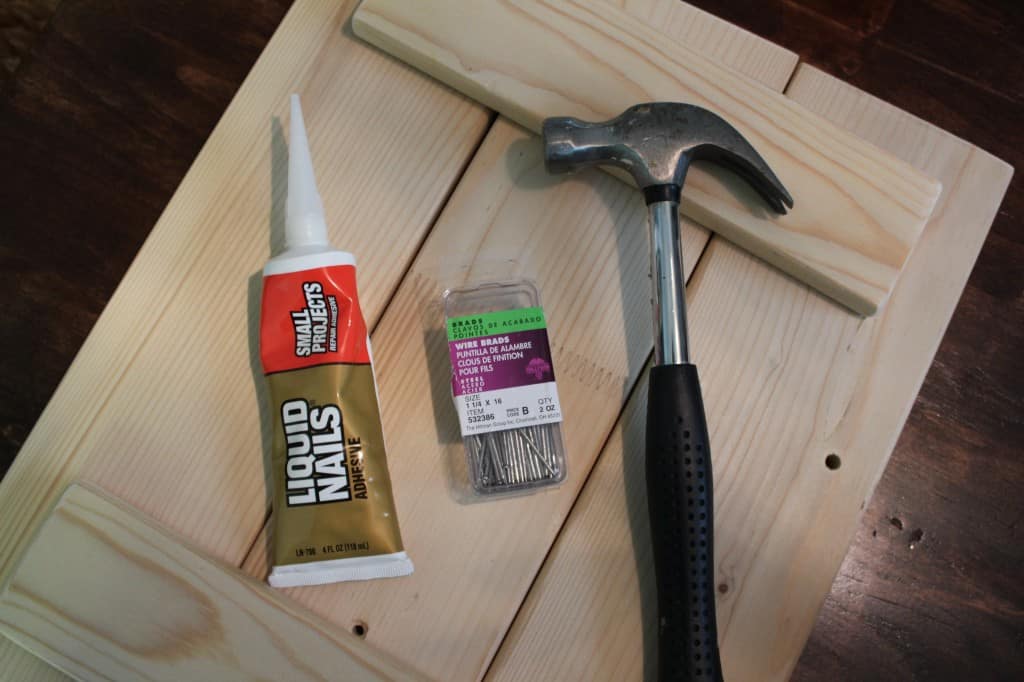
I glued the to accent pieces down and nailed them to the frame.
The nails worked but the frames ended up a little loose so next time I would use several wood screws instead.

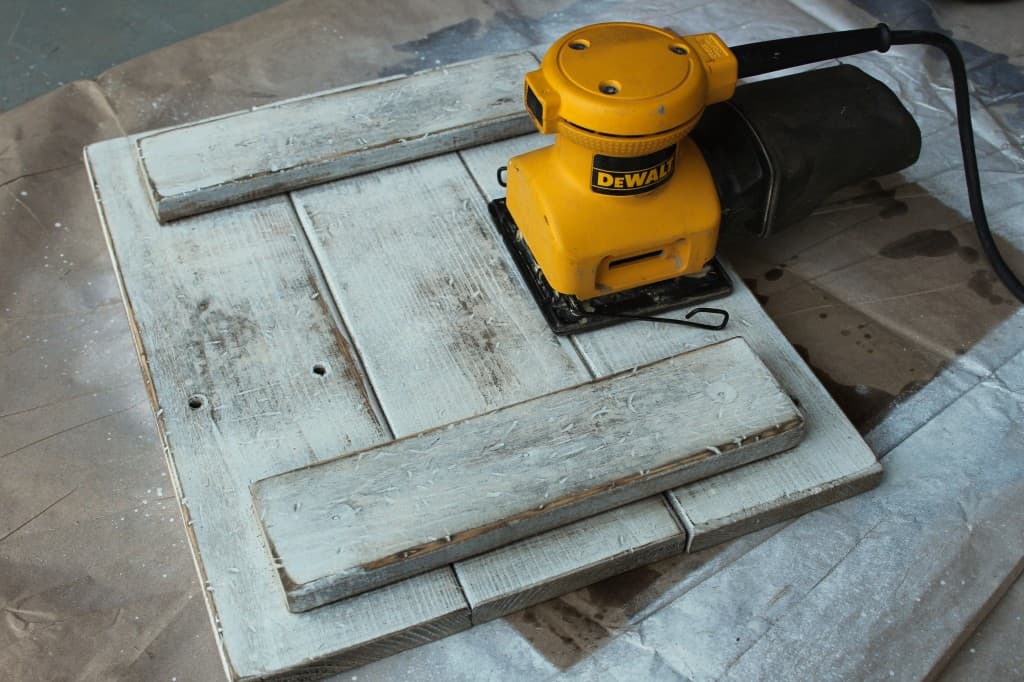
I gave the frame a light sanding then we beat up the boards a little so we could get a distressed finish. This was obviously the most fun part.

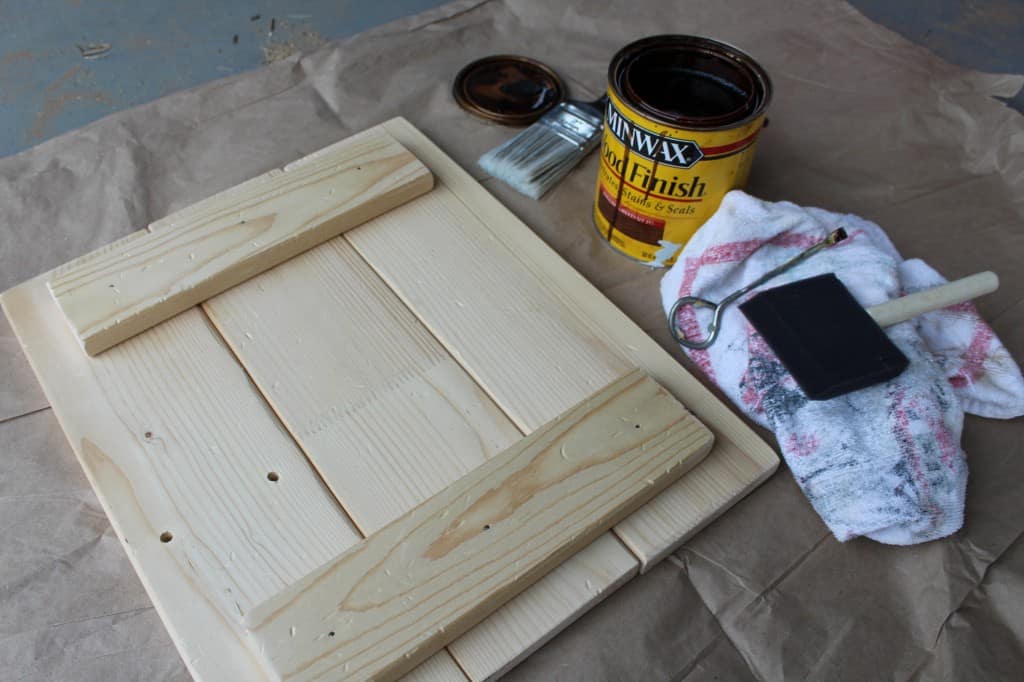
Then we chose some Minwax stain that we had in the garage and stained the front of the frame.
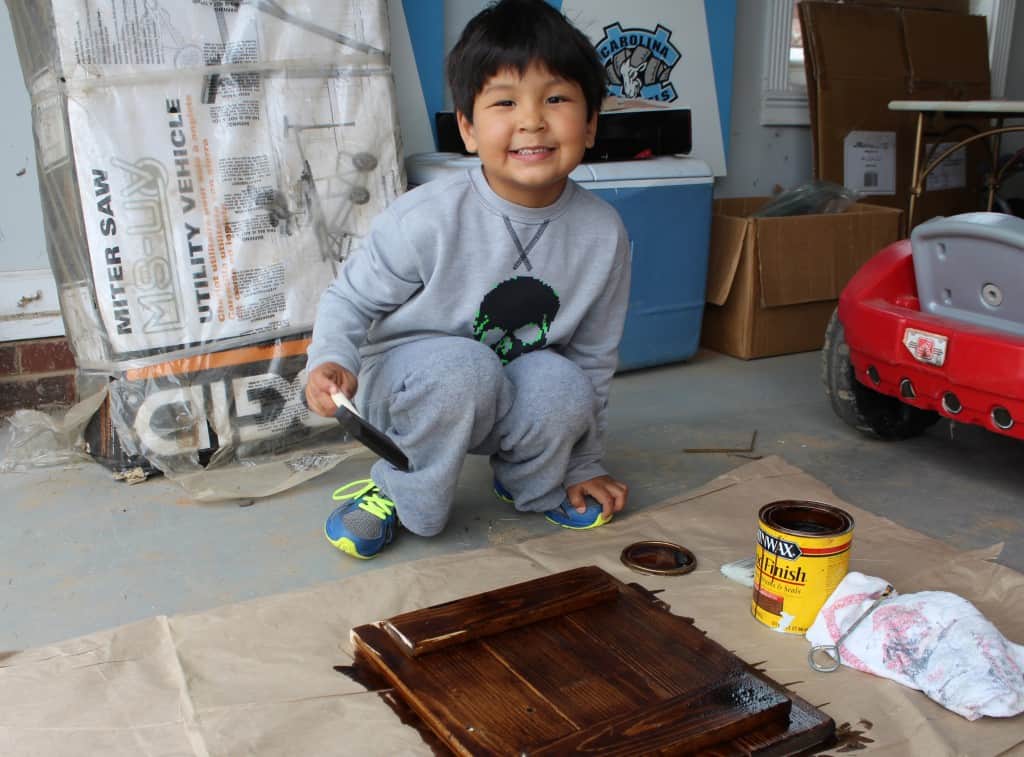
We let the stain dry for about 12 hours because we were in a hurry but I would definitely wait 24 hours next time.
Then we spray painted the frame with an off white spray paint. Sorry I forgot to take a picture of the spray paint but it wasn’t anything specific, you can use whatever you have on hand.
Then we sanded the frame {more along the edges and in certain areas} until we were happy with the distressing.
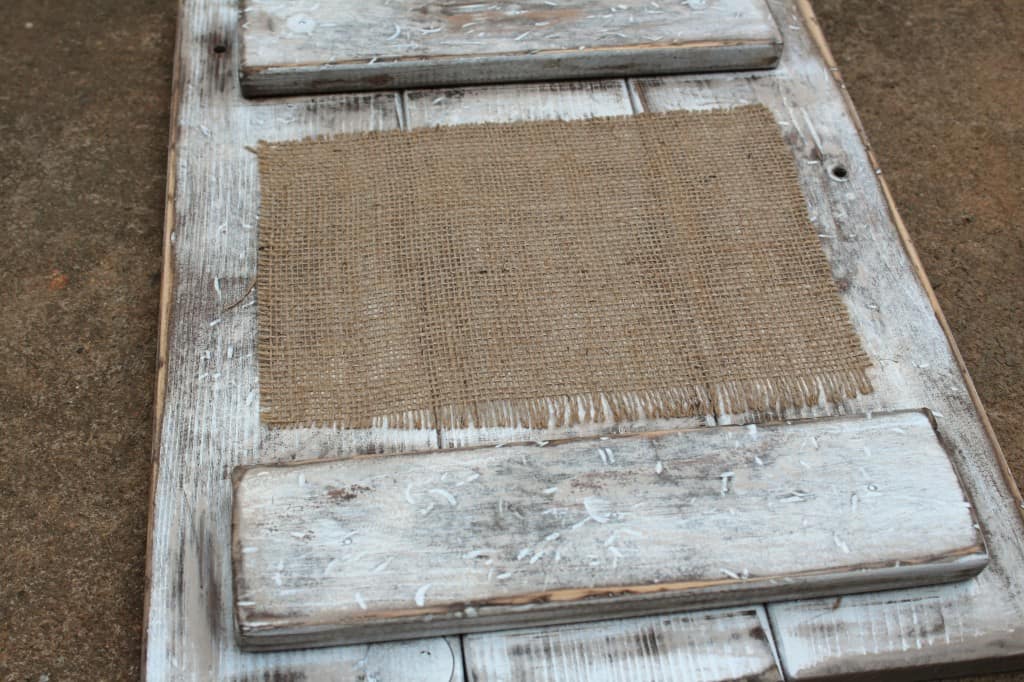
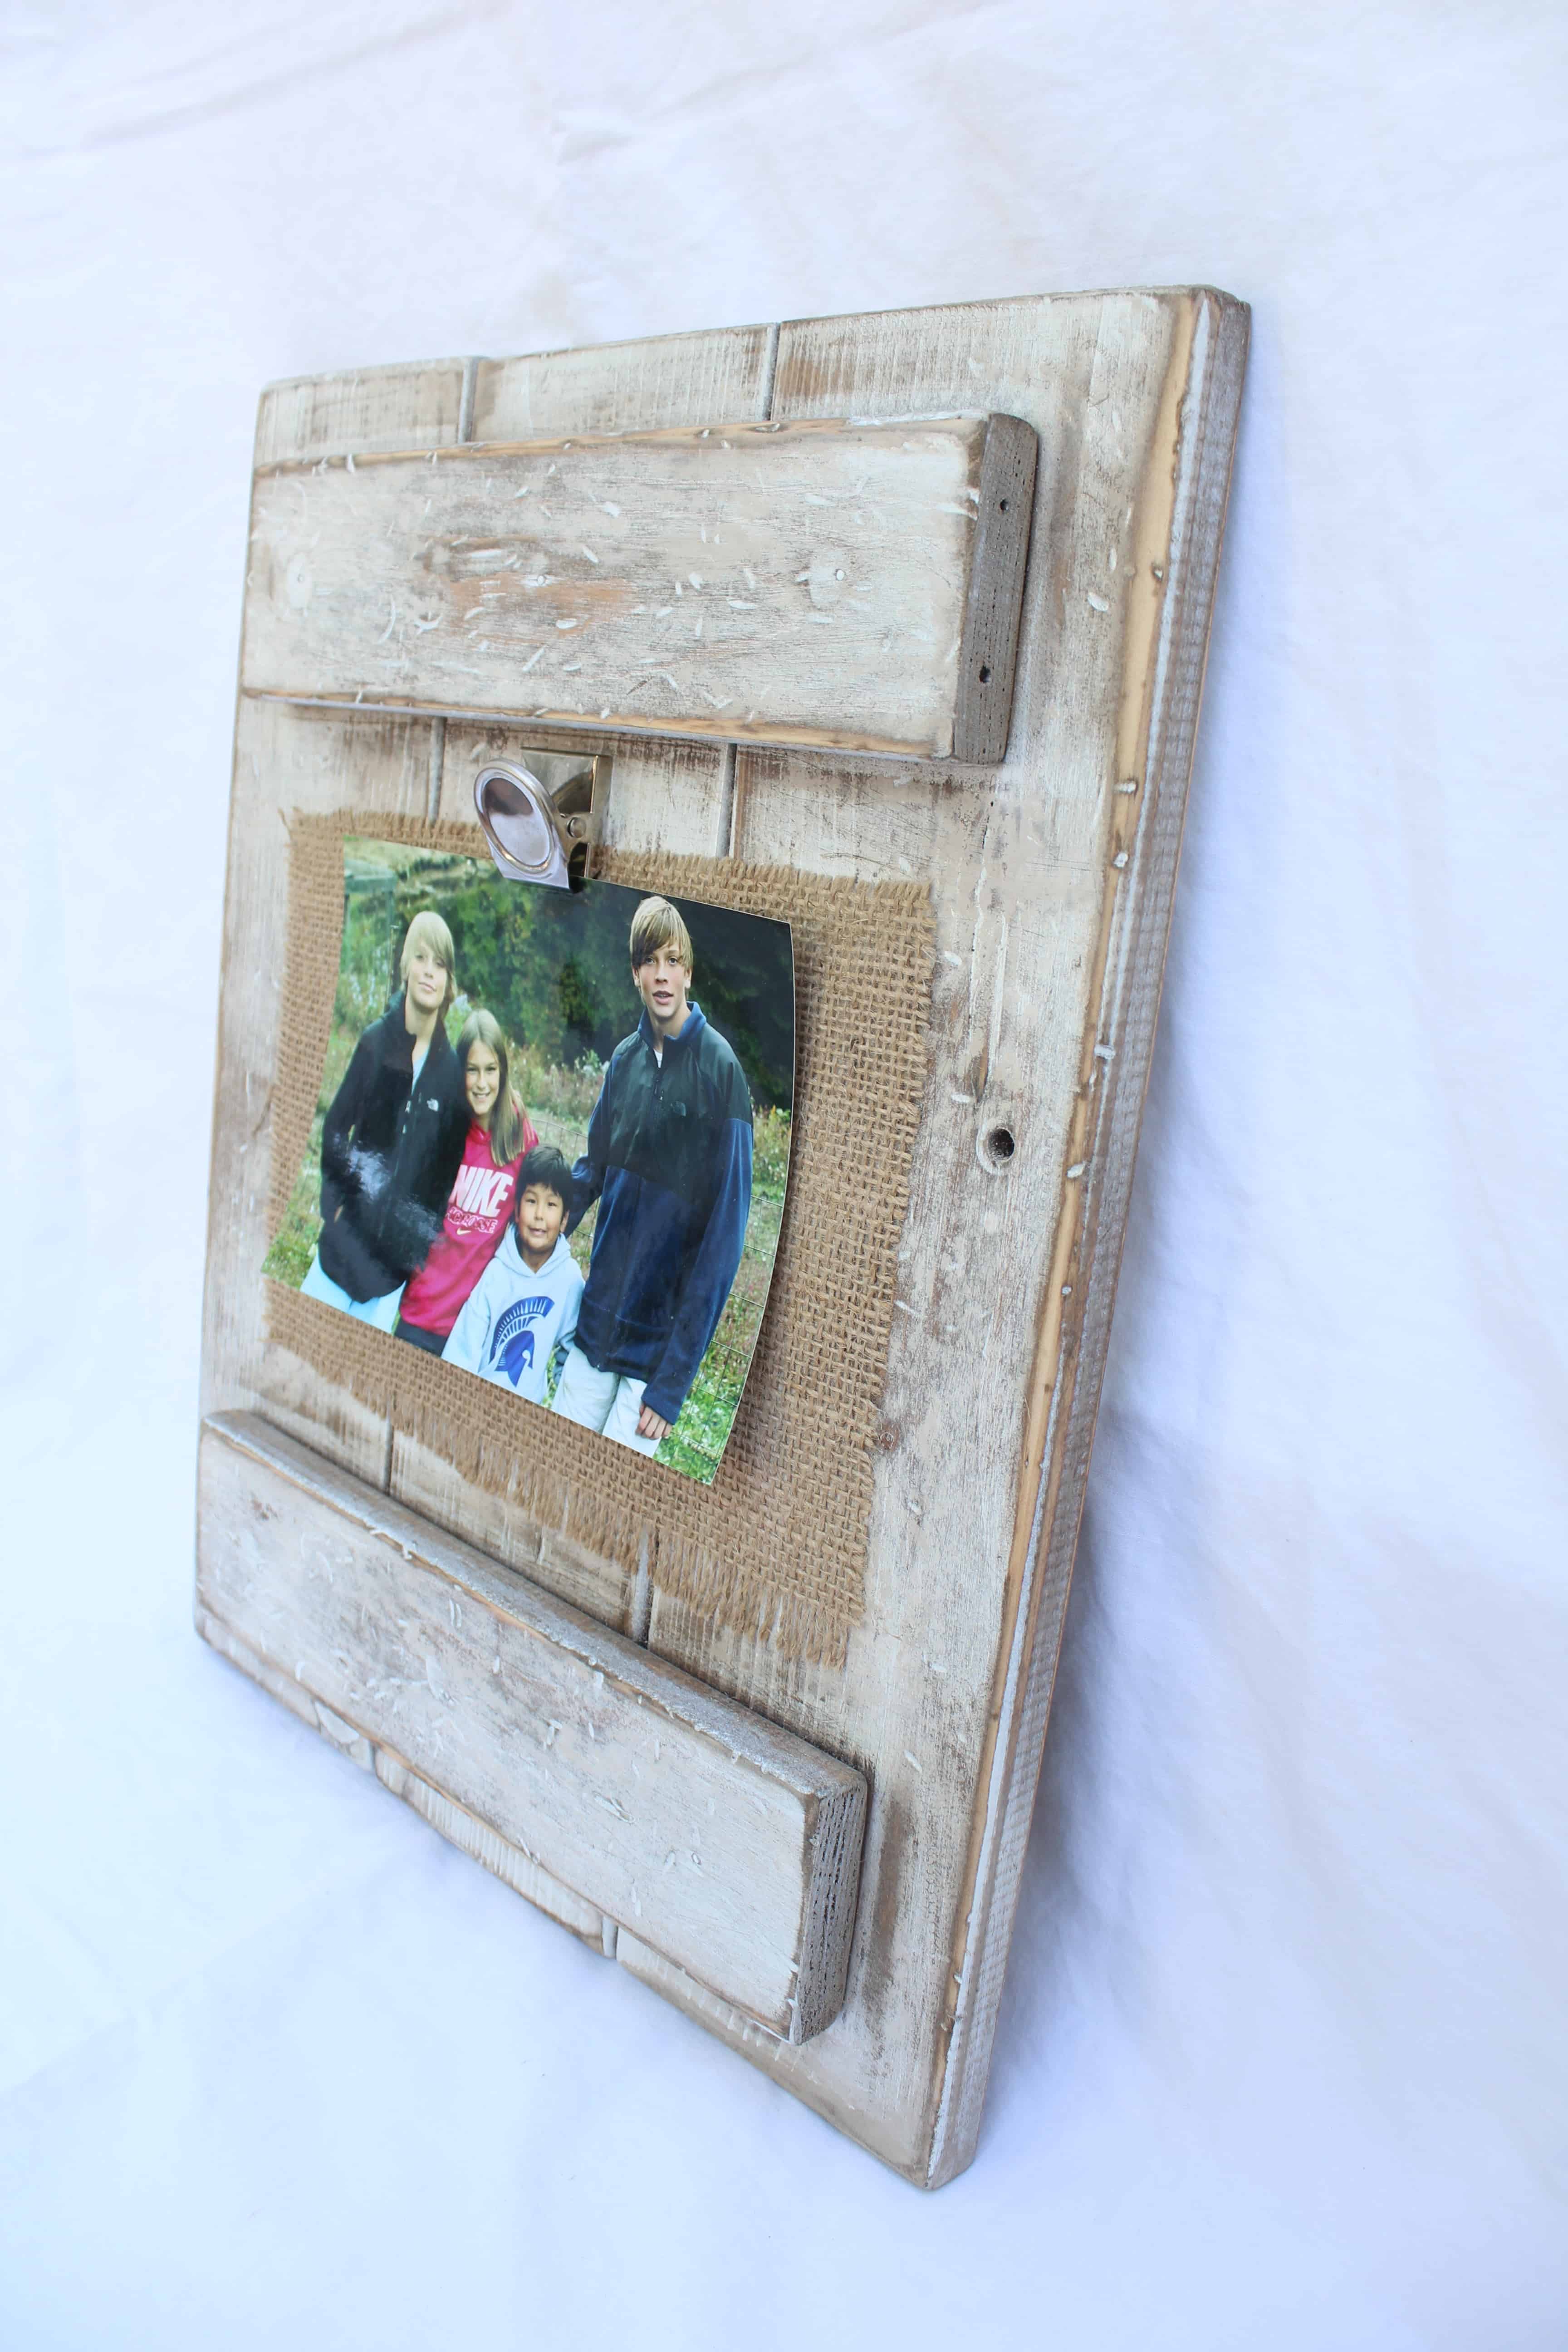
Since I wasn’t going to use tradition glass or a matte I wanted to give it some texture. I grabbed a roll of burlap I had and used spray adhesive to attach it to the frame.

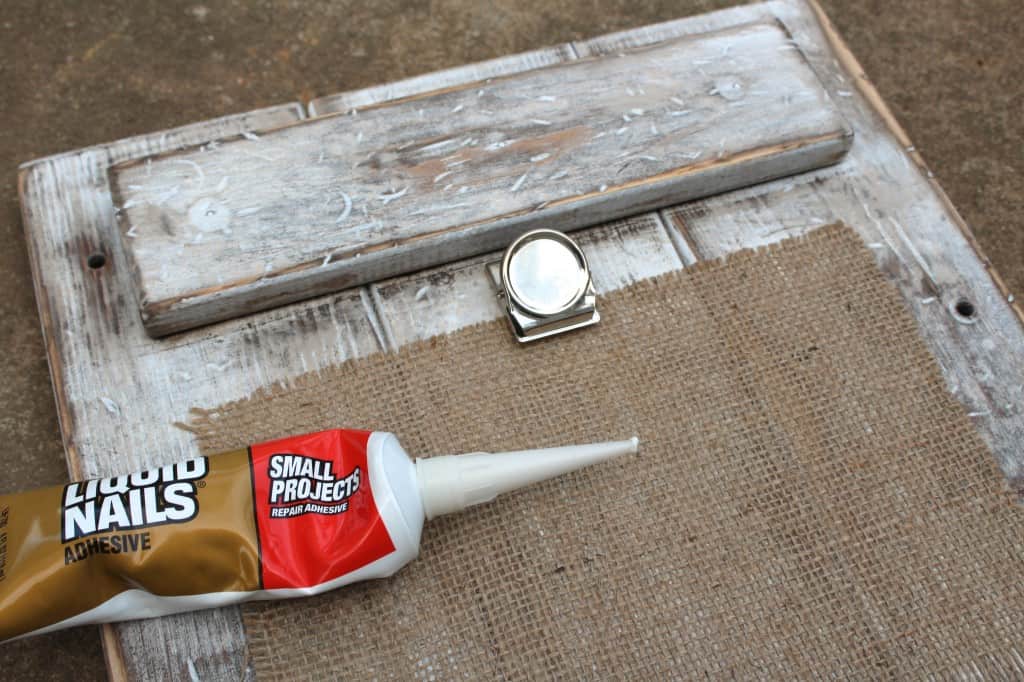
I found these metal clips that we had on our refrigerator and used them to hold the picture.
We used Liquid Nails to glue it down and placed the book on top of it until it was dry.

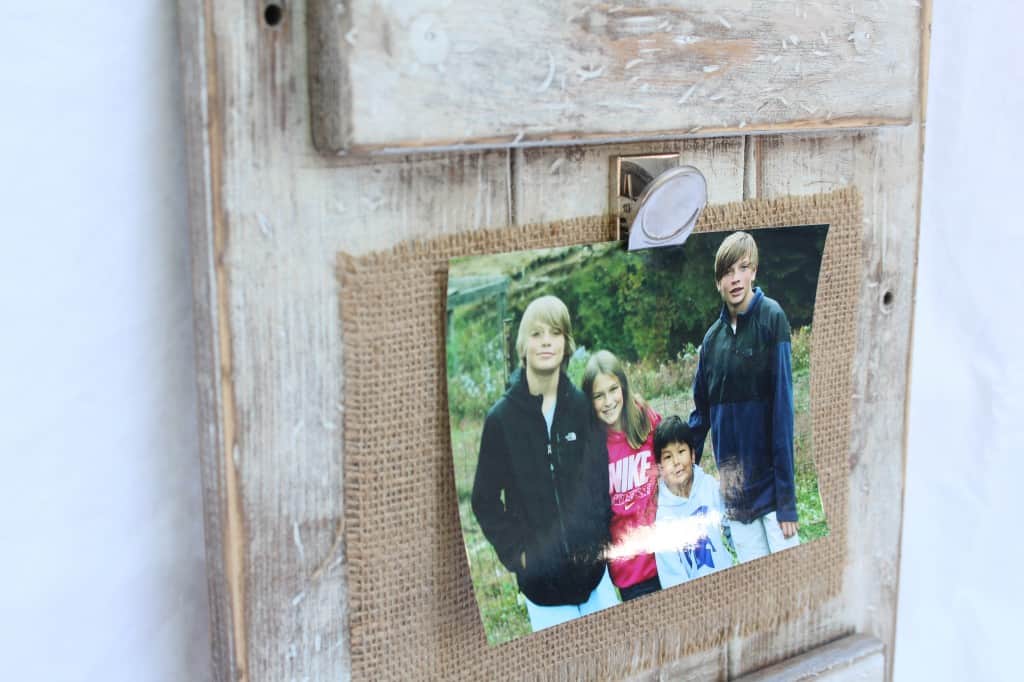
Then we just clipped the photo on.


We used a plain picture hanger and nailed them to the back frame. It’s worked fine so far but I would probably use more heavy duty hanging hardware next time or 3M picture hanging strips in the appropriate weight.

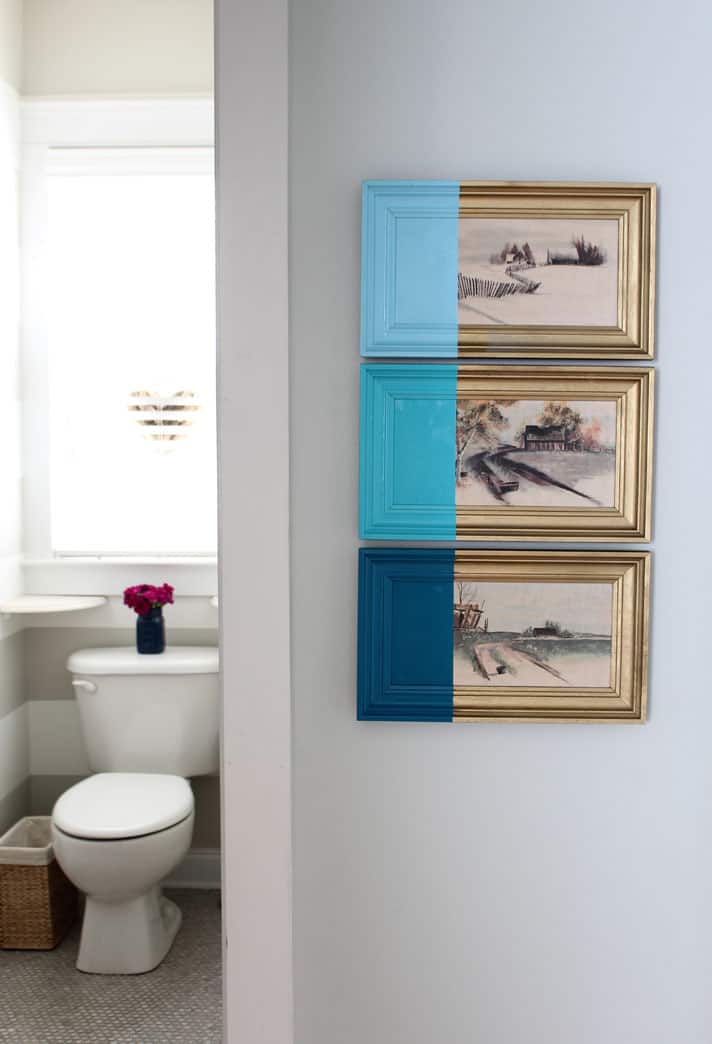
They are so fun and easy I’ve made several others since as gifts. I painted a chevron pattern on this one and used mini clothes hangers to hold the pictures.

This one I used chevron burlap.

One on of the frames I made the picture started curling so next time I’m probably going to back the photos with construction paper or cardboard so it’s weighted down and doesn’t curl.
I like that the photos aren’t behind glass so you can change them out often!
I hope you enjoyed this and you can totally do it!
Have a great weekend and Happy Mother’s Day to all the mommies!!!

This is the best looking distressing I have ever seen. Looks so good
Thanks so much Julia! It really was pretty easy!