From Boring to Snazzy: Bulletin Board Transformation
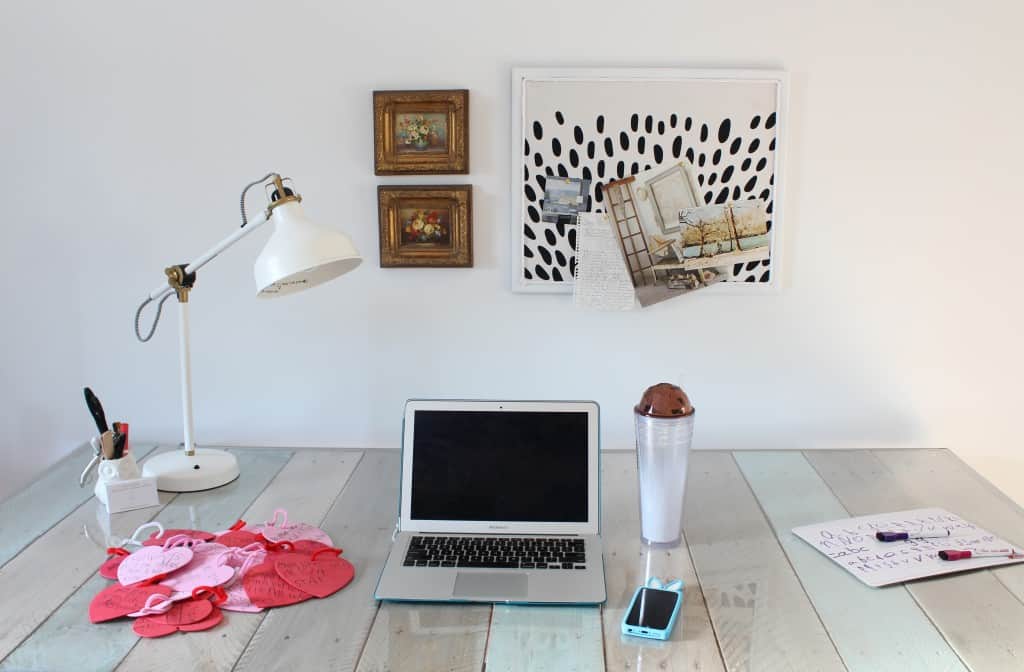
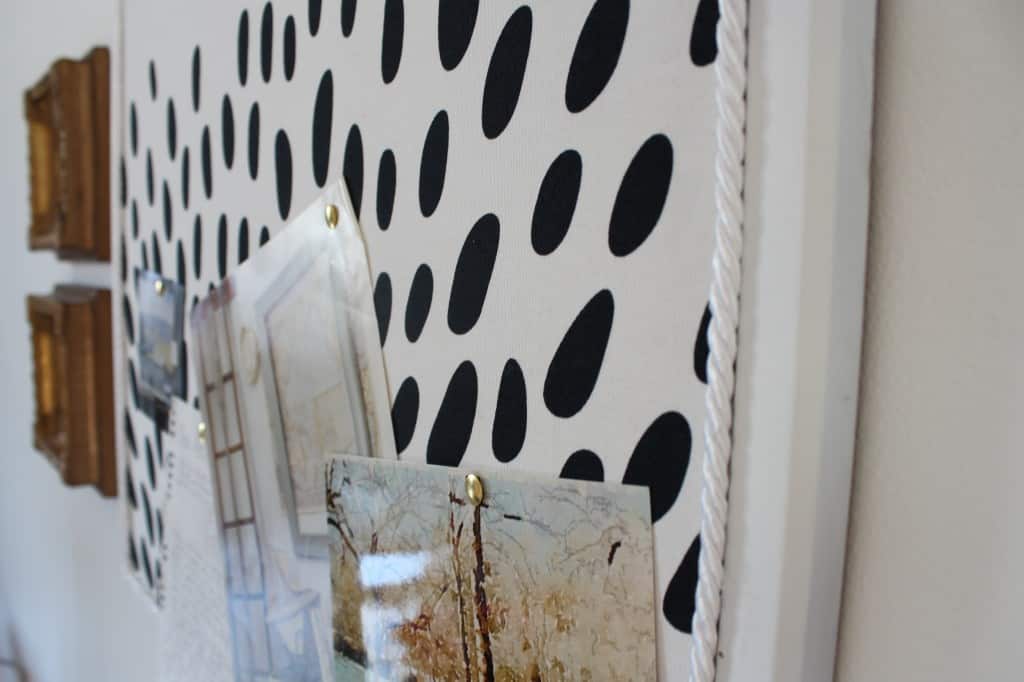
Okay, guys, this DIY is so easy that you are all going to want to do it for your office or your kids space! Okay, maybe not all of you but I promise it is such a fun way to add style with pattern and color to a simple bulletin board.
The options are as endless.
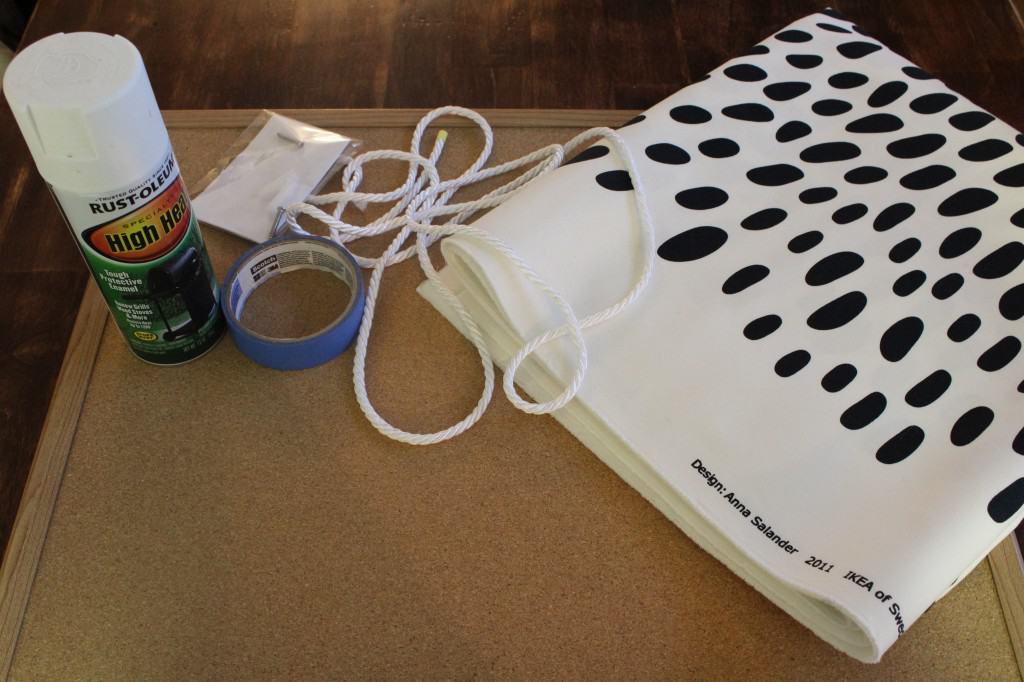
You will need a bulletin board (I bought this board from Target), fabric, cord or piping, spray adhesive, a hot glue gun, scissors and a pencil. In case you didn’t know, spray adhesive and hot glue are my best friends right now!
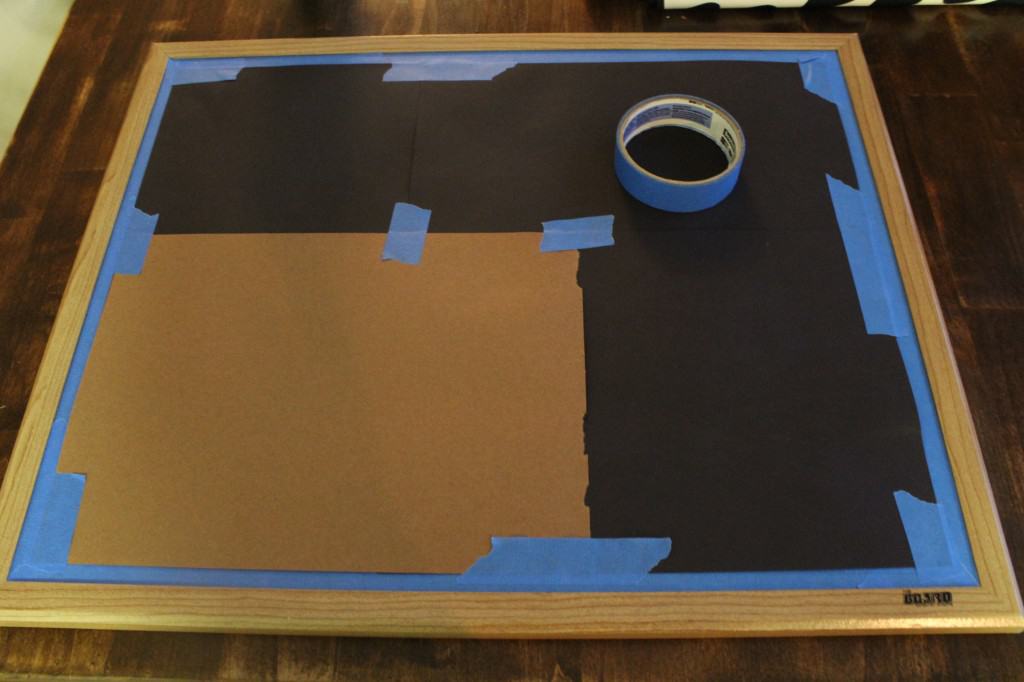
Also, if you are going to paint the frame you will need spray paint, painters tape and something to cover the cork. I used construction paper from my son’s art supplies.
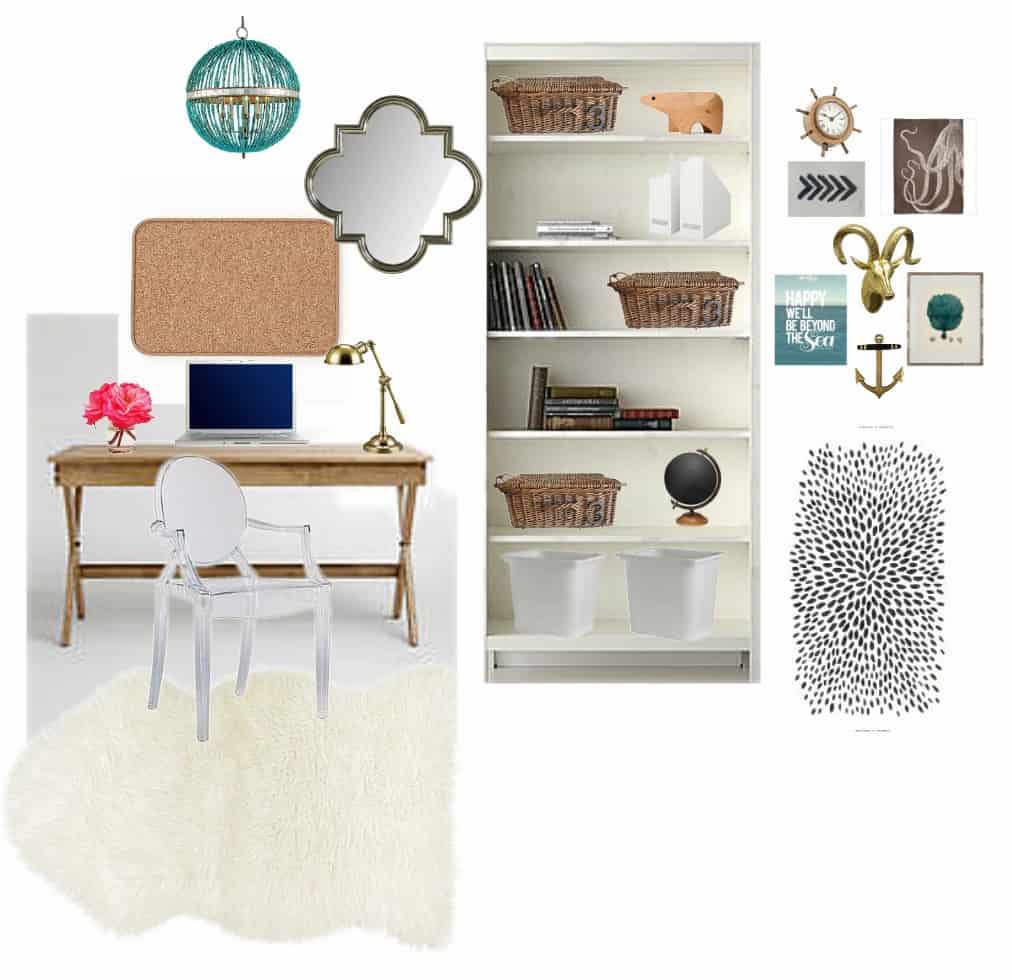
I have to tell you that I love, love, love, this fabric from Ikea. It is $7.99 per yard (yay!) and I have been waiting for an opportunity to use it. Since I am going for a bright and modern look in our new office/studio space I thought it would be perfect. Once I saw how Julia from Cuckoo 4 Design used it on her kitchen window valance I was definitely sold!
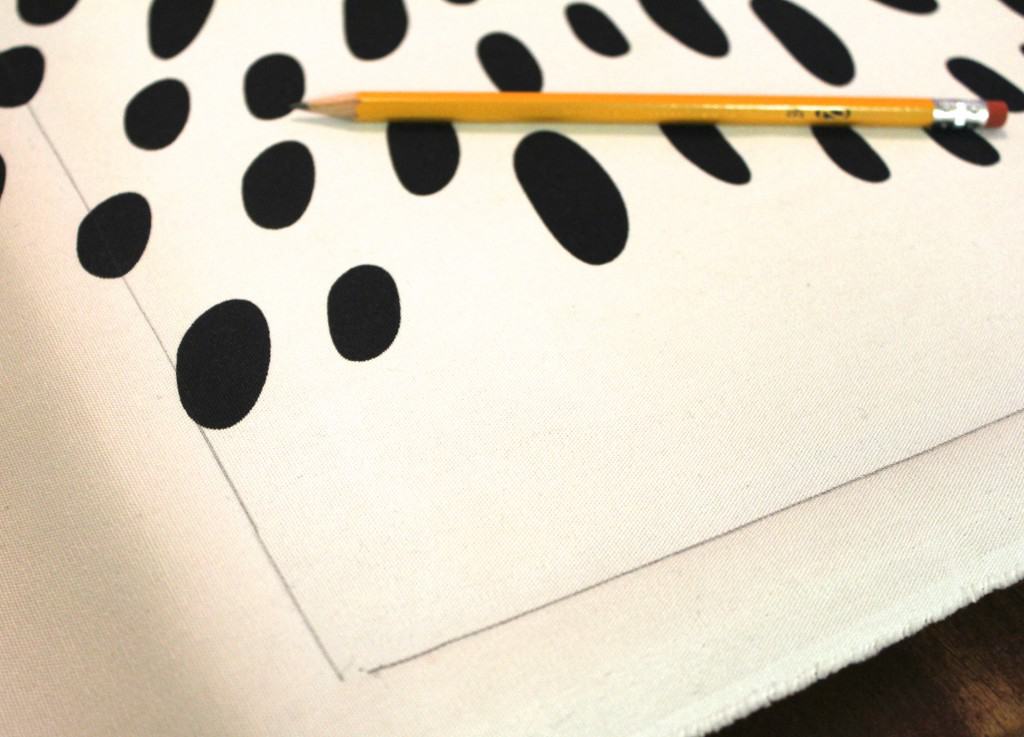
First I placed my fabric on the bulletin board and traced very close to the inside of the frame with my pencil. Then I cut the fabric to size. I wanted it to be as close to the frame as possible but I knew I had a little wiggle room because I would be adding the cord around the edge.
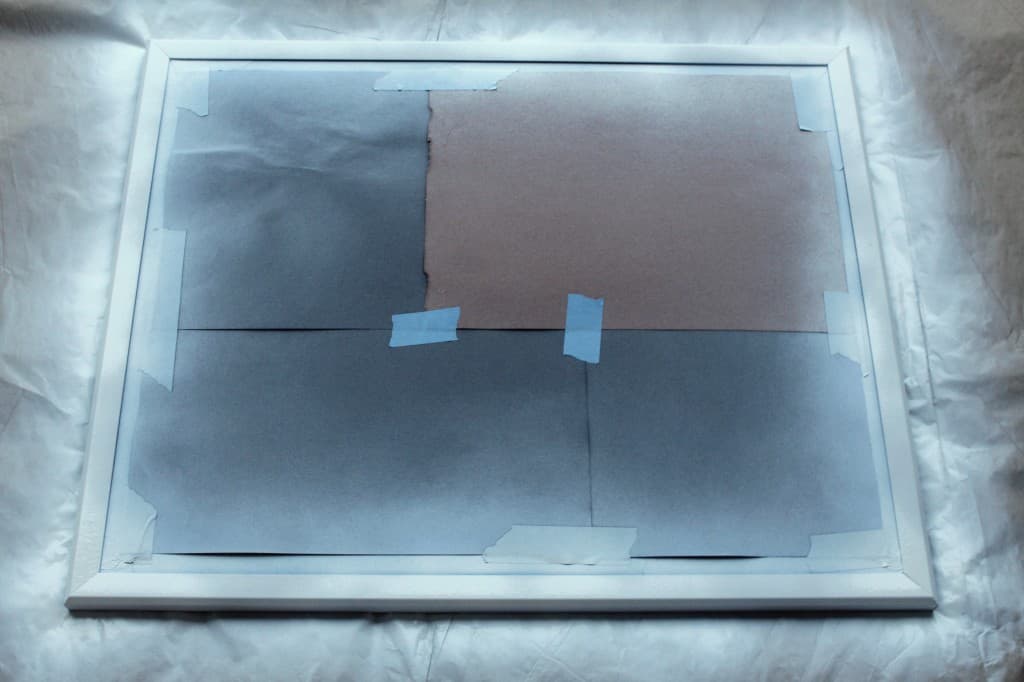
Then I taped off and covered the cork part of my board and spray painted it with white paint. I have been using the white heat resistant paint that I had left over from painting my chiminea and I found that I really like the way it sticks.
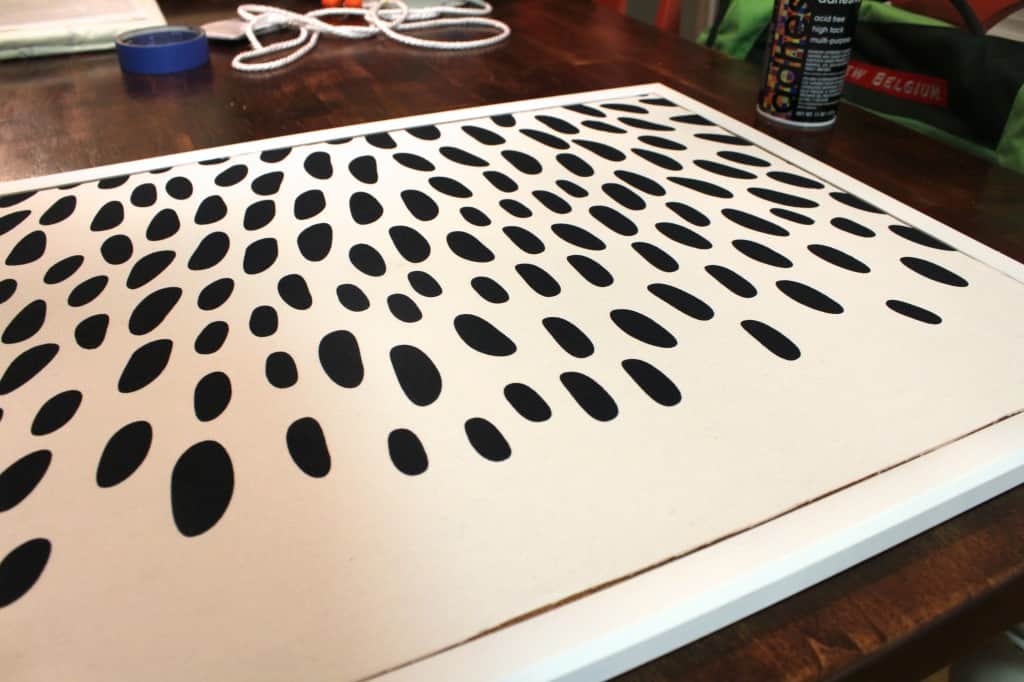
Once the paint was dry I lightly sprayed the back of the fabric with the spray adhesive and stuck it to the board. Make sure not to spray it too hard so you don’t get wet spots that bleed through to the front side of your fabric although I did it once and it did seem to dry normal. Don’t worry if the spray adhesive doesn’t stick real good because you will be glueing the cord down which will reinforce it.
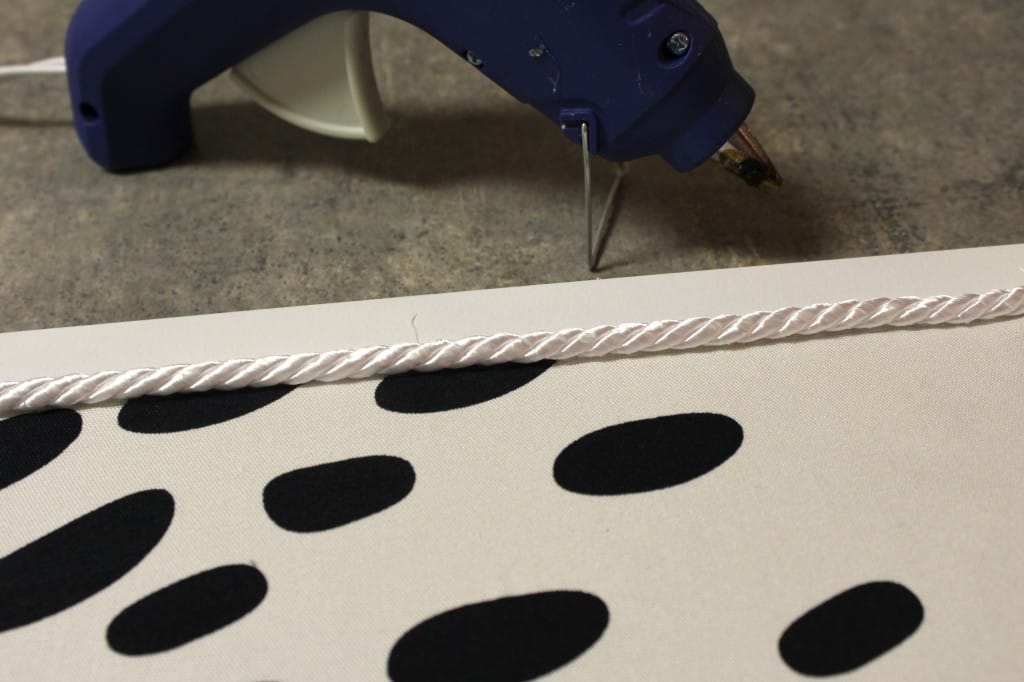
To finish if off I used my hot glue gun to glue the cord around the inside edge of the frame to cover the gap from the fabric to the frame and give the board a finished look.
So what do you think? I was going to buy a bulletin board for my office anyway so all in for the update was $7.99 (1 yard) for the fabric and $3.98 (2 yards) for the cord from our local fabric store. I only needed one yard of the fabric and really only one yard for the cord but I bought two yards just in case I goofed up!
If you didn’t want to spend any $$ you could shop your house for an old shower curtain, a cool sheet or you could even create a patchwork pattern with your pile of old clothes headed to Goodwill.
Stay tuned because you may see this fabric pop up again in the office :)
Linking up my project with The Blissful Bee for Work It Wednesday’s and with Delineate Your Dwelling for Link It or Lump It! Stop over and check out all the amazingly creative projects!!!
Linking up with I Heart Naptime for Link Party Palooza!



I see a lot of interesting posts here. Your site can go viral
easily, you need some initial traffic only. How to get initial traffic?
Search for: masitsu’s viral method
The fabric is GORGEOUS! I love your new board!
Thanks so much Heather! I love this fabric too…and the cost :)
Stopping by from Work it Wednesday! Love Love love your bulletin board!!
That fabric is absolutely fabulous!
Following on Pinterest :)
I love the fabric you chose! Black and white spots are so hot right now!
Thanks Gabbi! I love the spots too, a little more casual than dots :)
Your bulletin board turned out perfectly! And who doesn’t love a quick and easy DIY. Please stop by and share at our link party going on right now.
http://www.delineateyourdwelling.com/2014/02/link-it-or-lump-it-party-number-twenty.html
My favorite fabric! Looks awesome on your bulletin board. Love
Love it!
Thanks so much Michelle! So glad you are here :)