No Sew Bench Cushions for under $65
Good morning guys! How are you?
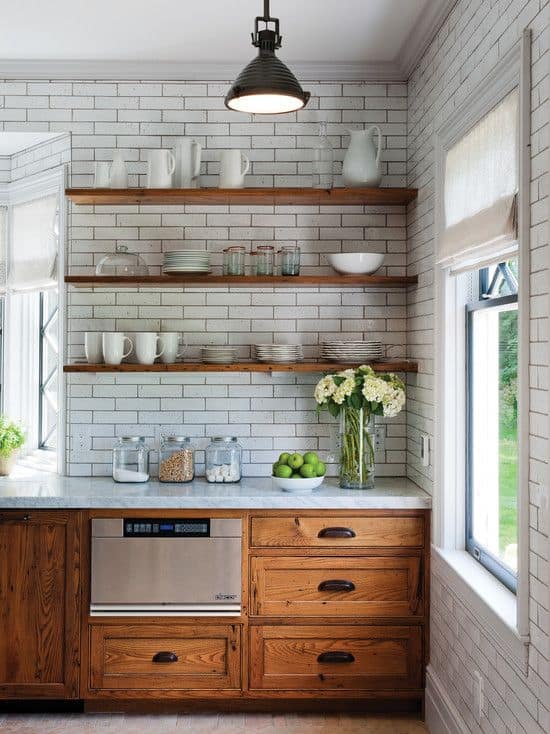
I feel like I’m posting about my dining room in the wrong order but I haven’t finished the banquette post yet so this will have to do. You can see the benches here but everything else is still going to change. I cannot wait for it to all come together!
Today I want to share how I made the bench cushions with no sewing involved and on a very tiny budget. Since I don’t sew I hope to one day either learn :) or have some cushions made but that just wasn’t in the budget yet. But I think this is perfect temporary solution!

TOOLS:
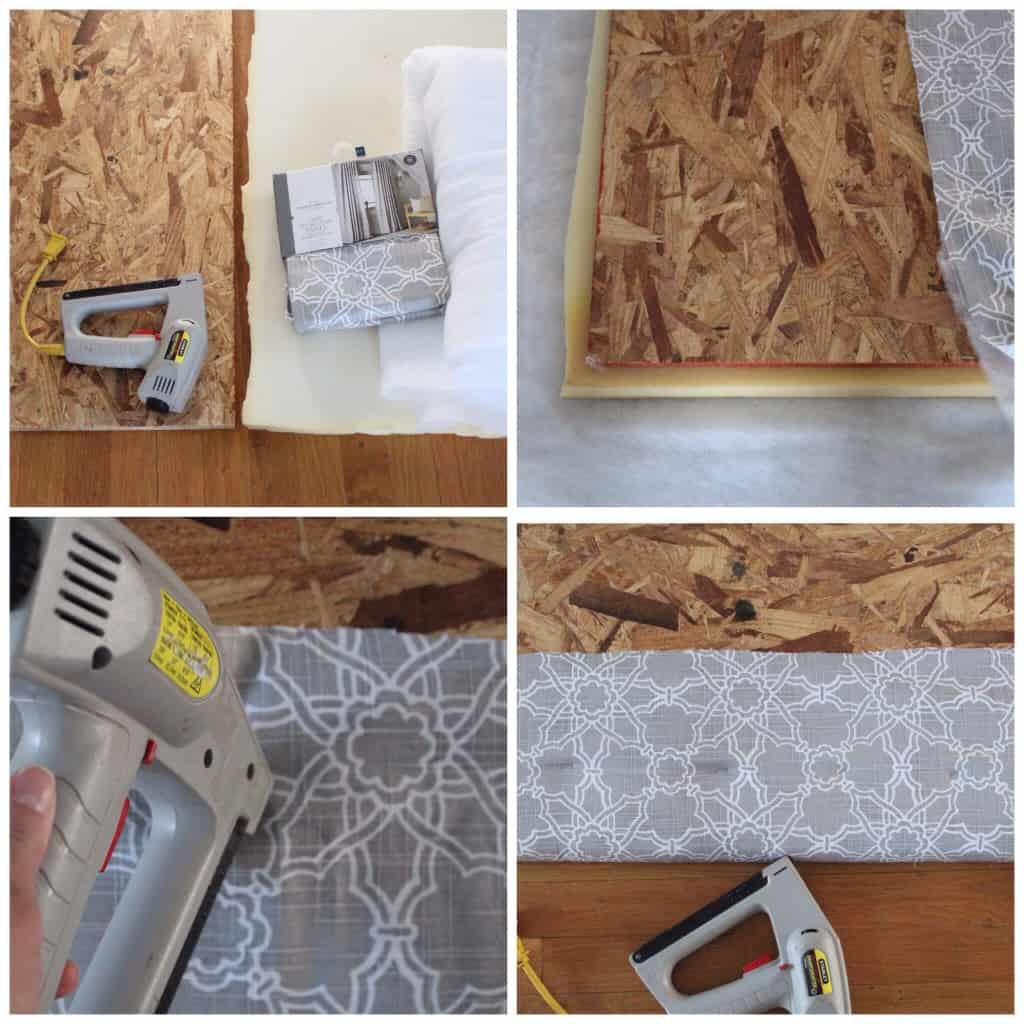
Plywood cut to size, $7.15
Foam (I used a memory foam mattress topper that I had), FREE
Batting, $10.49
Fabric (I used curtain panels from Target), $42.48 for two panels with 15% off using the cartwheel
Staples, $3.45
Stable gun
Scissors
The hard part about this project is that foam is pretty expensive and I didn’t want to invest too much money into this project. I searched my house as I always do and I had an ah ha moment when I realized I had a foam mattress topper laying around that we rarely use. I used the topper for my foam instead of purchasing new foam but you can find the foam online or at your local fabric and craft stores.
Home Depot also has a multipurpose foam product that I considered using although I heard it isn’t as dense as upholstery foam. You could double it up and it would probably be fine for a temporary solution. I wanted to double up my foam too but I didn’t have quite enough :(
First I measured the size of my benches and bought the plywood at Home Depot and had them cut it to size. I love that they cut it for free and my little man was excited to watch the saw in action.
Next I cut the batting and fabric to size leaving plenty of room to fold over the plywood and ironed out the wrinkles. I laid the plywood down, put the foam on top, then the batting then the fabric and flipped it over so the fabric was on the floor and the plywood was on top.
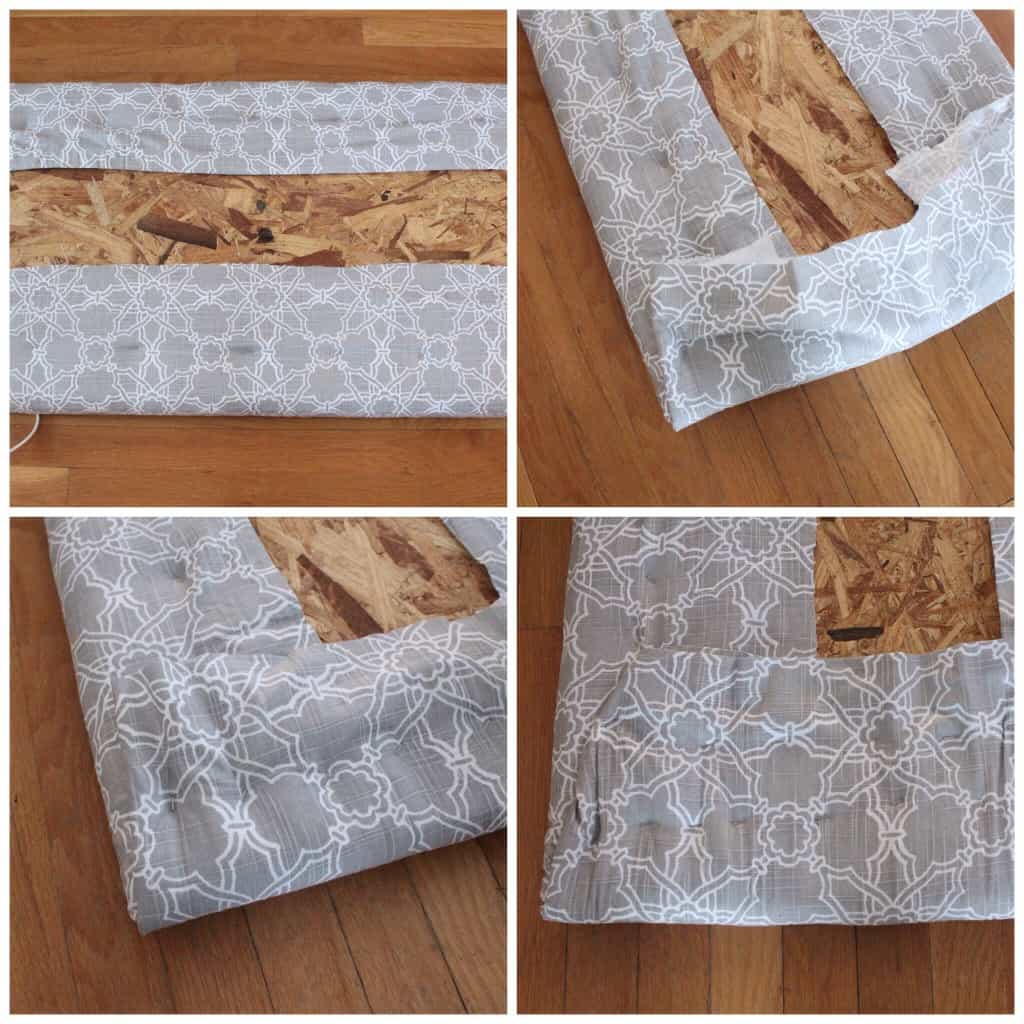
I folded the batting and fabric over one side of the board and stapled it all the way down the length of the board. Then I stapled the other side pulling the fabric tight as I when. Once the sides were stapled I folded the corners and ends up almost like a present. You just have to pull and move the fabric until you get the corners as smooth as possible but don’t worry it’s not hard. Then I went back around and added more staples just to make sure the fabric was secured.
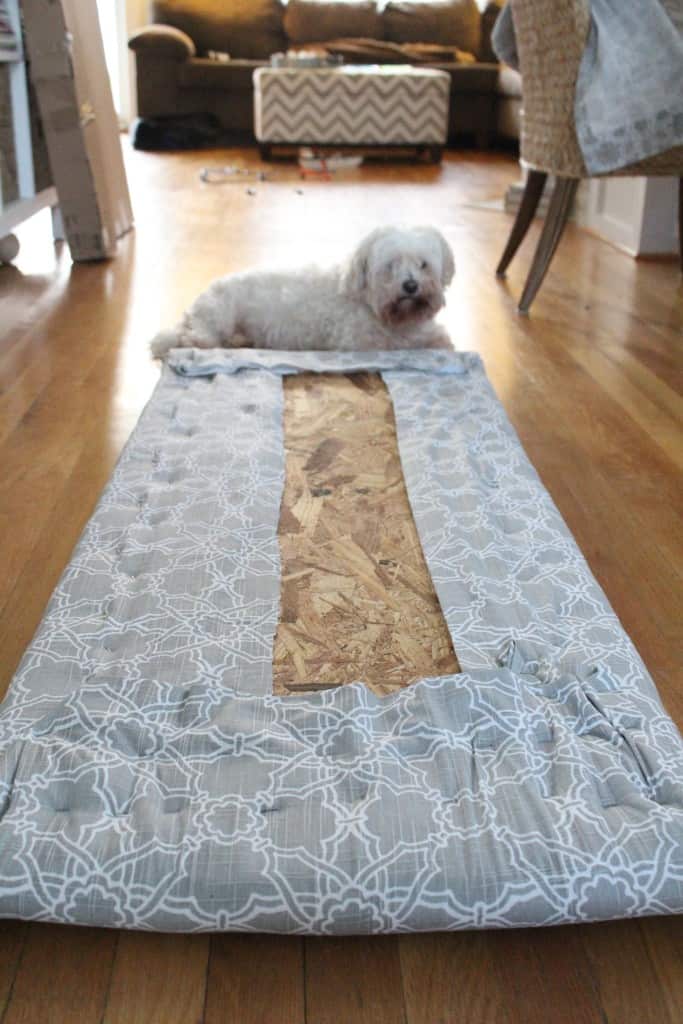
My furry photo bomber :)
And here is the finished product. They definitely aren’t as thick as I would like but I think they’ll do the job just fine for now and the best part is that I didn’t put a huge dent in my wallet!
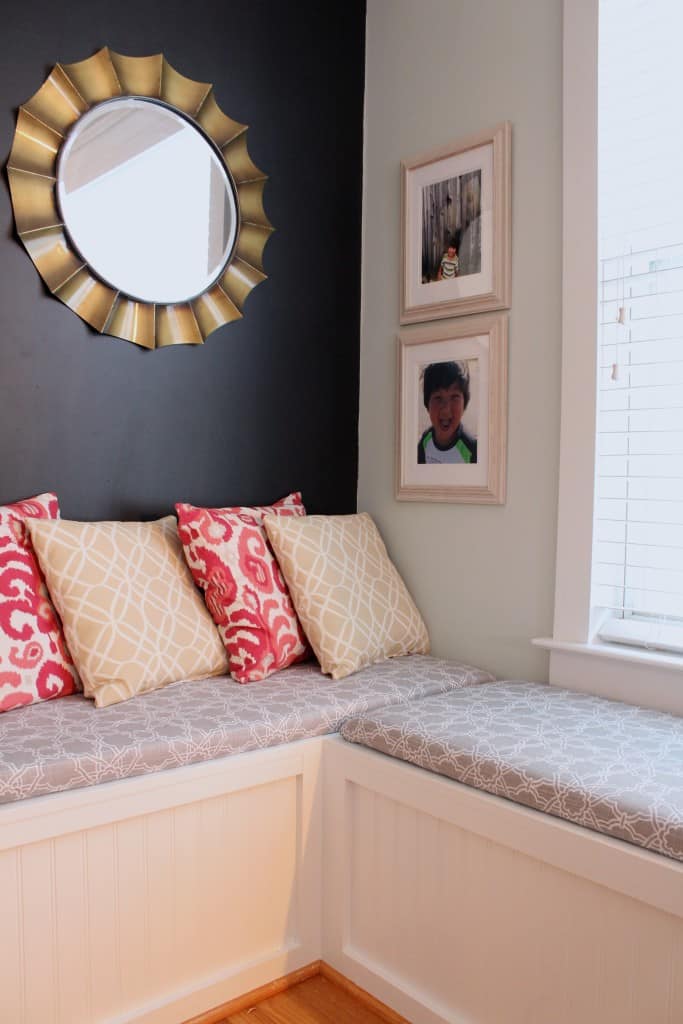
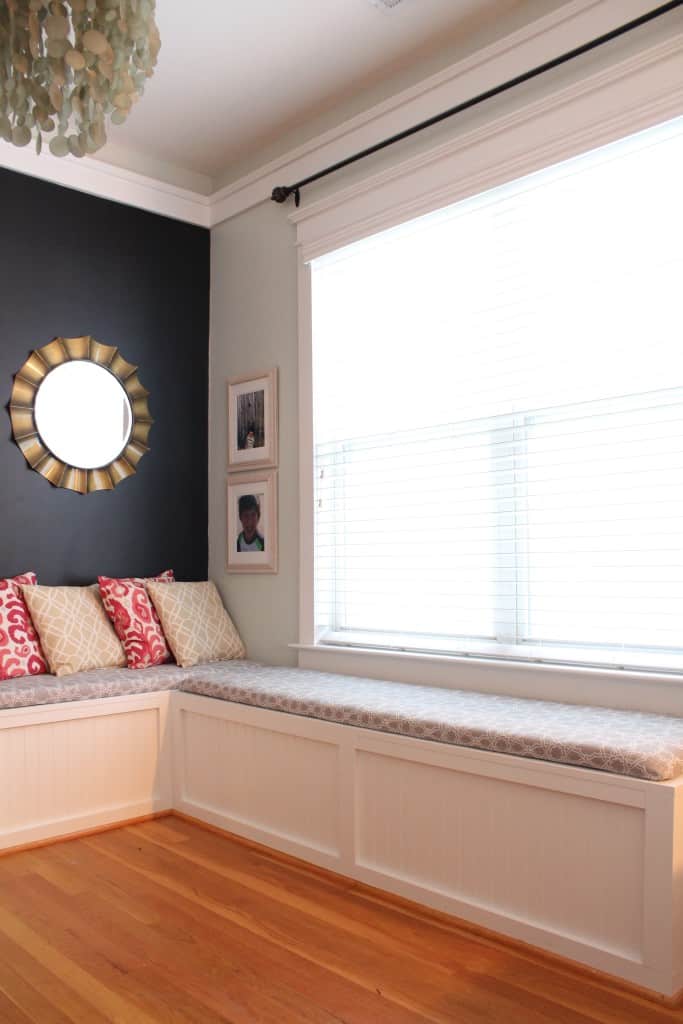
Don’t let the mix of pillows and colors and curtains confuse you – this is all changing. Focus on the bench cushions :) What do you think? Hopefully there will be a lot more progress next week and the space will start coming together.
I hope you have a great rest of your week friends!

LINKING UP: Remodelaholic //
FYI, the Pinterest photo states this link is a new sew cafe curtains. Which is not what you get in this post. Just thought you should know
Do the staples scratch the bench underneath? Also, does the cushion slide around at all? I wonder if there’s a way of attaching one of those non slip things you put under a rug that would also prevent the staples from scratching…?
Thanks for reading Lauren! The plywood makes the bench cushion pretty heavy so ours does not slide at all! I haven’t noticed the staples scratching but the top of our bench is pretty rough anyway and it wouldn’t bother me if it did. You could get some of those felt strips to cover them pretty easily I would think.
Really loved the designs up there you have made! Designs were very impressive!
Gosh, I wish I’d thought of that before I spent literally days and $$$ sewing cushion covers with piping and all – it would have saved me some gray hairs! Yours look amazing!
:) Thanks Crystal! I definitely don’t sew!
How simple! I have to admit I recently bought a sewing machine in an attempt to learn to sew, and I still am trying to find everything that avoids sewing:) It is definitely a learned skill so I am happy to see how I can add some character without sewing just yet.
Thanks Crystal!! I’m in the same boat. I borrowed my mom’s sewing machine too and it is still sitting in my laundry room :)
Another great DIY project that looks high end! I love a banquette and have always wanted one in my kitchen! The fabric is neutral and beautiful, which seems to be the new color scheme in your kitchen!
Thanks Sarah!
Looks so pretty! And no sew speaks to me in so many ways!
Me too Julia! Thanks!
I love these, no sense in having anything made when this is beautiful as is. Fabric, look is fantastic.
Aww, thanks so much Marianne!
What an easy and cute fix!! Looks adorable, Summer.
Thanks so much Heather!
I love a banquette! It’s coming along great :)I have been going back and forth on whether to add one into our eat-in kitchen for a year now. I am hoping that by the time we finish our bathroom I will know what direction to go. xo Kristin
Kristin it is definitely a must have for me now! My dad built mine to be used for storage too and it has changed my world! You should do it :)
Love simple projects with high impact! Y’all will enjoy so many meals and make so many memories in this corner!
Me too Amber! I know we will :) Hope you can join us for one!