No Sew Curtain Makeover & Dining Room Sneak Peek
Good morning friends! I have a fun and easy DIY for you today and little sneak peek of what’s been going on in the dining room.
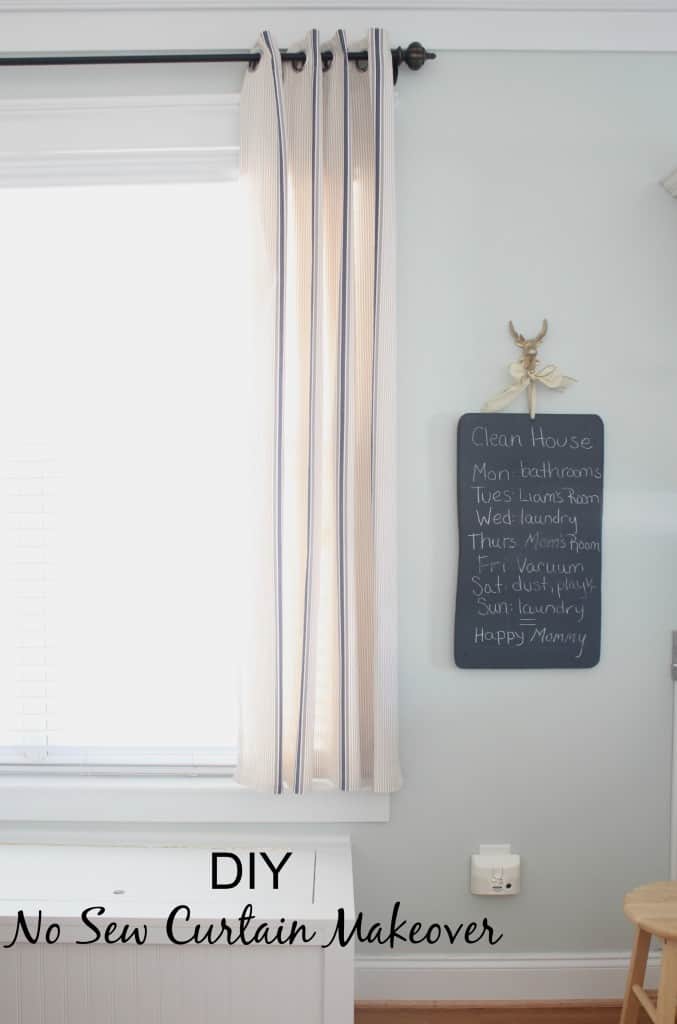
One of my all-time favorite and most popular DIY post is my no sew cafe curtains. I loved how they turned out and since I don’t sew I decided this would be the perfect way to makeover the existing curtains in the dining room
I’ve tacked on the dining room as part of my kitchen reno project which includes a new banquette seating area. The benches are actually finished but I’m still working on the post!
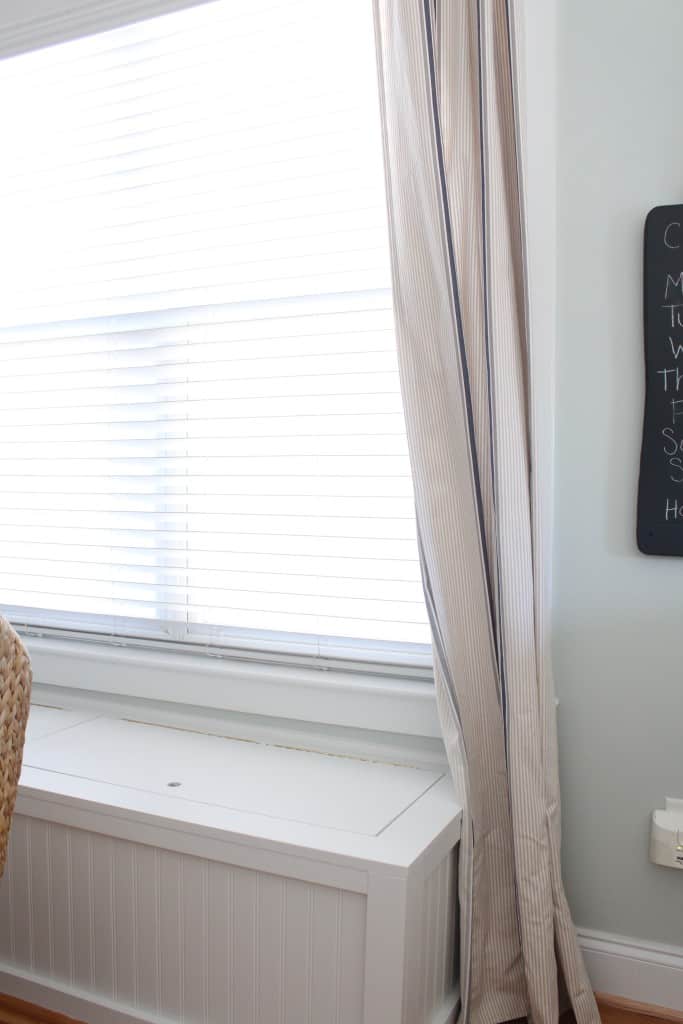
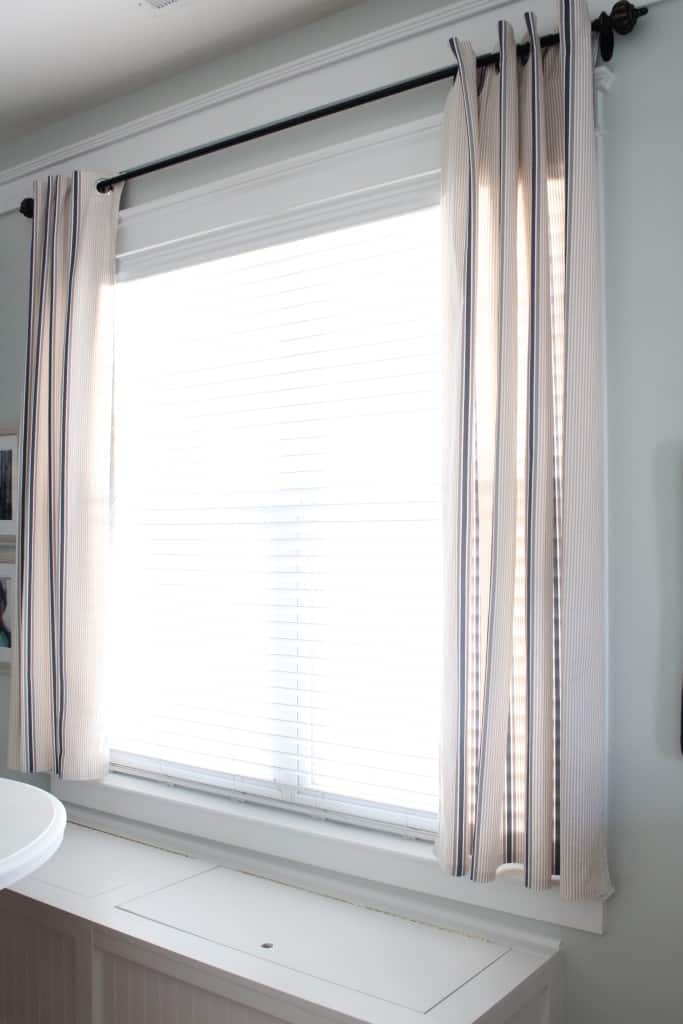
Since I don’t have a new window treatment for this large window in the budget I decided to use the existing curtains and cut and hem them to fit. I wasn’t sure how they were going to turn out, I thought the length might look odd, but I actually like them. The curtains make the space cozy and is a perfectly good (and free) solution for now.
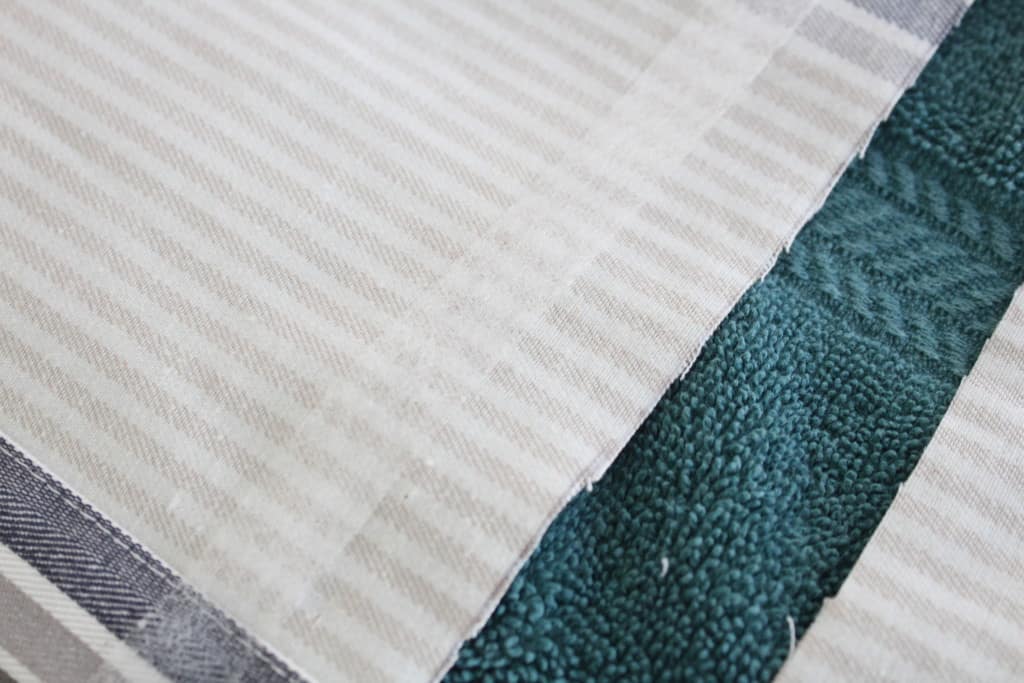
Here are the curtains before.
Tools:
1. Curtain panels (mine are from IKEA but I don’t see them on the website anymore)
3. Tape measure
4. Pencil
5. Scissors
6. Pins
7. Yard stick or long, straight edge
Instructions:
First measure and figure out the length you want and pin the curtains.
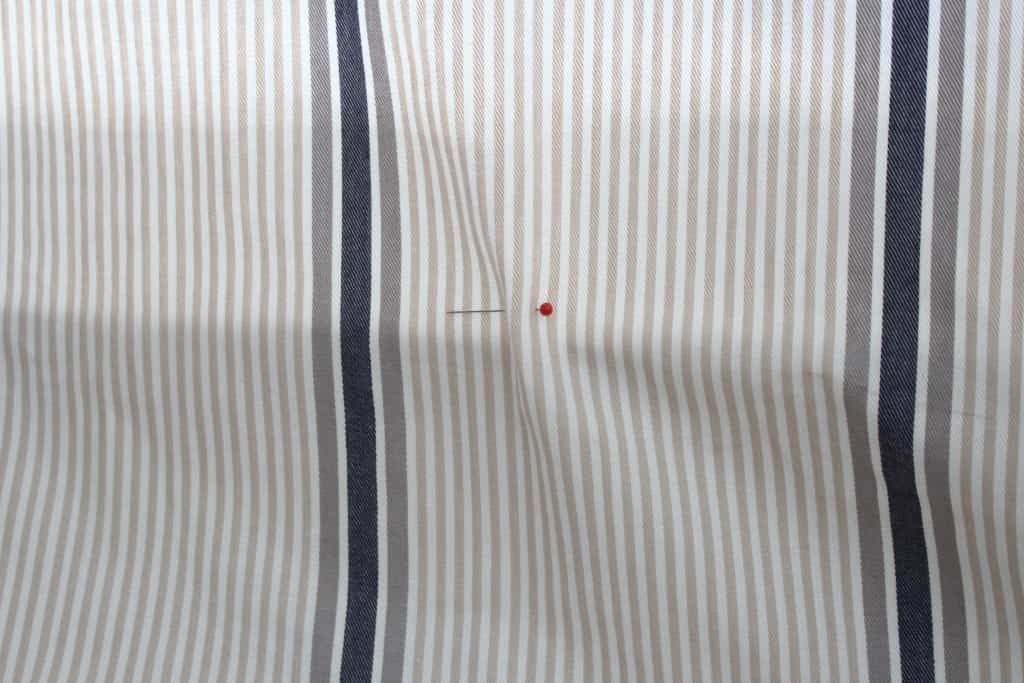
Draw your line about 1/2 an inch (or the width of your fusion tape) below where your pins are so you have room to fold the edge over the tape.
I measured where my mark was from the bottom of the curtains and made several marks across before drawing my line so I knew it would be straight and even.

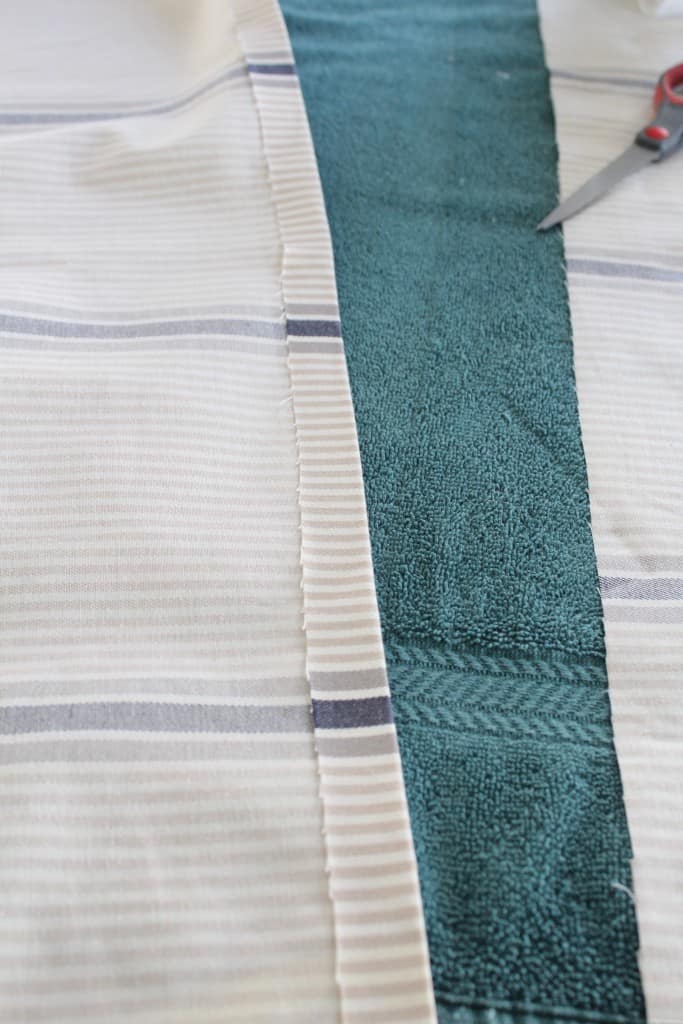
Cut the curtain panels along your line.
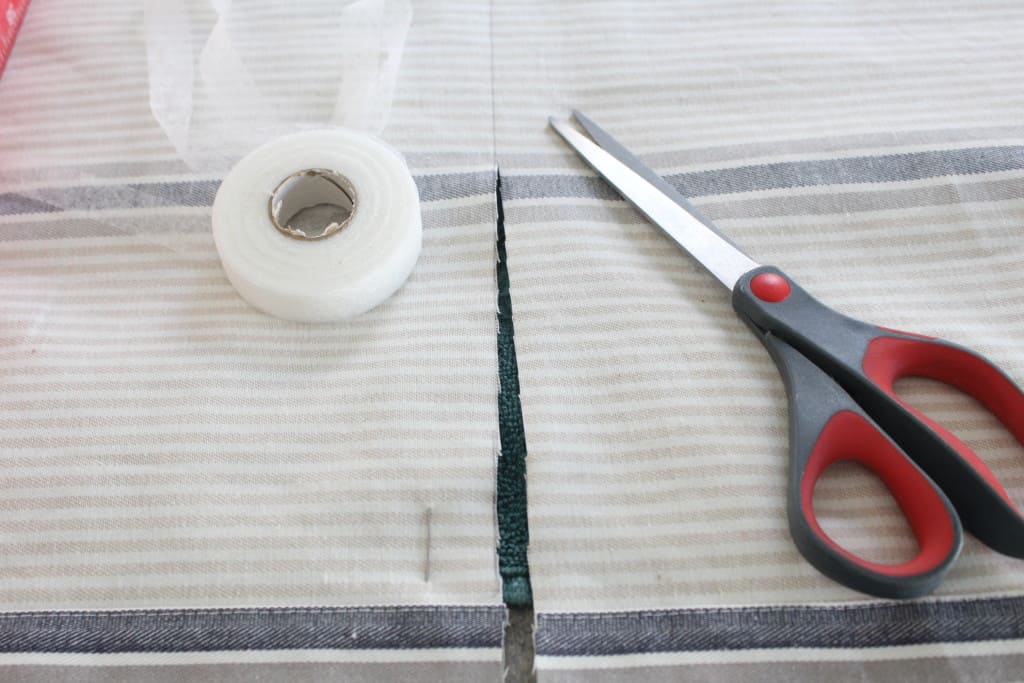
Place the fusion tape just above where you marked with your pins.
Remove the pins, fold the end of the fabric over the tape and iron.
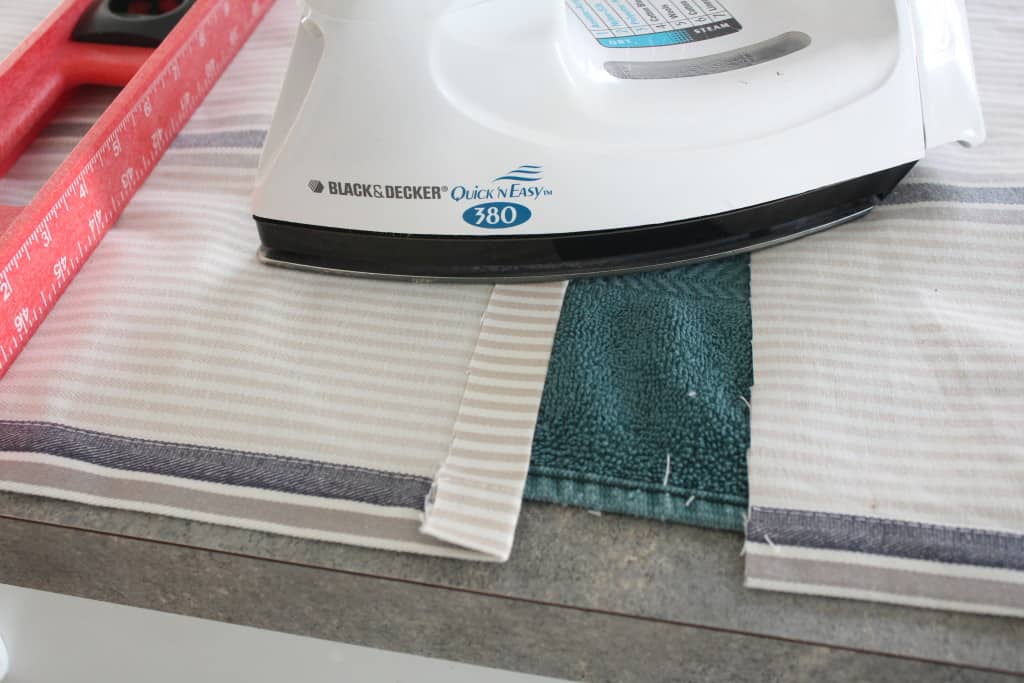
That’s it! If the corners don’t stay down at first I put an extra piece of tape under the hem and iron again. I’ve used this tape for several projects including my DIY Christmas table setting napkins and placemats and it works flawlessly. No need for a sewing machine over here!
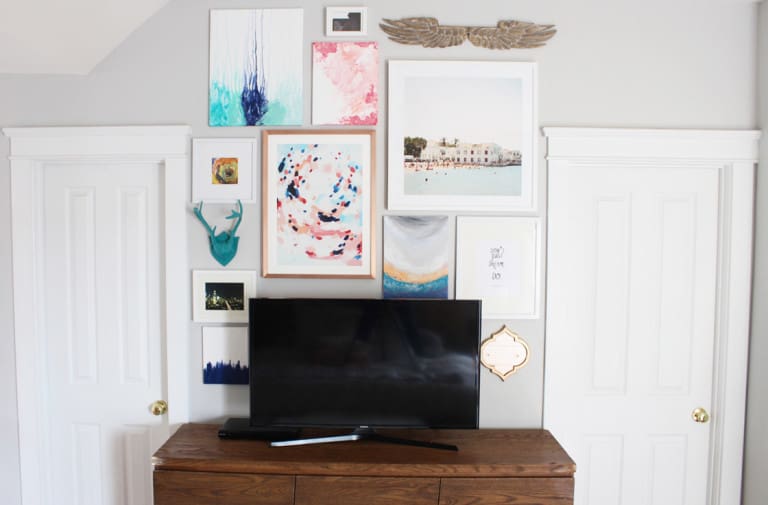
I wish I could give you a wider picture of the whole area but I don’t want to give away the benches yet and the space isn’t quite finished. But I’m so happy with the progress and grateful for a very handy Dad who helped me knock this project out in about a week!
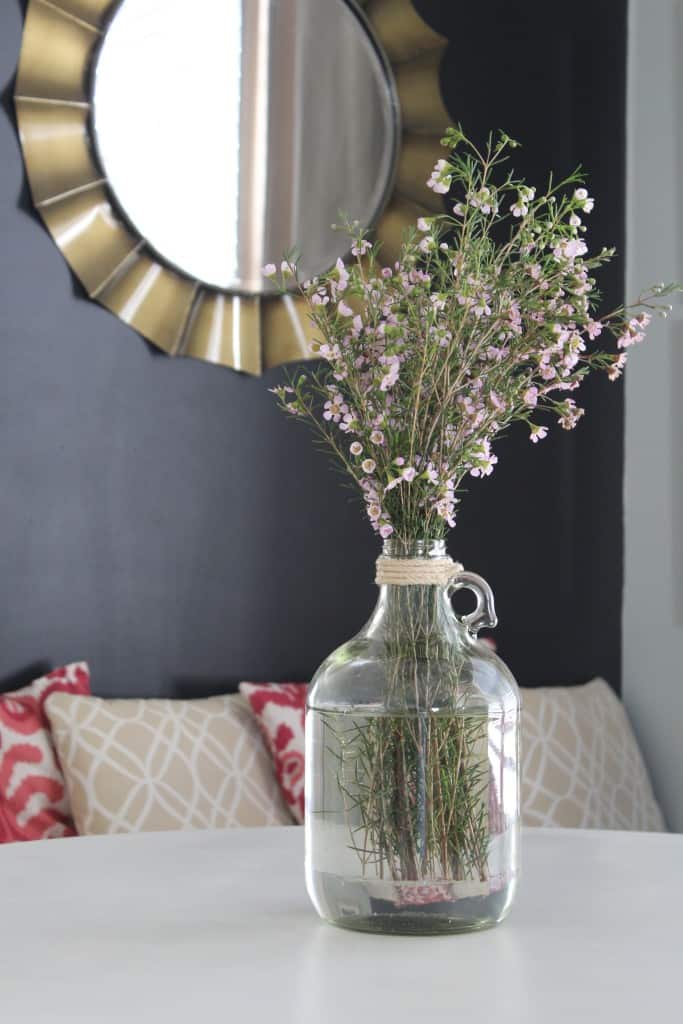
Here is a sneak peek of what’s to come…
This is such an easy project to tackle if you have existing curtains that need tweaking or to use on any fabric project. This tape would be great for a DIY fabric wall hanging.
Tune in tomorrow for a fun, local event announcement!
Cheers!

LINKING UP: Place Of My Taste // Life On Virginia Street // Chronicles of Home // Driven By Decor //

I couldn’t keep focused on your curtains, my imagination was all over the place envisioning your banquette! The curtains look great that length and what a quick and easy transformation! Thanks for sharing at Best of the Nest! Can’t wait for your reveal!
Thanks so much Pam! I can’t wait until it’s completely finished so I can share! It is really changing the look of the whole space!
They look great…even better that you didn’t have to sew!
Thanks so much Kathy! Totally agree :)
I can’t wait to see this! I’ve always loved banquette seating!
The curtains turned out great and I am such a big fan of fusion tape! I recently discovered it, um, where have you been all my life!?!? And the sneak peak…. delish!!! Thanks for sharing at the Pretty Preppy Party!
Thanks so much Heather!! Totally don’t know why I didn’t discover it sooner :)
Oh boy!! Loving the sneak peak!! That wall & pillows!!! Right up my ally!! :)
Thanks so much Lisa!
The sneak peak is such a tease! Can’t wait for the full reveal!
Thanks Claire!
I am obsessed with fusion tape- it is absolutely life-changing for people like me who are scared to even look at a sewing machine!! Is that bench new??!
Me too Beth and yes the benches are new! Trying to get a tutorial together :)
Fusion tape is my favorite. Super easy and looks great
Thanks Julia! Fusion tape is the best!!
They look great!! Only additional tip I learned in a tailoring class in college – is to fold over 1/2″ first and press….then fold again, hem up and press on with the fusible tape. This way, no raw edge that will unravel after laundering (if you’re going to wash them & not dry clean). Also, instructor taught us that the wider the hem – 3″” min…..the better the drapes/curtains will hang too. If you look at the pricey ones, or custom made ones – not that I own any, lol…..they always have a deep bottom hemline……
Thanks Debbi!!! You are so right, I wish I had made the hems larger! I really need to take a tailoring class :)
these are perfect! i am trying to decide what to do in our living room- we have two windows on either side of the fireplace with built ins below, then one huge picture window…. i want them all to coordinate and i just can’t decide!
Thanks Cassie! It is so tough to decide! I would love a beautiful bamboo roll-up shade but it’s not in the budget at the moment :(
Love your DIY hack! I’ve actually done this with a table cloth. I made two panels out of a large rectangle shaped table cloth only using stitch witchery. I used them in my closest so its a low traffic area and perfect solution to my need. Thank you for sharing! Your curtains look great.
Stitch witchery is my best friend Christine!! Thanks :)
Do the Ikea curtain panels come with those rivets for hanging? I don’t mind sewing curtains, but I’d like to do some with rivets like that. :)
Yes, Kris, the Ikea curtains already have the rivets!!! They are big and sturdy too and they come in long lengths!
The drapes look wonderful, great job and the sneak peak looks great too.
Thank you so much Marty! They are really growing on me :)