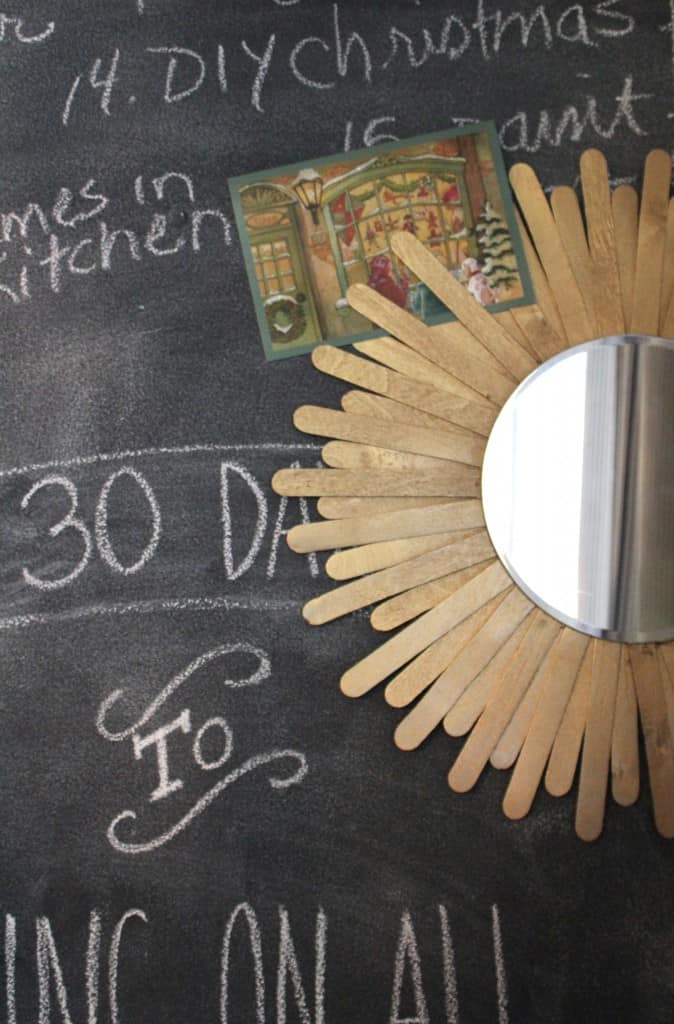
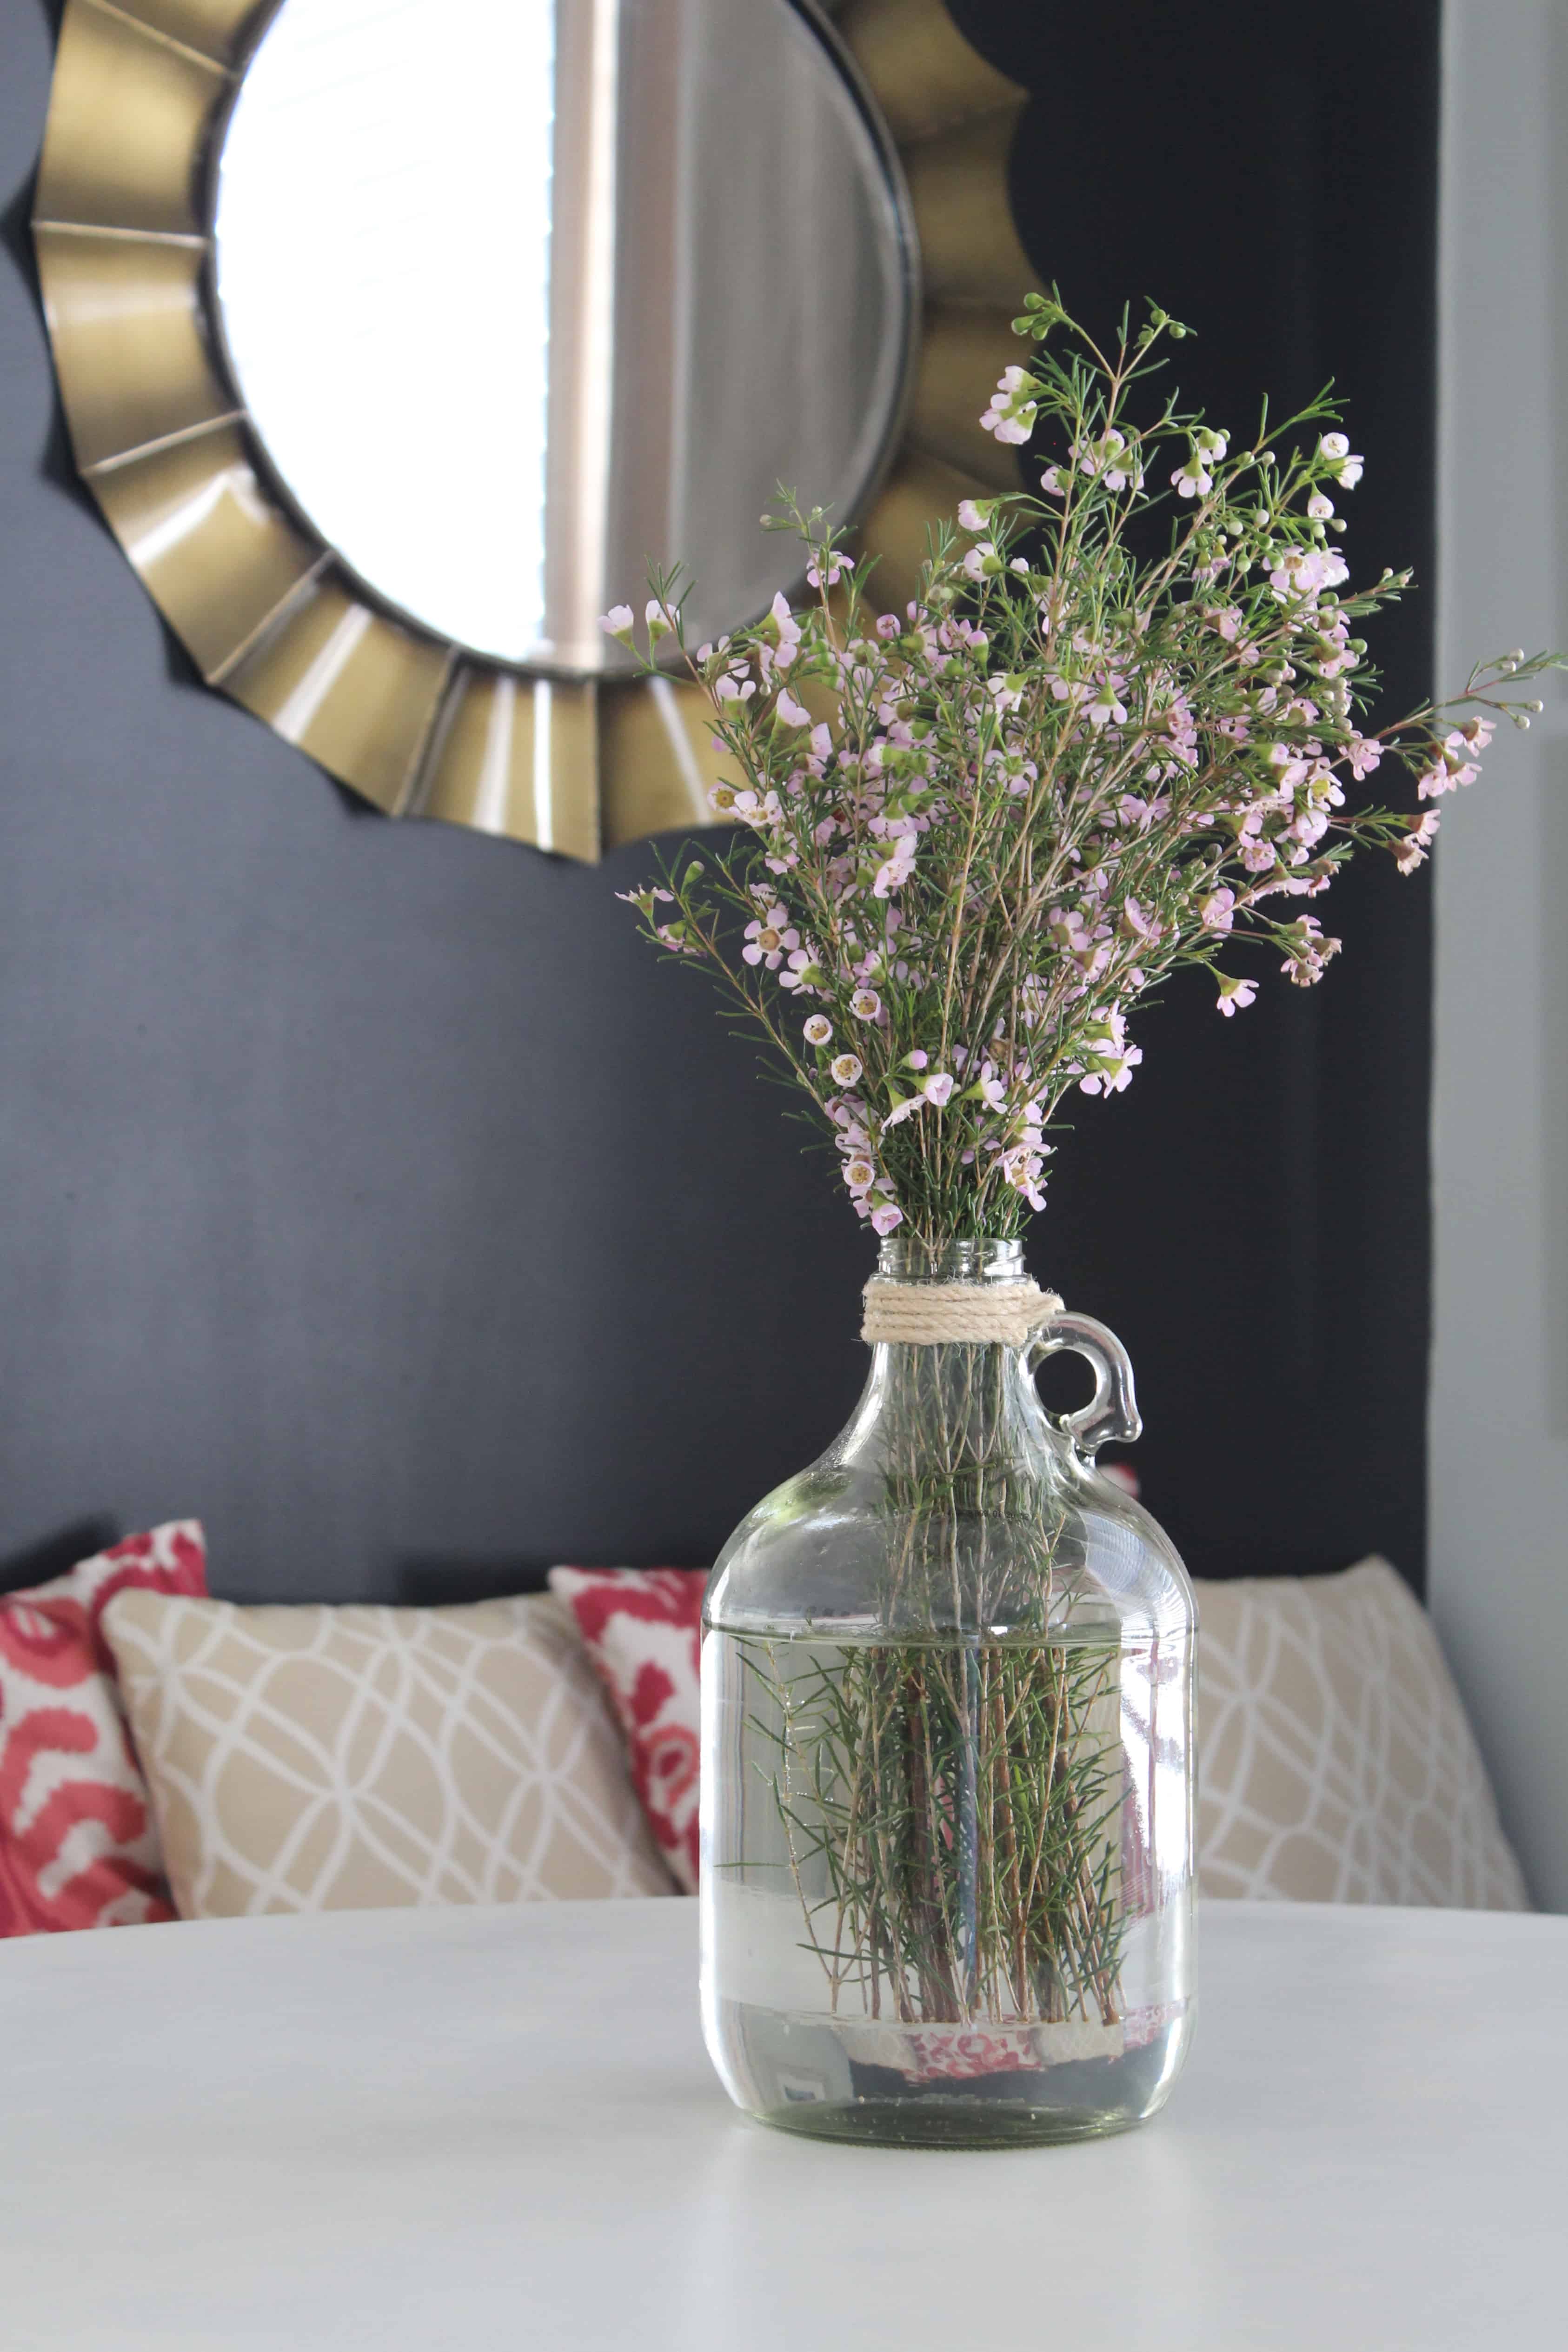
DIY Christmas Card Holder Sunburst Mirror
I hope you all had a great day and are getting ready for Thanksgiving!. I am so excited to show you this project because I think it is one of the easiest projects with the most impact so far.
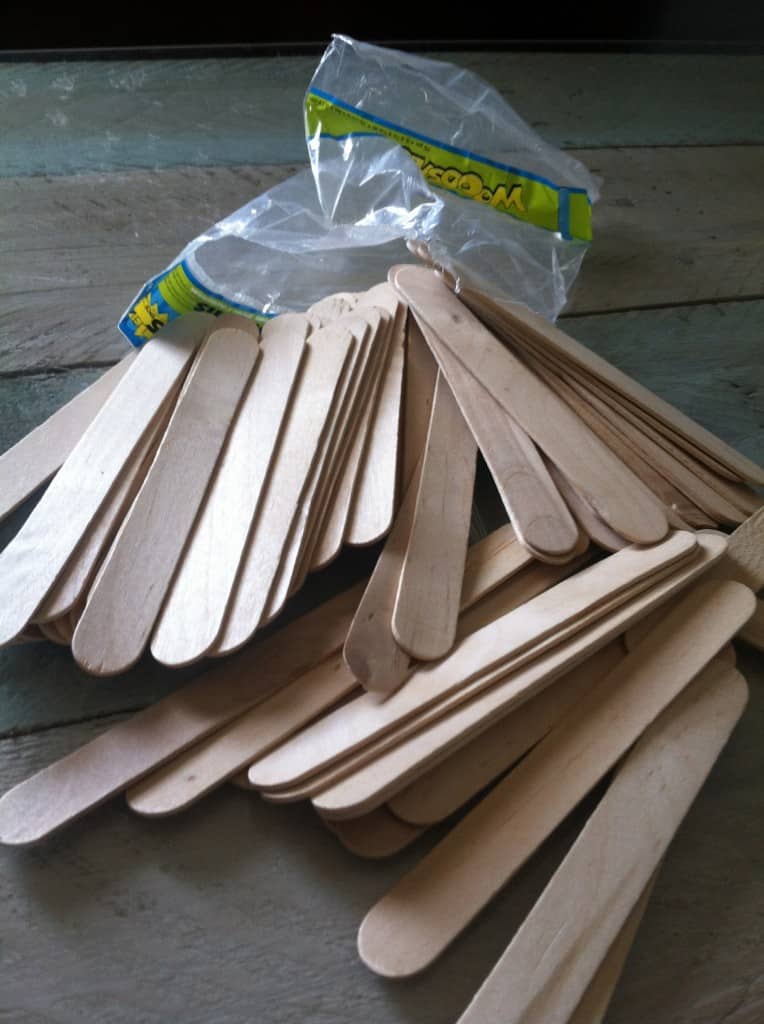
I know I sound like a broken record but I already had these supplies on hand. I bought the small, round mirror from Michael’s because I new I wanted to make a DIY sunburst mirror but hadn’t decided what style until now. I also had the wood sticks (I call them popsicle sticks because I don’t know their real name) for some unknown reason.
You’ll start to see that there are quite a few things I don’t know the names of so I like to call them thingy’s or stuff. I guess I should know but my brain can only hold so much these days :)
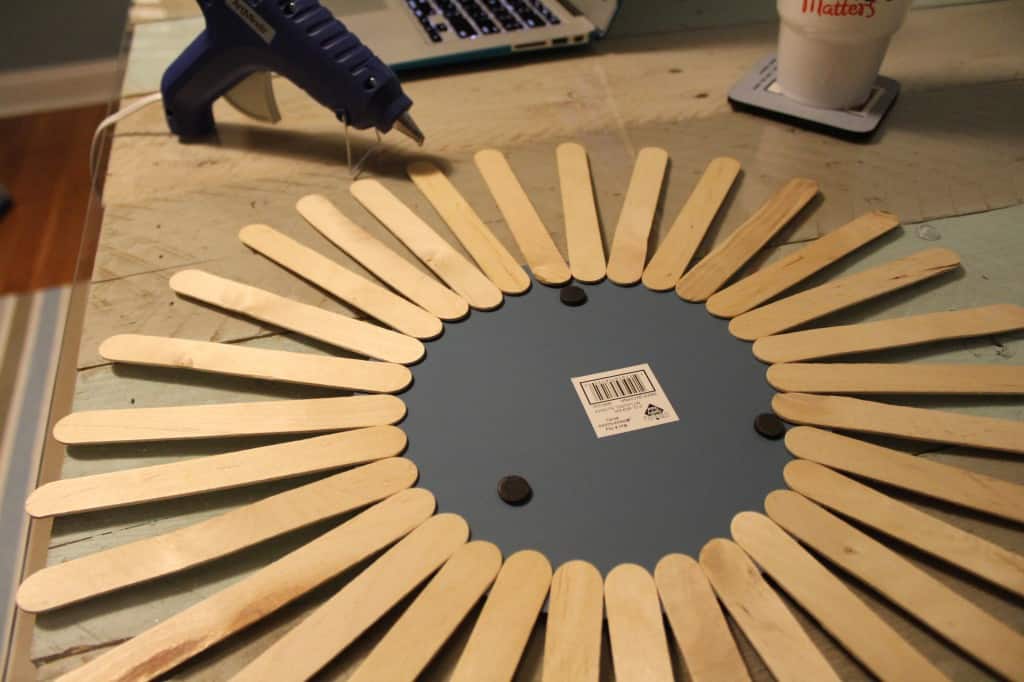
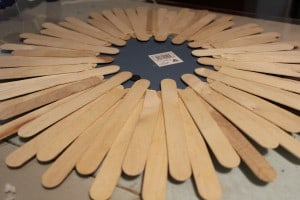
To get started I plugged in my glue gun, flipped the mirror over and placed the sticks where I wanted them. I started with four sticks and placed them north, south, west and east on the mirror and worked my way in between them. Once I had the sticks spaced out evenly I started gluing the tips of them to the back of the mirror.
Once these were glued I placed the second layer of sticks where I wanted them to be.
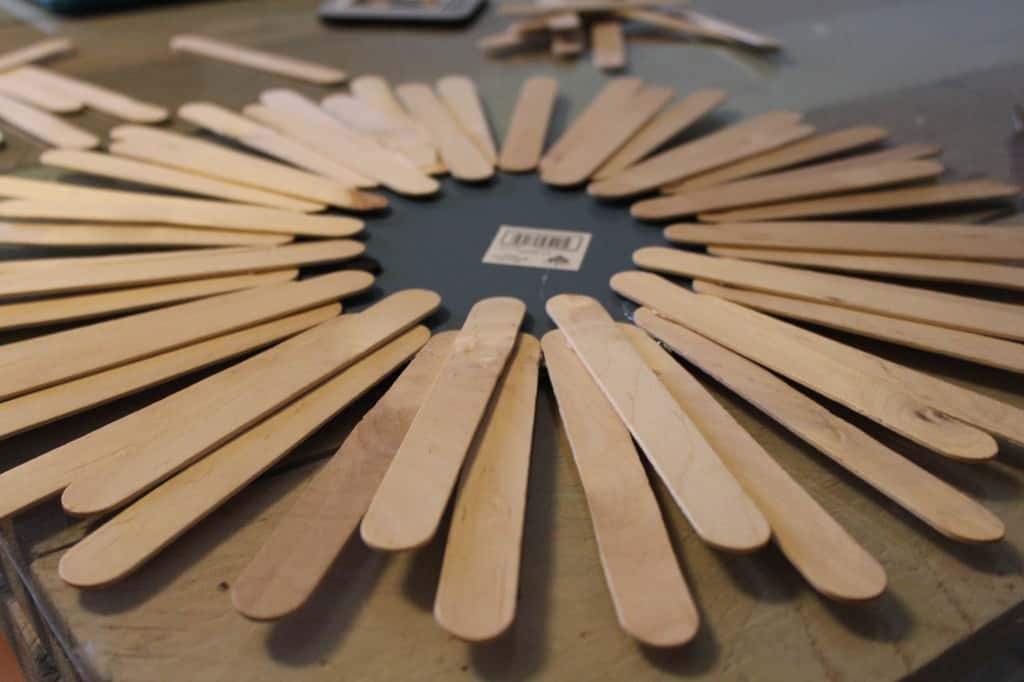
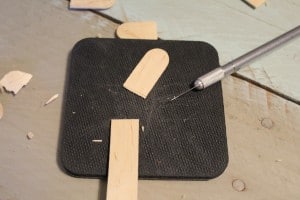
I realized that I would need to glue every other stick on first and then cut the rest so they would fit evenly in the available space. After several failed attempts I finally figured out that if I scored the stick on both sides with my exacto knife I could just snap them off which was super easy once I got the hang of it. Then I glued them all into place like I did the first row.
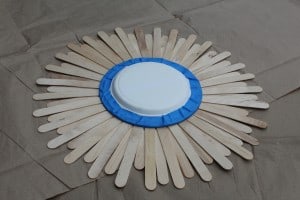
Once the glue was dry it was ready for spray painting. I taped off the edge of the mirror then found a paper plate that just happened to be the perfect size to cover it and I placed it on top and taped it down. If you don’t have a paper plate you can just use paper to cover the mirror.
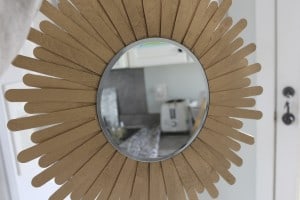
And so I painted the mirror…drum roll…gold! Did you guess it :) If I didn’t exercise a little bit of self control I may just end up spray painting my whole house gold. Yikes, I hope the gold trend doesn’t leave us too soon!
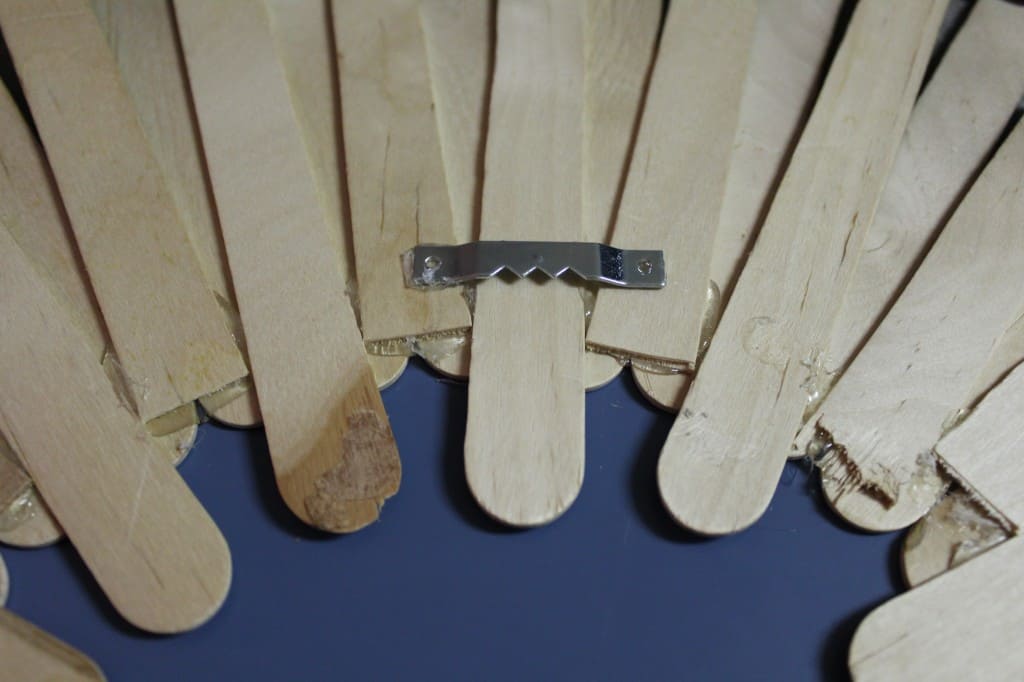
Now here is a little do as I say, not as I do moment. I couldn’t decide how to hang the mirror since I did not plan ahead before I started gluing wood sticks…I tend to get ahead of myself sometimes. But since I believe with my whole heart that you can hot glue almost anything I decided that it would be a good idea to glue the picture hanger on the back.
So far so good but I have no idea how long it will hold up once we start to add cards. If I was wiser, more patient and not so cheap I would have tried these plate hangers. I have read about them and they seem like a really great solution.
There are lots ways you could tweak this project too if you like. If you prefer a squared edge you could use regular wood shims from the hardware store instead. If you wanted to take it a little farther you could spray the sticks before you glued them and could have multiple colors. I am thinking about painting the tips an aqua color after Christmas.

I hope you enjoyed this little project.
Do you have any fun DIY holiday projects on your to-do list?
Have a great night y’all and we’ll see you tomorrow!
Love it! I’m going to do this!
Thanks! It was so easy!!
I see your face :)
Yay!
Oh, that’s a cool idea. I remember seeing it at your house, but I didn’t know that’s what it was for. We definitely need something for cards, although probably nobody knows our new address.
Thanks!!
Clap Clap Clap!!! Love it girl!!! Awesome! {I’m a hot glue fanatic too, by the way}
Hot glue is my life saver! Glad to know I’m not the only one :)