DIY Christmas Pom Pom Garland
Hi Y’all! It feels weird not blogging ever single day. It is a bit of a relief but I would be lying if I didn’t say I missed it and your sweet comments!
Well I have a great little project today. I love pom pom garlands, I am not kidding, I think they are beautiful and whimsical.
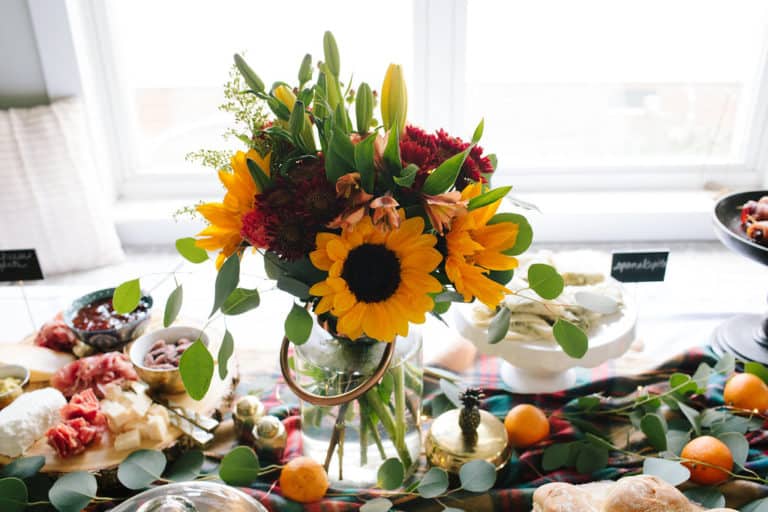
I have been thinking for weeks now about how I wanted to decorate for Christmas this year (if you missed my sneak peek you can find it here) and I knew I wanted to incorporate a few different types of garland. Then I came across this inspiration photo and I knew I had to do this.
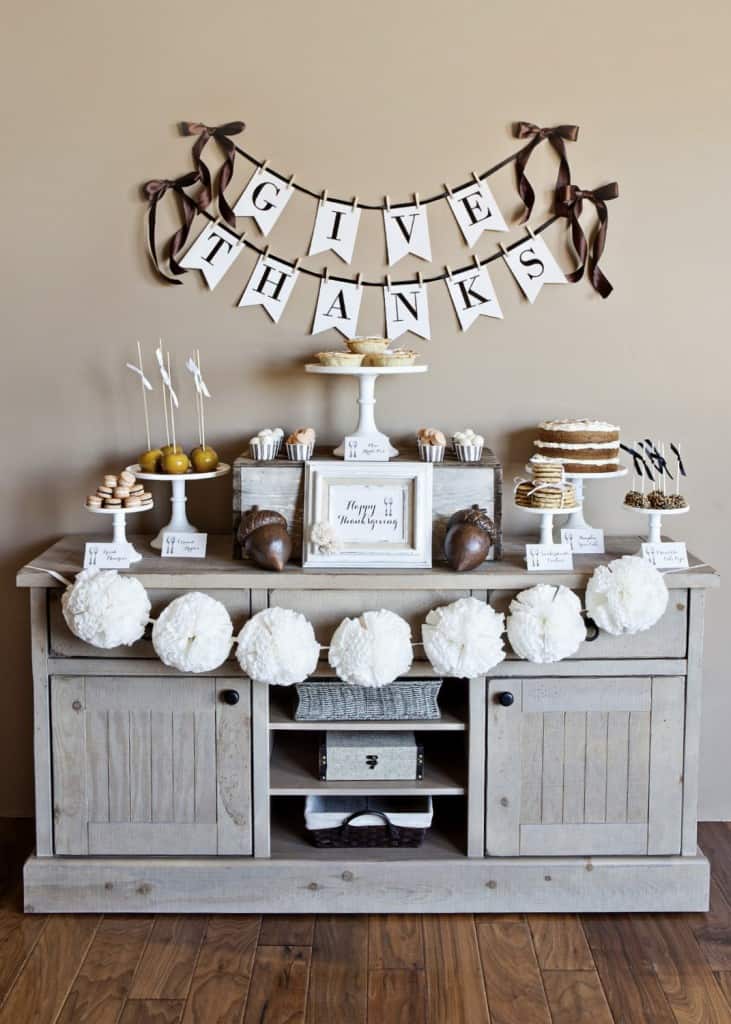 {
{I know this is more of a thanksgiving look but the garland is amazing and I know it will look great for Christmas or any other holiday, special occasion or birthday party.
I read that they made these pom poms out of coffee filters so I googled it and found this tutorial from This Heart of Mine blog. This was a great step by step tutorial and I followed it pretty closely.
I did have to buy several supplies for this project and here are the items needed:
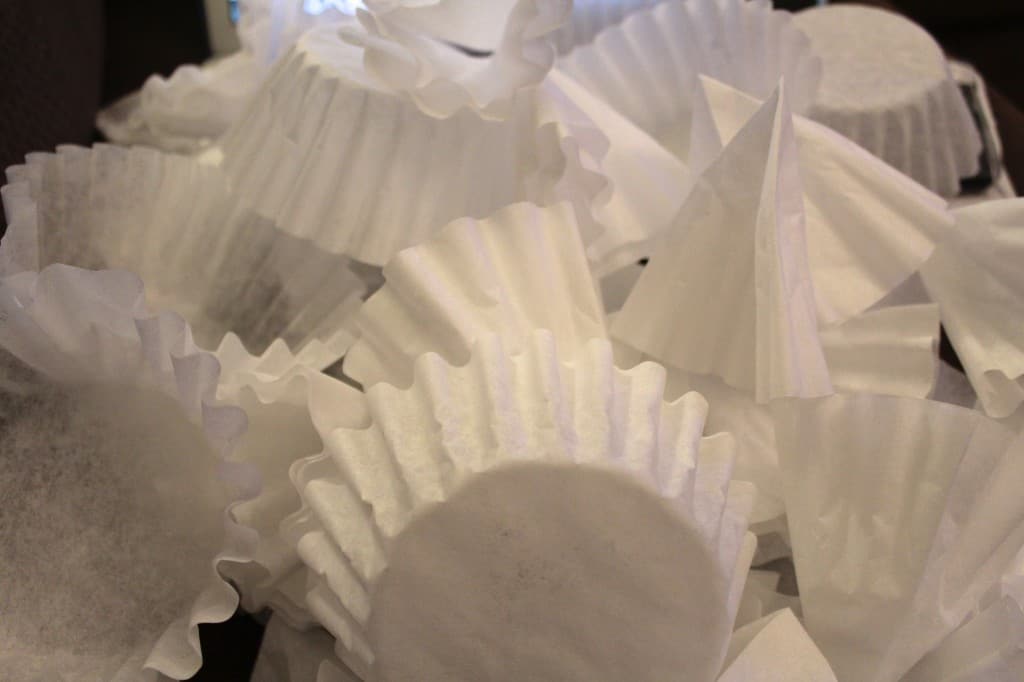
1. Coffee filters: 50 filters per pom pom. I bought the 100 pack from Target and I found that they were separated into halves so I didn’t have to count out 50. (I know what you are thinking, that is a lot of filters but don’t worry it’s not that bad!)
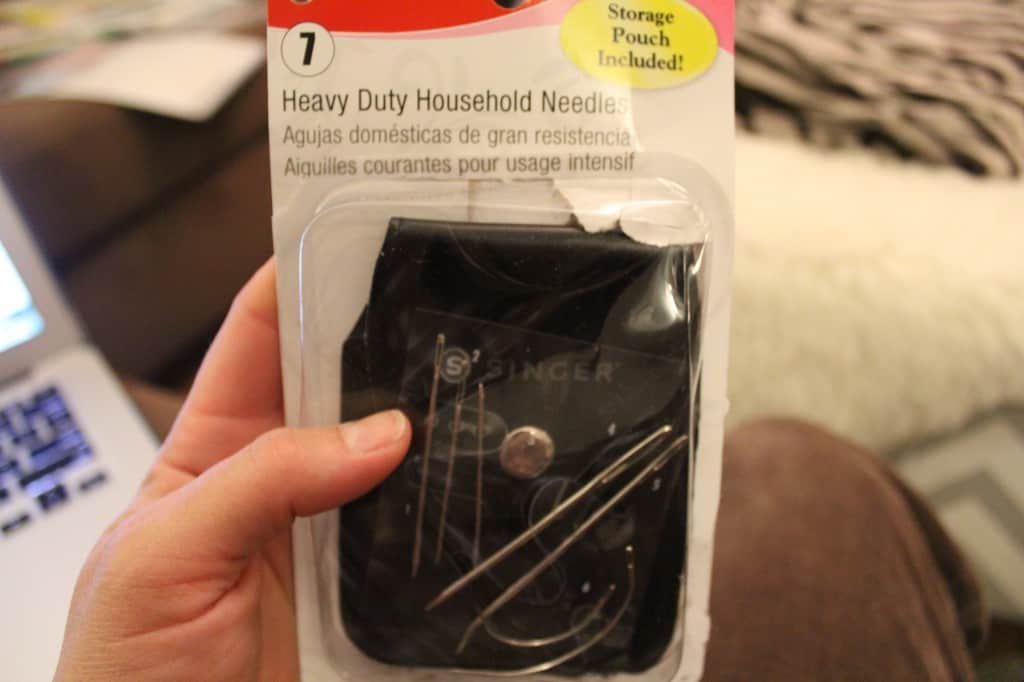
2. Large craft needle: I didn’t have one and I was in a time crunch so I bought the singer pack below from Target.
3. String: I used a roll of thin string from the Target dollar bin and that was all I needed. I used the same string to hang the garland.
And this is how we put them together:
1. Fold the coffee filters in 6ths
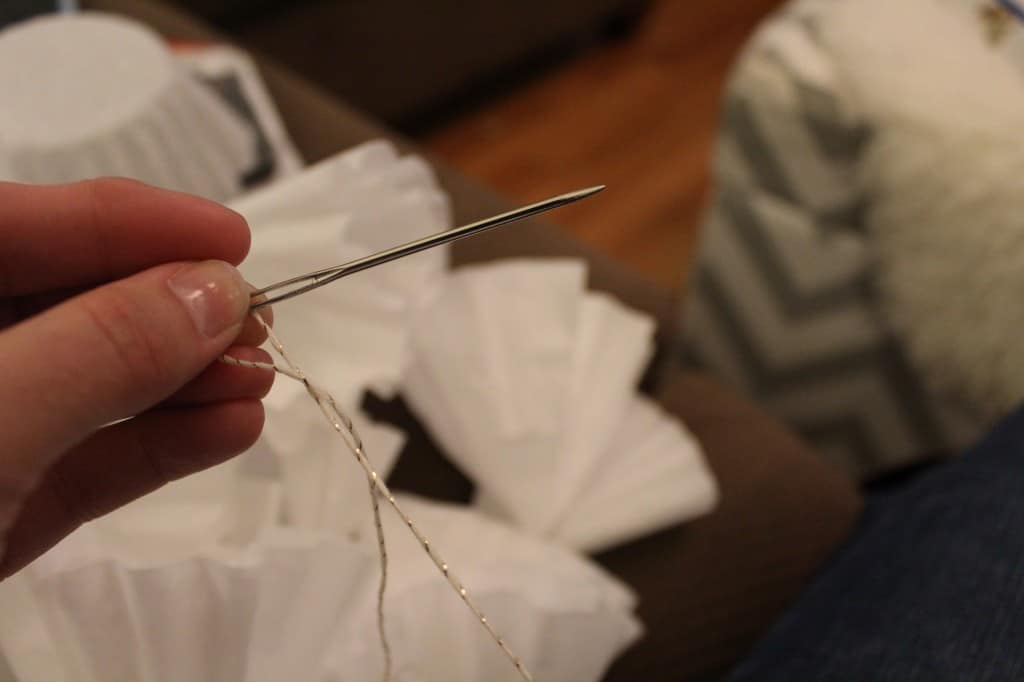
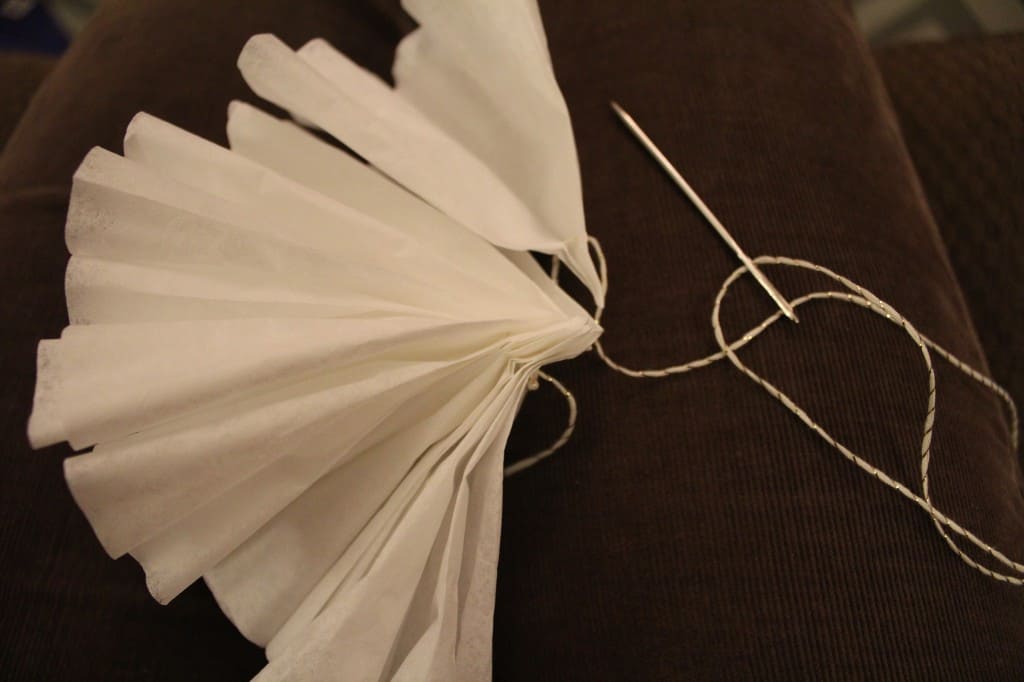
2. Tie a decent sized knot at the end of the string and thread the needle.
3. Push the need through each filter near the point.
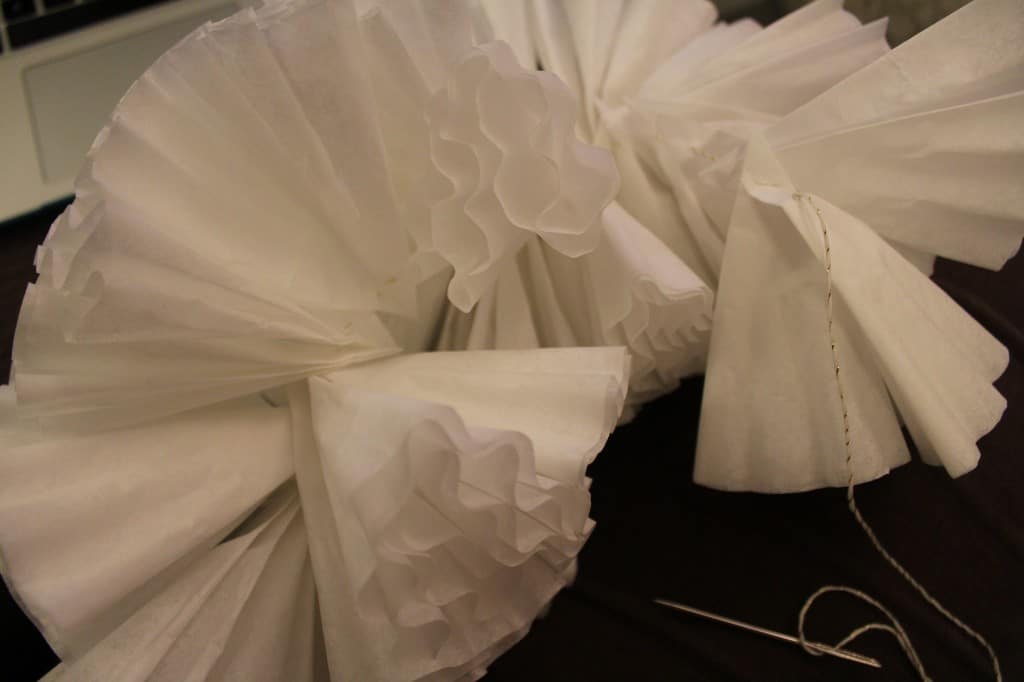
4. Once all 50 filters are thread pull the filters tight in a bunch and tie a tight knot with both ends of the string to secure the pom pom. Make sure there is some extra string to tie to your main garland string.
5. Now just fluff your pom pom and move on to the next one :)
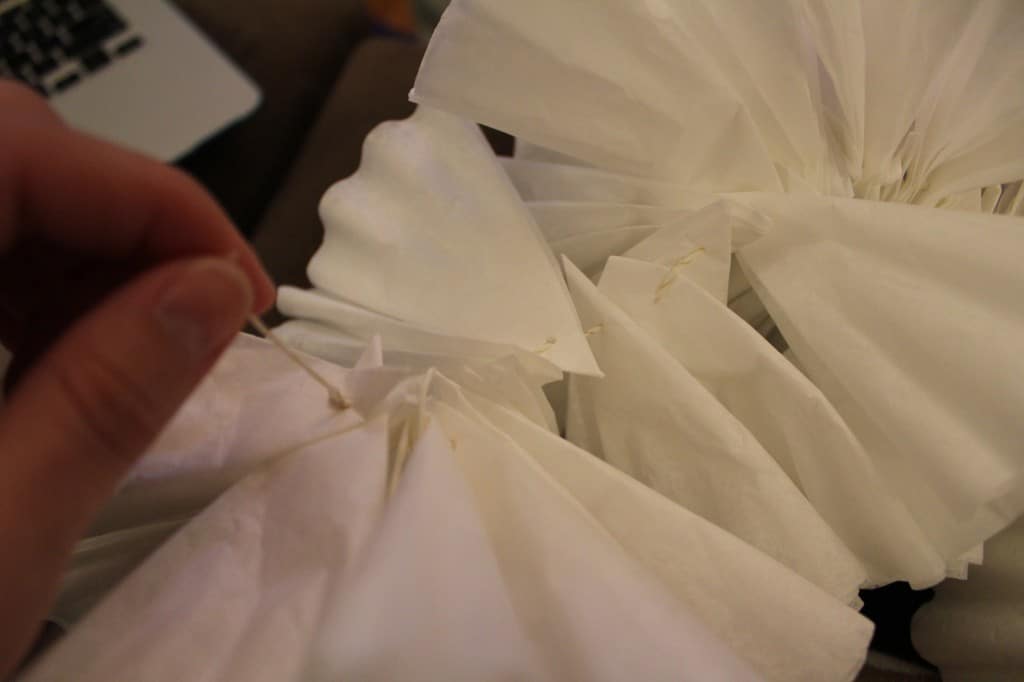
6. Once you have all the pom poms you need (I made 5) you will need to string them together. This was a little tricky and I made it up as I went so you will just have to figure out what works for you and the type of string you want to use.
In the end I used the same string and I dug into the pom poms and tied the extra string (where I had tied the knots) to my main pom pom string at the distance that I wanted them to be separated.. You will just have to play around with it.

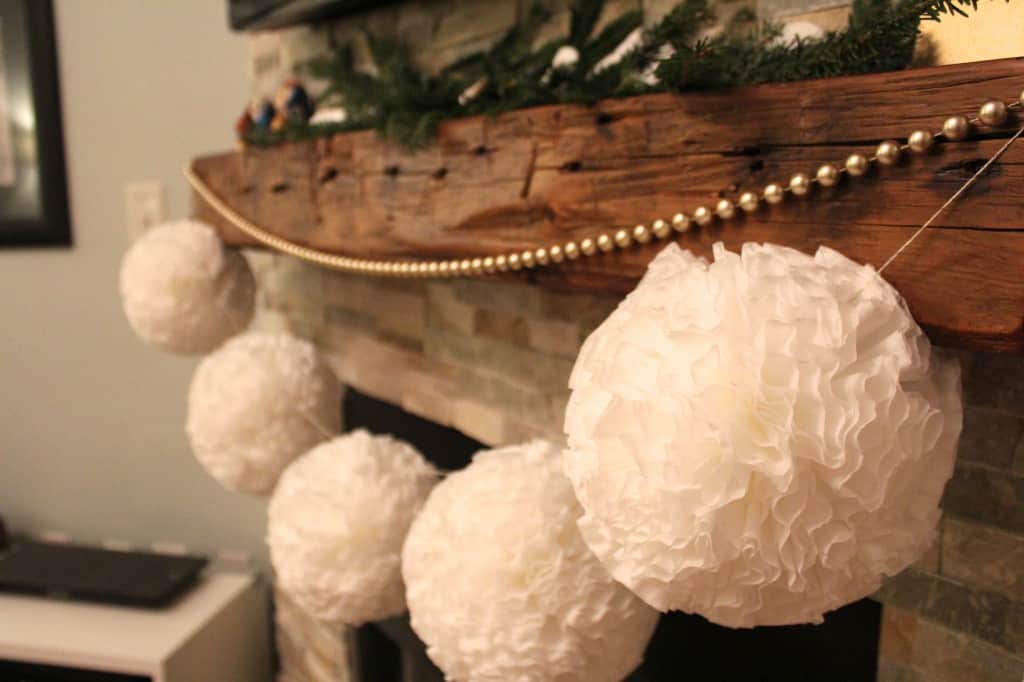
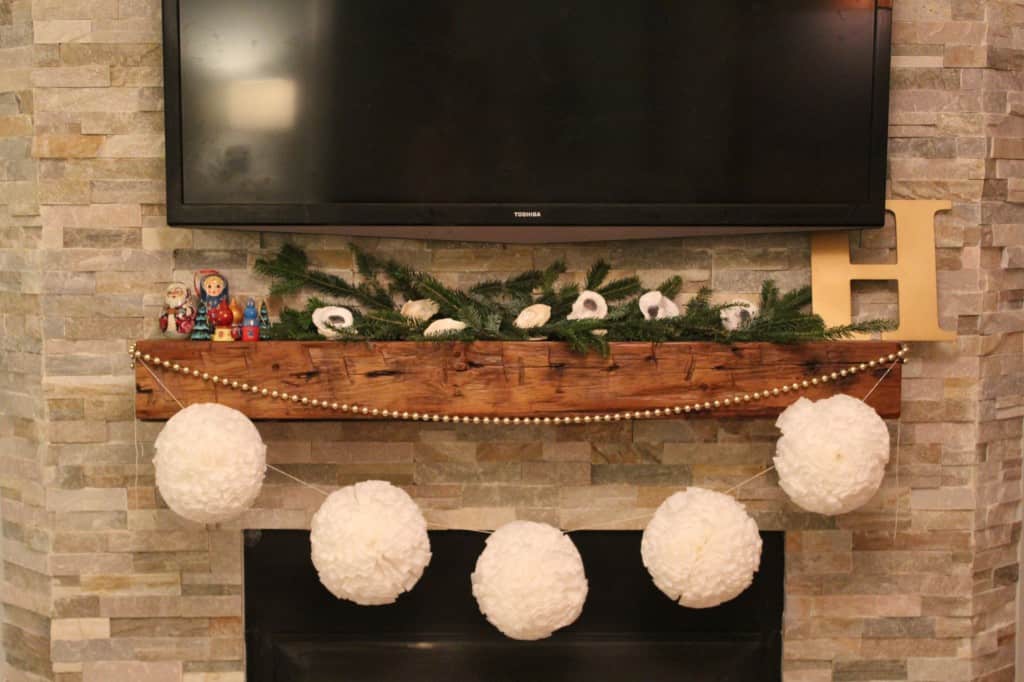
So that’s it. I tacked the garland to my mantel with two push pins and we were good to go. I probably need to pull them a little tighter so they don’t hang quite as low but I am tired so I am calling it a day.
On a side note I don’t typically spend this much time on my simple projects but I wanted these pom poms so bad so I sucked it up and went for it. After the first pom pom it took me about 25-30 minutes to put each one together. Yikes…but it was SO worth it! Don’t you think?
I had looked at several tutorials using tissue paper but I think the coffee filters are more sturdy and I definitely want to reuse them since I invested a little more time into this project.
Have you ever made a pom pom garland? I would love to hear your Christmas decorating ideas…or maybe you aren’t decorating at all this year and that’s fine to :) As long as it’s simple, right???
Stayed tuned for the home tour announcement and a few more Christmas DIY projects!!!


Love these! I’m thinking they would be adorable for my next birthday party/baby shower that I host.
Thanks SO much Ashley!
Um, wow. I love it!!!
Thank you so much Liz!
Those look like they would be good for party decorations too, or even Christmas ornaments that kids could make. I wonder if they sell colored coffee filters. You could probably also use cupcake liners, they come in all kinds of colors.
Yeah, I have only seen white and natural colored coffee filters but cupcake liners would be a great idea for smaller, ornament sized one :) I like the way you’re thinkin’ sis!
Love love love! It looks beautiful with your beaded garland! :)
Thanks Gabbi! I am so happy that you visited my little site and I am so thrilled to be a part of the Blogger Stylin Home Tour! Can’t wait to see your home.