DIY Customized Storage Boxes
Hello.
Did I ever tell you I love Target? Especially Target sale’s and the Dollar Spot? Well, I do.
I want to show you a small change that I made to a few clearance Target boxes for a custom look.
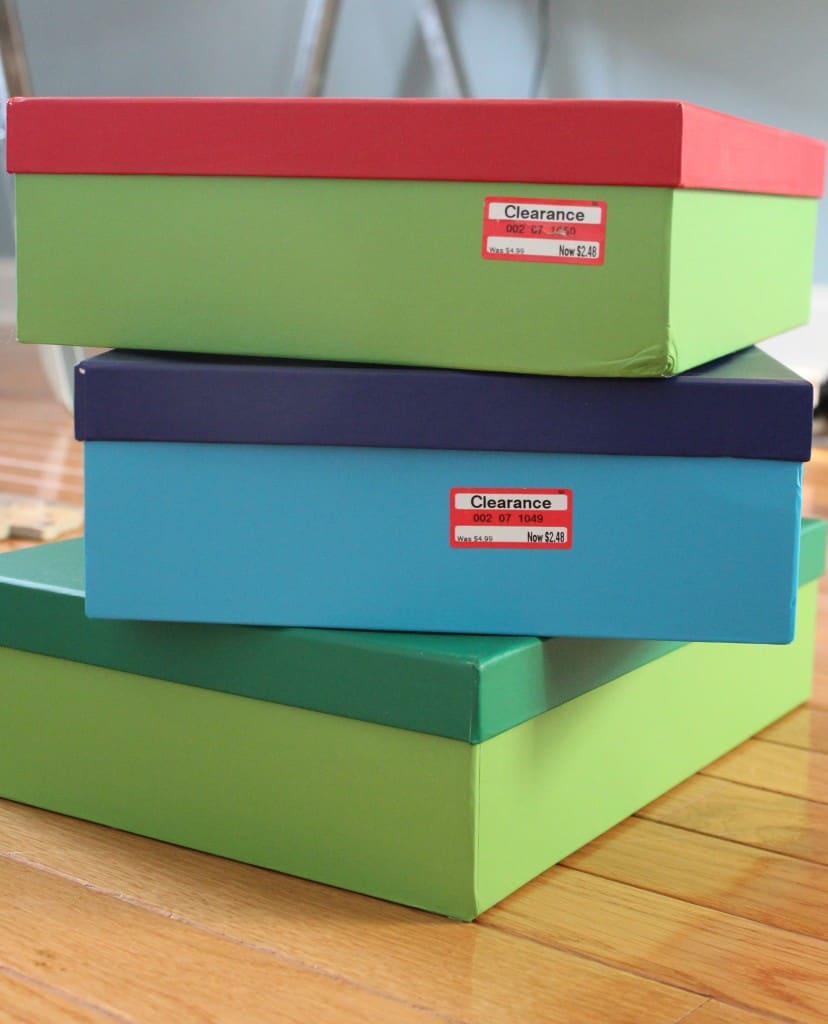
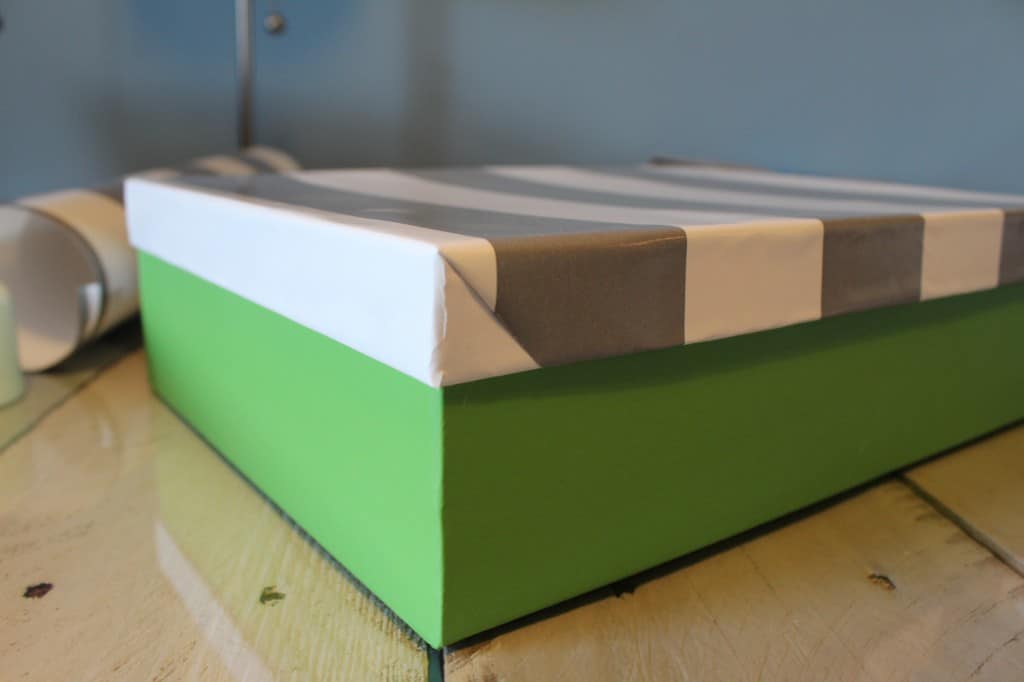
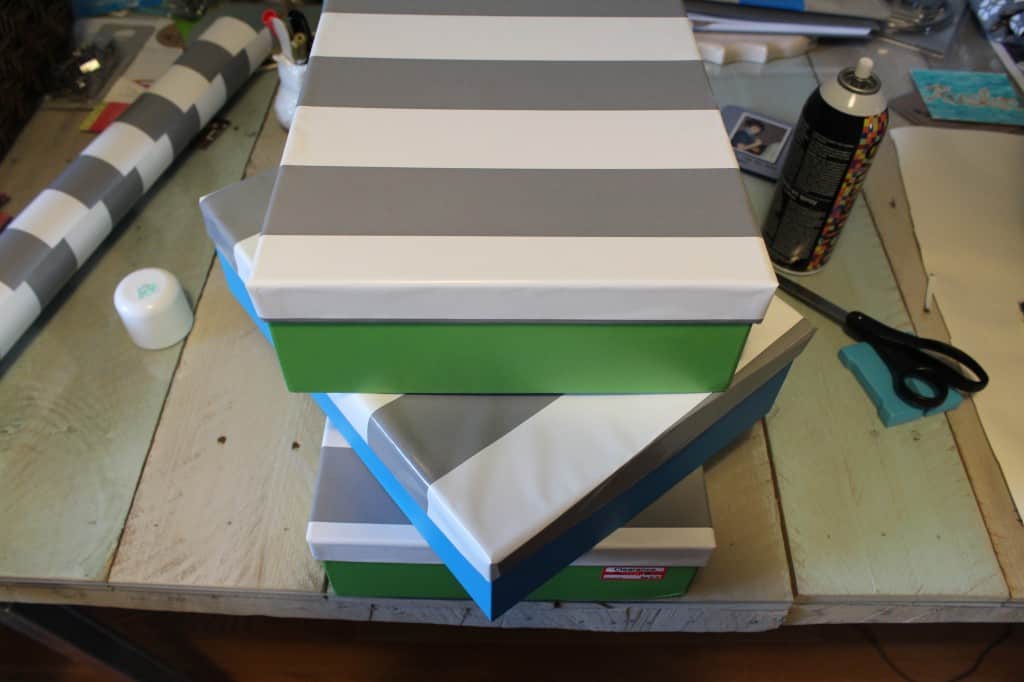
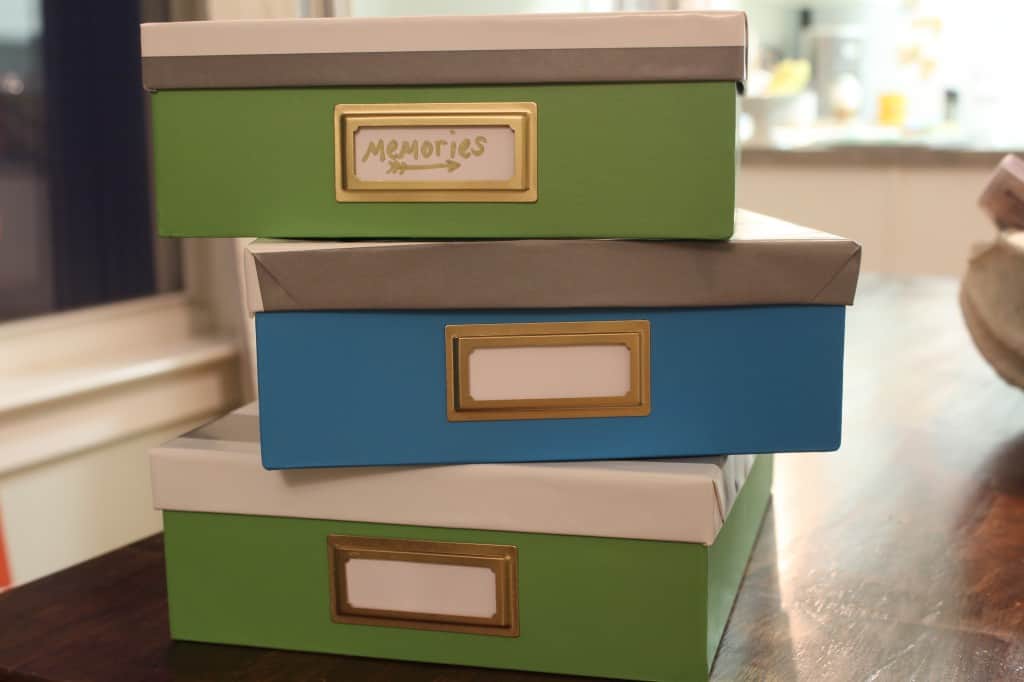
I found these 3 storage boxes on clearance for $2.48 and two of them were a little beat up so I got an additional 10% off of those. I didn’t mind the color of the bottoms of the boxes but the color block look with the lids on was not what I was going for.
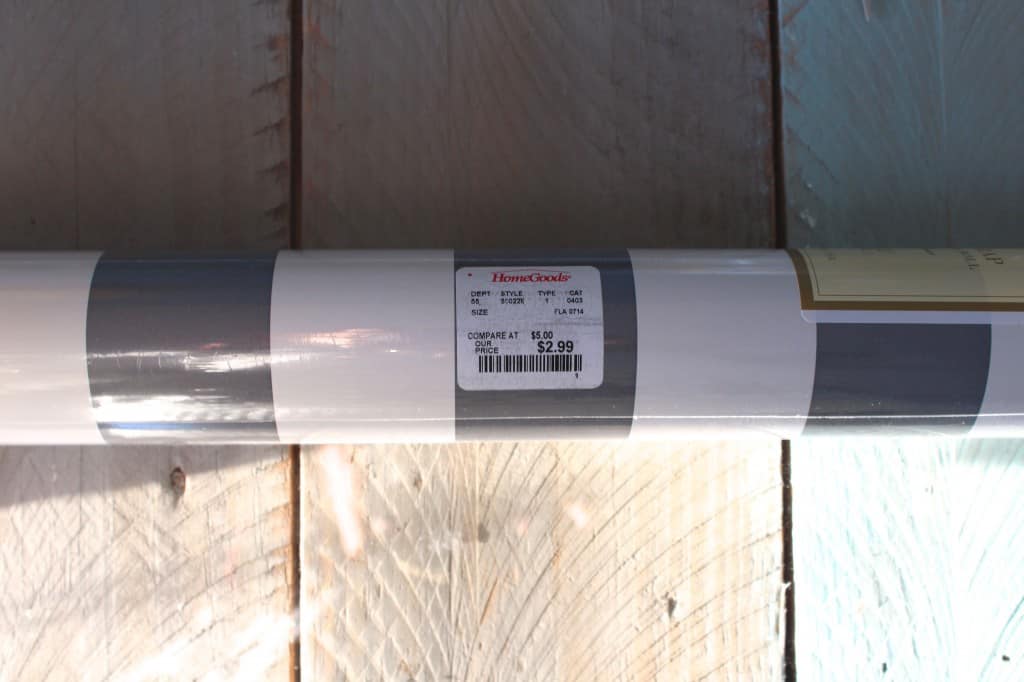
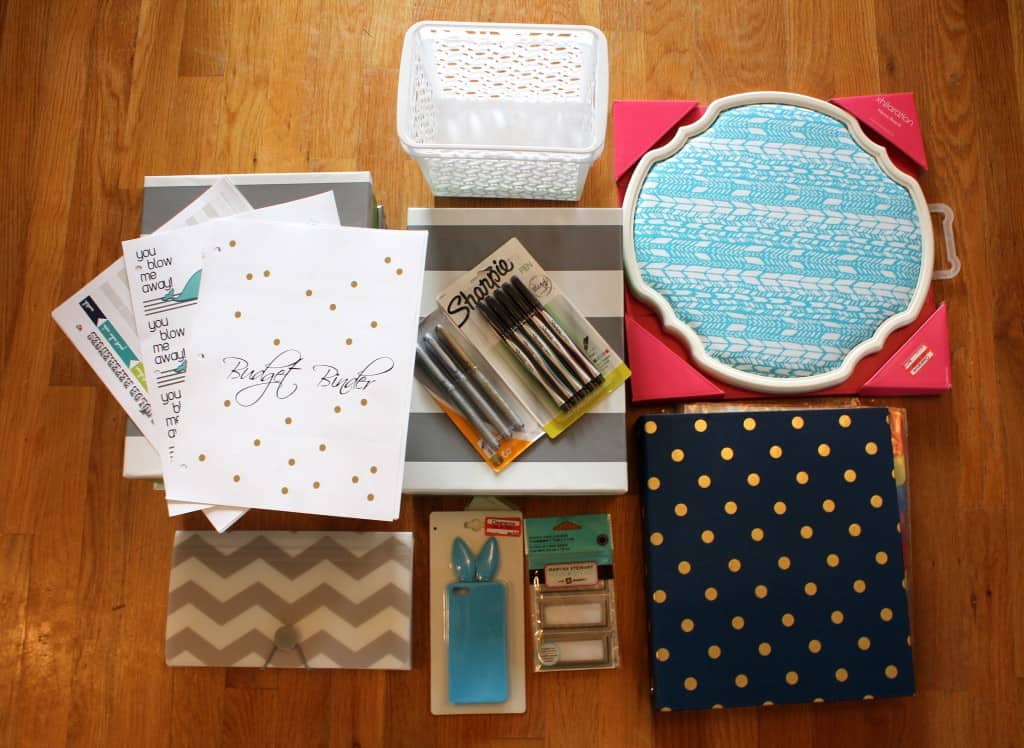
So I picked a roll of wrapping paper from my stash that I have been collecting from HomeGoods to cover the lids.

I traced the box lid on the paper.

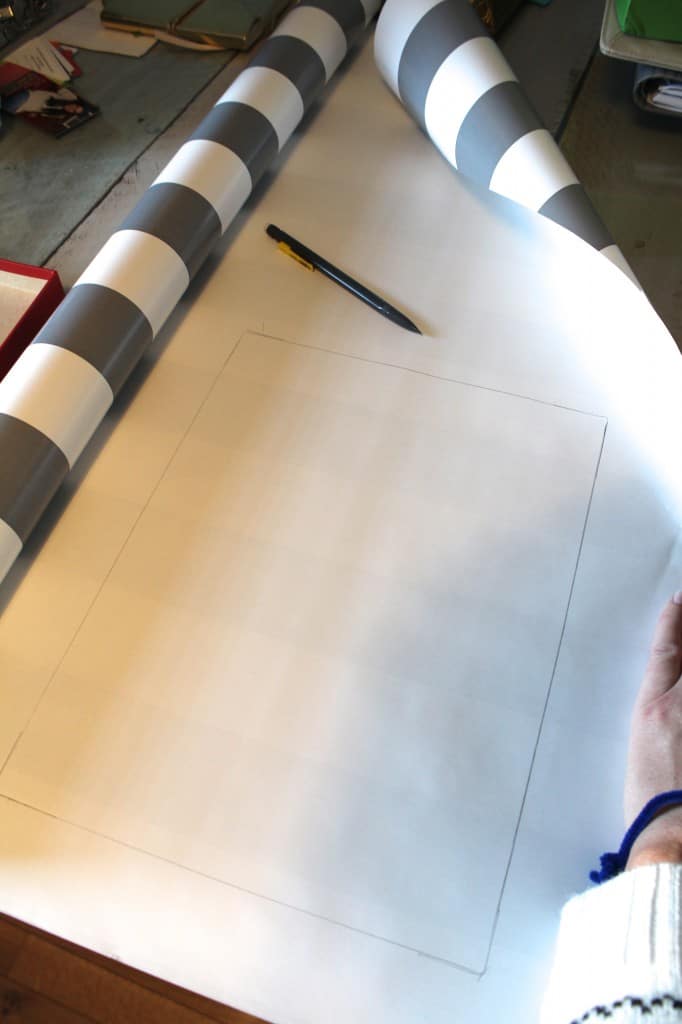
Then I cut the paper to fit the box lids with excess to wrap around each side.
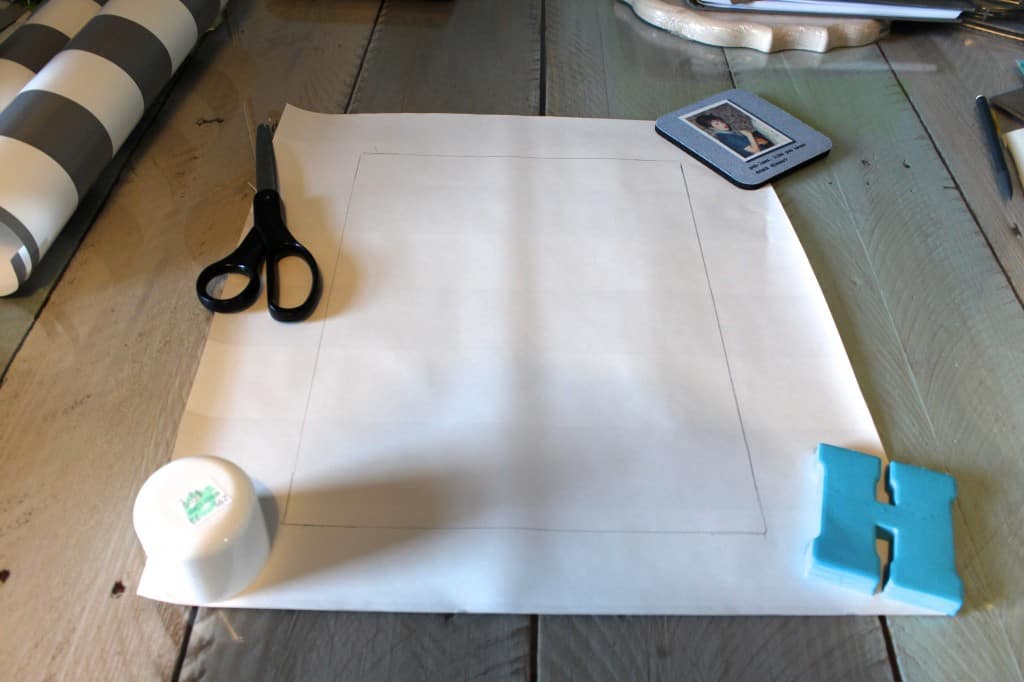
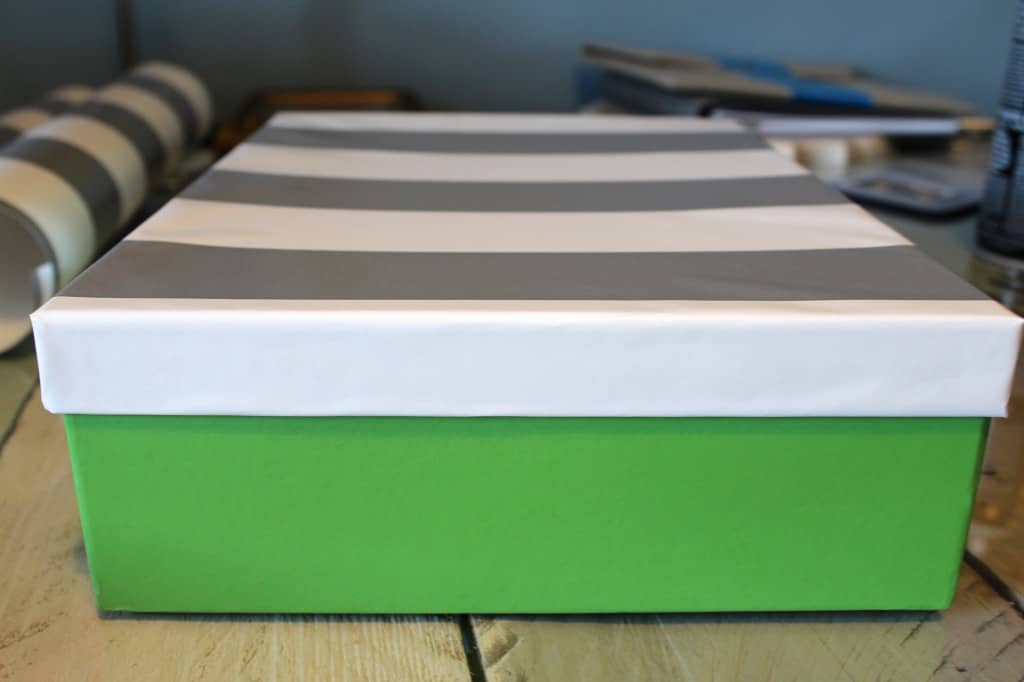
I sprayed the lid with spray adhesive and pressed it down inside the traced square.
Then I folded each side cutting a slit in the corners so they would fold easily almost like wrapping a present. I sprayed the paper and the edge of the lid with the adhesive and smoothed the paper around the edges of the lid.
The adhesive was easy to work with and stuck very well.


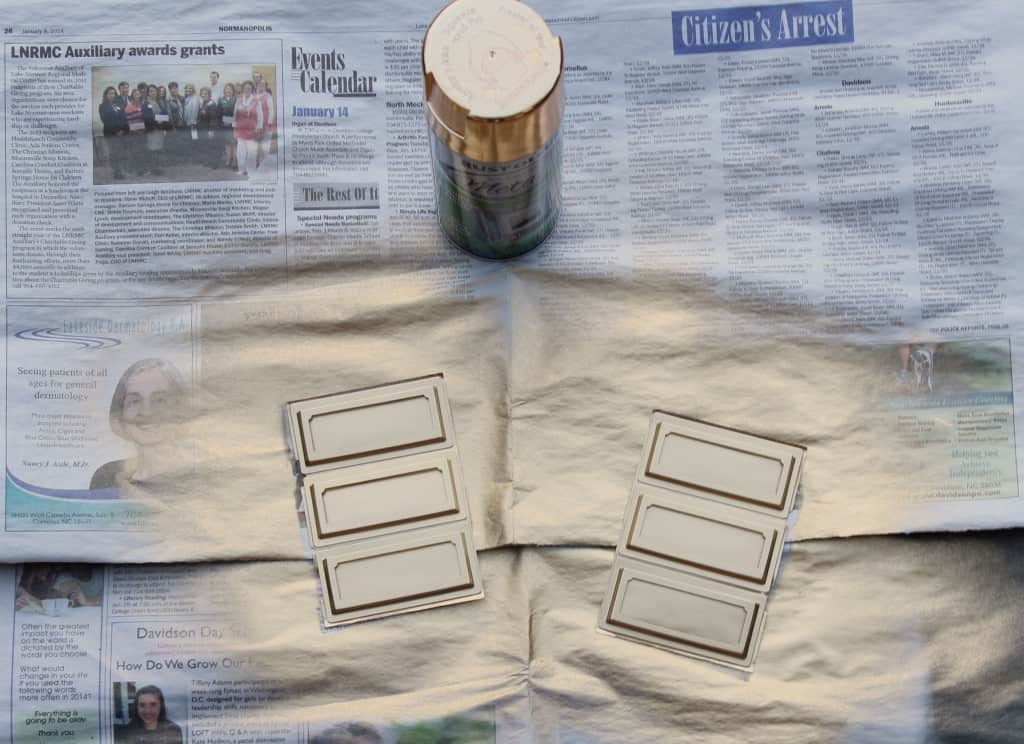
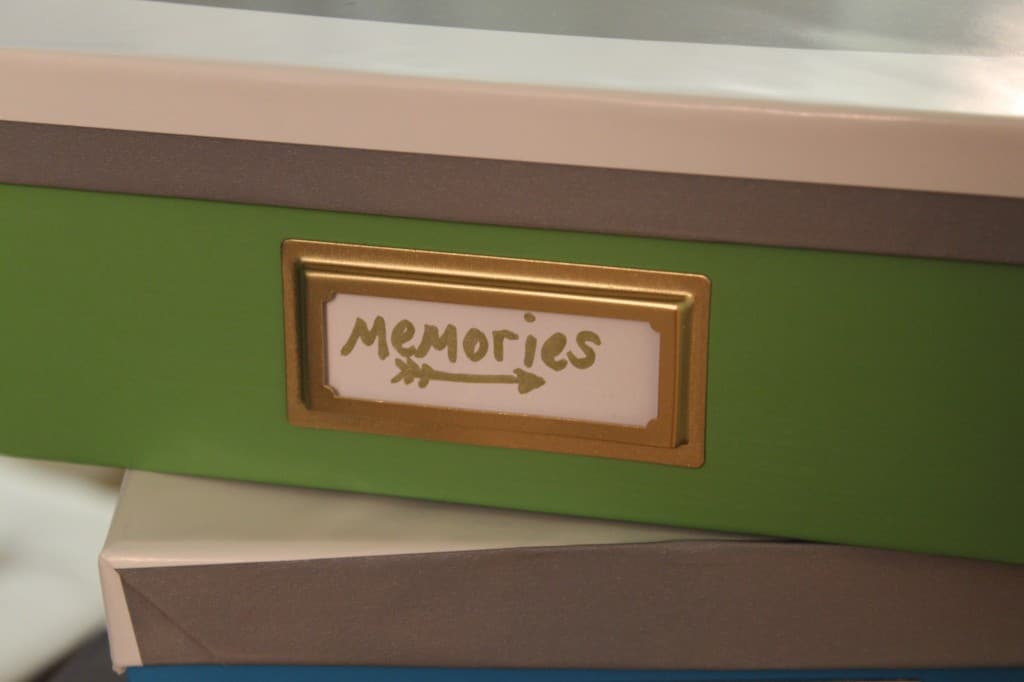
I wanted to use pretty bookplates for labels and I found these silver ones at Staples. *Note that mine are the 1 7/16 in x 3 1/16 in, not the size of the ones in the link but I couldn’t find my exact ones on the website.
I wanted gold ones but I didn’t feel like going to another store so I just spray painted them.
Here they are all finished! I know that I am going to use one of the boxes for our family memories. I will collect family pictures, cards, etc. that I want to keep and at the end of the year I will file our memories away so we can collect new ones.
As I get more into my office re-do I will decide what is going to be the best use for the other two.
I have been doing a lot of planning but this is the first real step in my new office organization. I have a lot more to come and have been gathering materials (on the cheap) at full force!
Stay tuned for more organization ideas and hopefully office decorating progress soon!
I hope you all have a wonderful weekend! We are off to relax in Asheville, NC for a couple nights, woohoo!

Greetings from Florida! I’m bored to tears at work so
I decided to browse your blog on my iphone during lunch break.
I enjoy the info you provide here and can’t
wait to take a look when I get home. I’m shocked at how fast your blog loaded on my mobile ..
I’m not even using WIFI, just 3G .. Anyhow, fantastic blog!
Hi i am kavin, its my first occasion to commenting anywhere, when i read this post i thought i
could also create comment due to this brilliant piece of writing.
Those boxes are adorable! I never saw them at my Target! :( And I’m addicted to those bookplates.
Thanks so much for stopping by Cassie! Yes, I am addicted to those bookplates too and I lucked out on the boxes!
OMG you paper collection looks just like mine. I have all of them too. Love how the boxes turned out!
I love the different papers! When I was collecting them I had no idea what I would use them for but I knew they would come in handy :) I am thinking of using one of them in the backs of my bookshelves in my office! Thanks Julia!
Super cute, and so inexpensive!! Great project.
Thanks so much Gabbi! My whole office project is daunting so I keep telling myself to take baby steps and this was an super easy way to get started. Thanks for reading :)