Scrap Wood Mini Planter Box
Happy Monday Friends!
I’ve been crazy busy working on the Home Depot Style Challenge but what would one project be without adding at least five more? That’s only natural right?
In light of the challenge I’m sprucing up a few other items in our back yard. We have a playset that little man still plays on when his buddies come over but outside of that it doesn’t get used too often. We even thought about getting rid of it to give us more options for the game we’re building.
But in the end I just wasn’t ready to give it up {and my dad spent so much time building it he would probably freak, right dad?…we love it} so we decided to give it a little makeover.
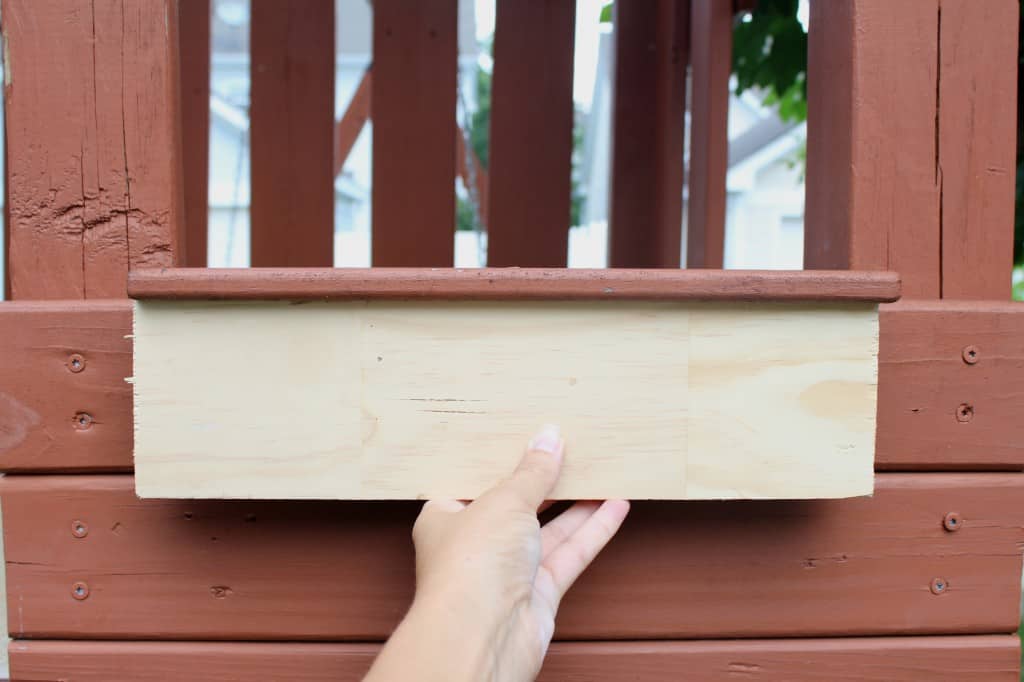
It has the cutest little window that begs for a planter box full of flowers. So I found some wood and got to work and we literally whipped this up in about 30 minutes
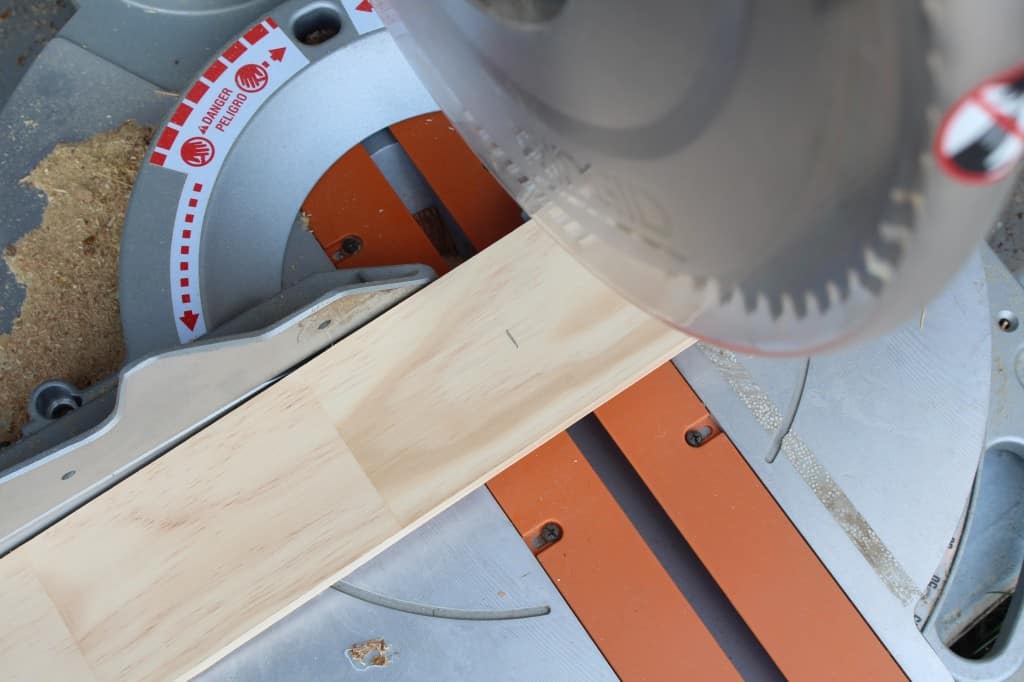
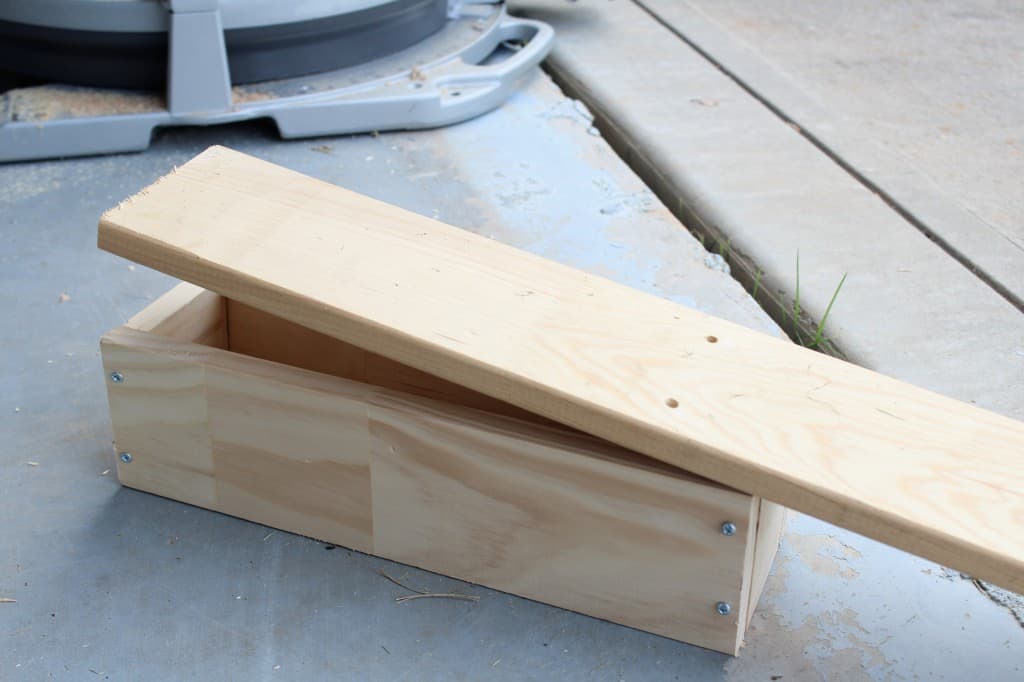
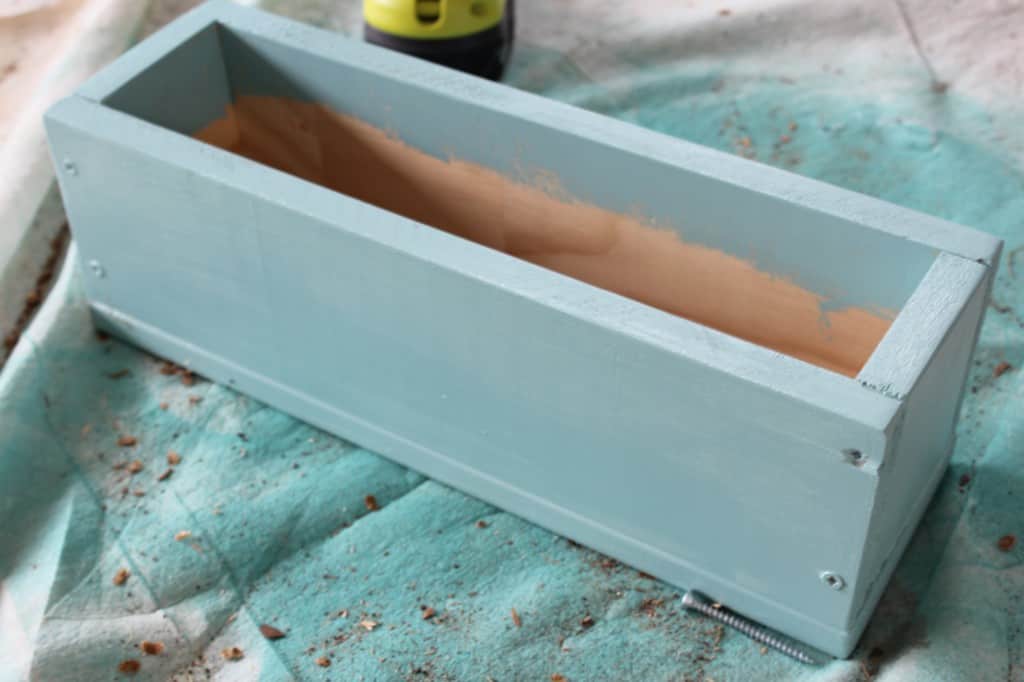
First I gathered several pieces of scrap wood we had laying around, measured the length I wanted and marked it with a pencil. Then I cut it to size with my saw. You could buy a piece of cheap lumber at Home Depot and the nice folks will gladly cut it for you to size if you don’t have a saw.
I cut another piece the same length as the first and then I cut two pieces for the ends. I really didn’t think this through ahead of time and I wasn’t worried about it being perfect.
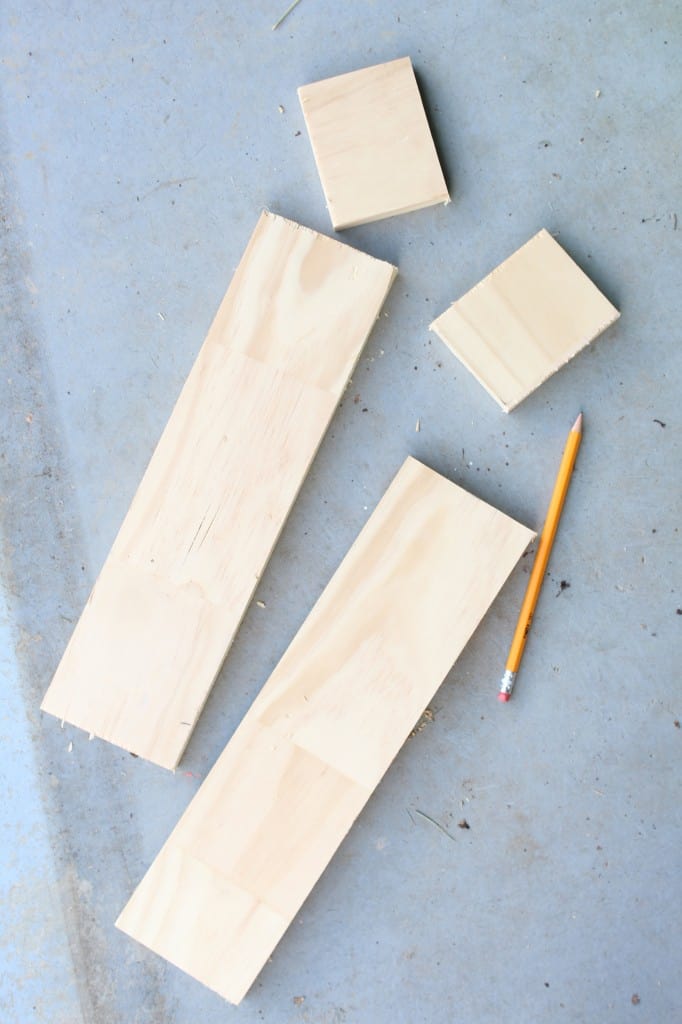
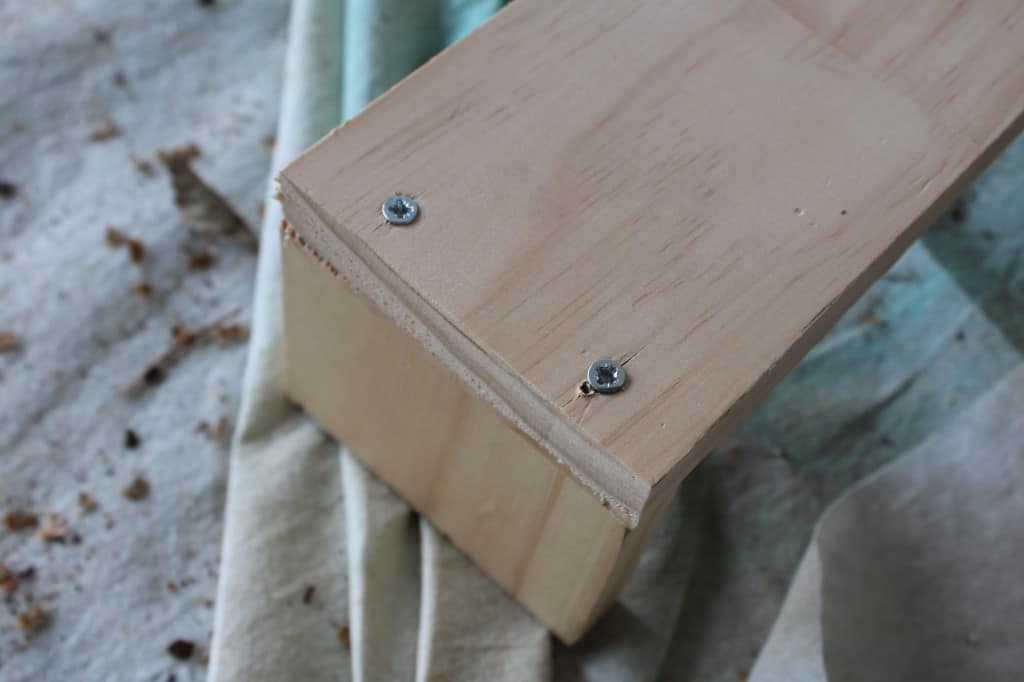
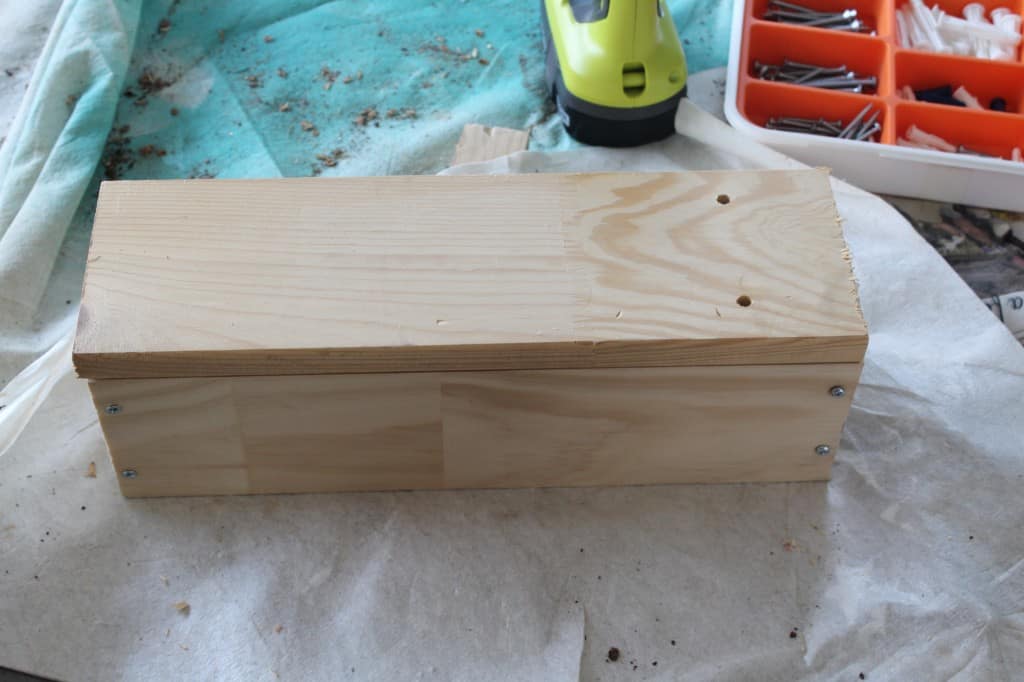
I screwed two screws into each side to connect all sides together. Then I cut another piece for the bottom and screwed it to the box.
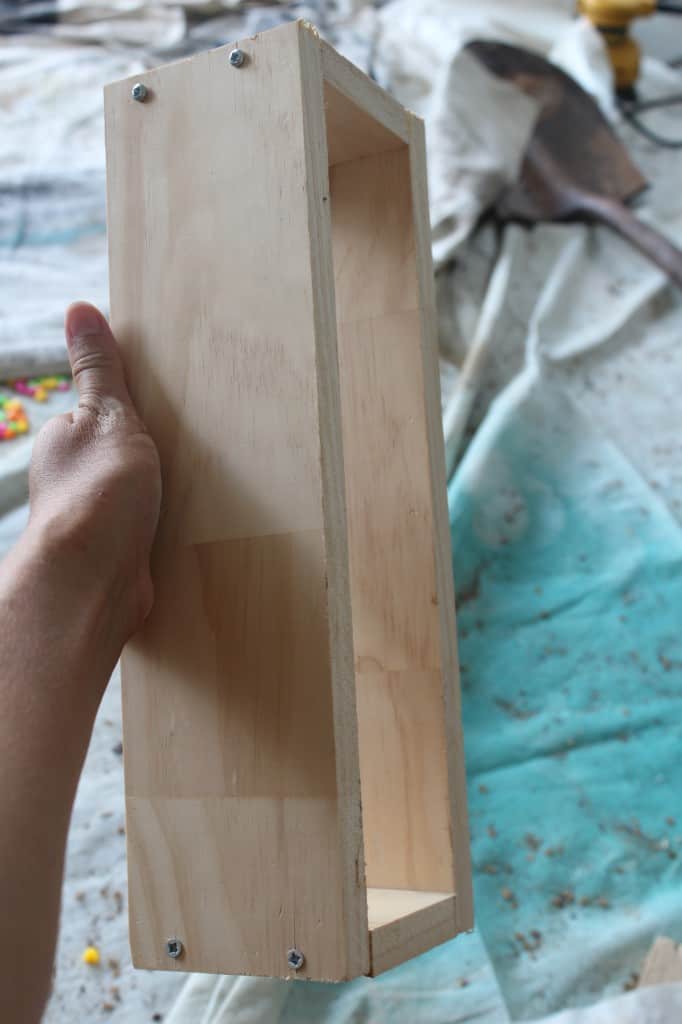
Once the box was assembled I used a medium sized drill bit {not pictured} to drill several holes through the bottom board so the water can drain out. This is key so that the water isn’t sitting in the bottom of the planter and your flowers don’t become over watered.

Then I painted the box one of my favorite colors, Benjamin Moore’s Spirit In The Sky, which is the same color I used on all of our exterior doors.
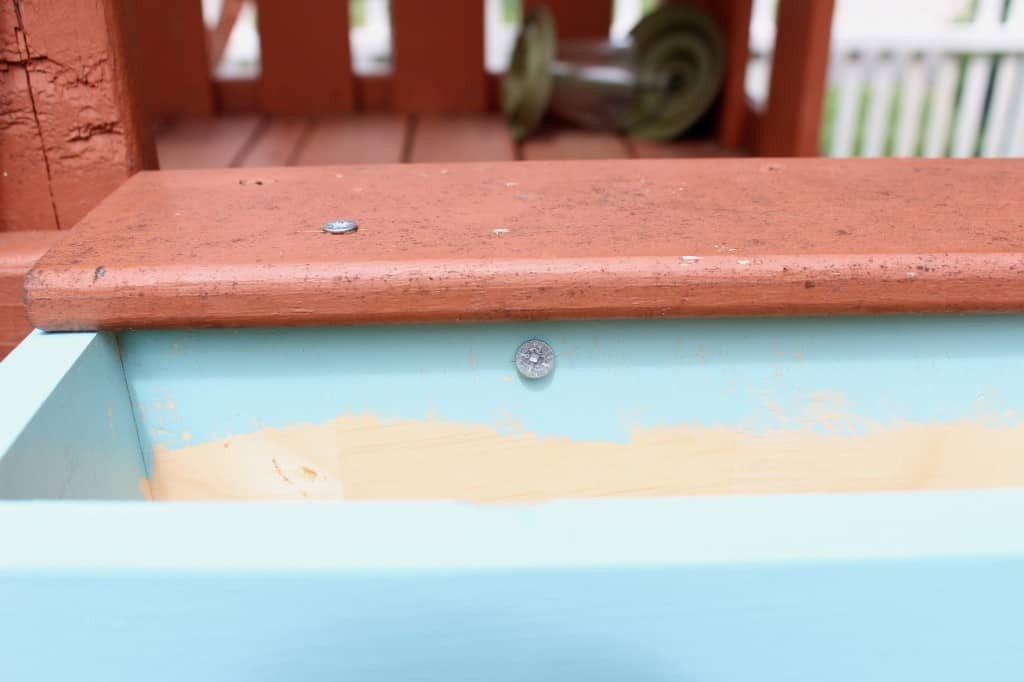
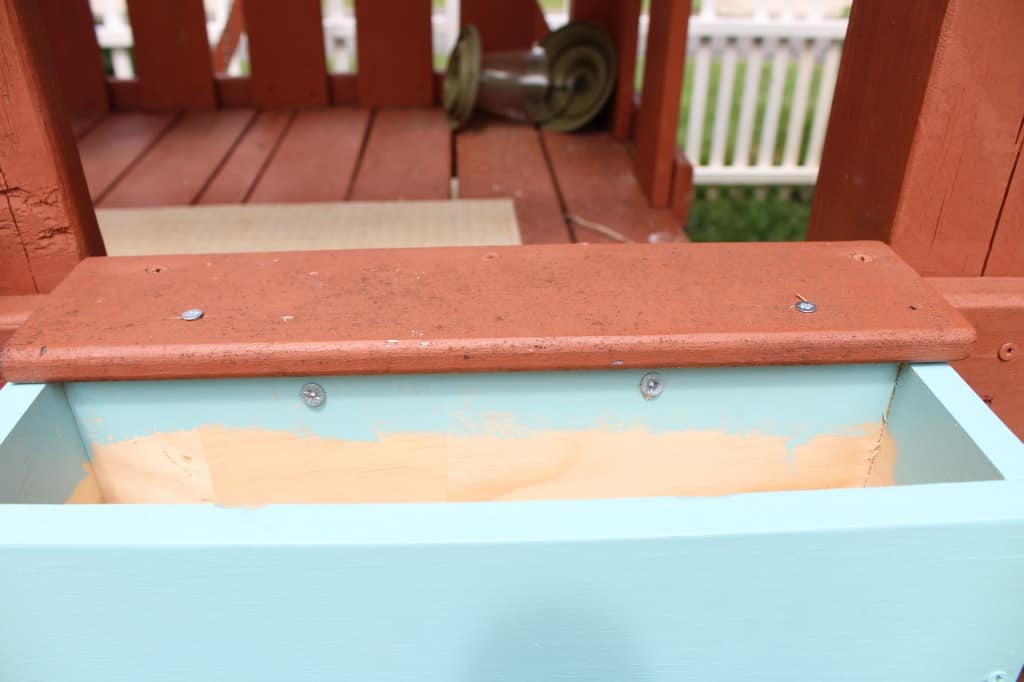
Next I attached it to the playset. This step will vary but I used two screws to attached the box to the outside wall of the playset and then screwed two more through the window ledge into the box.
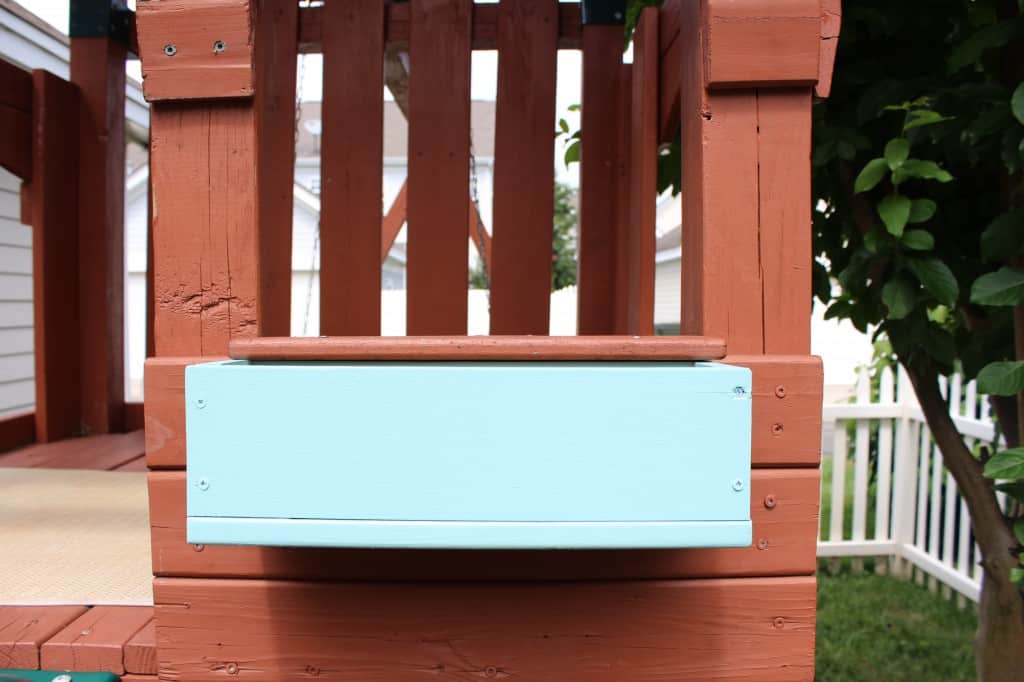
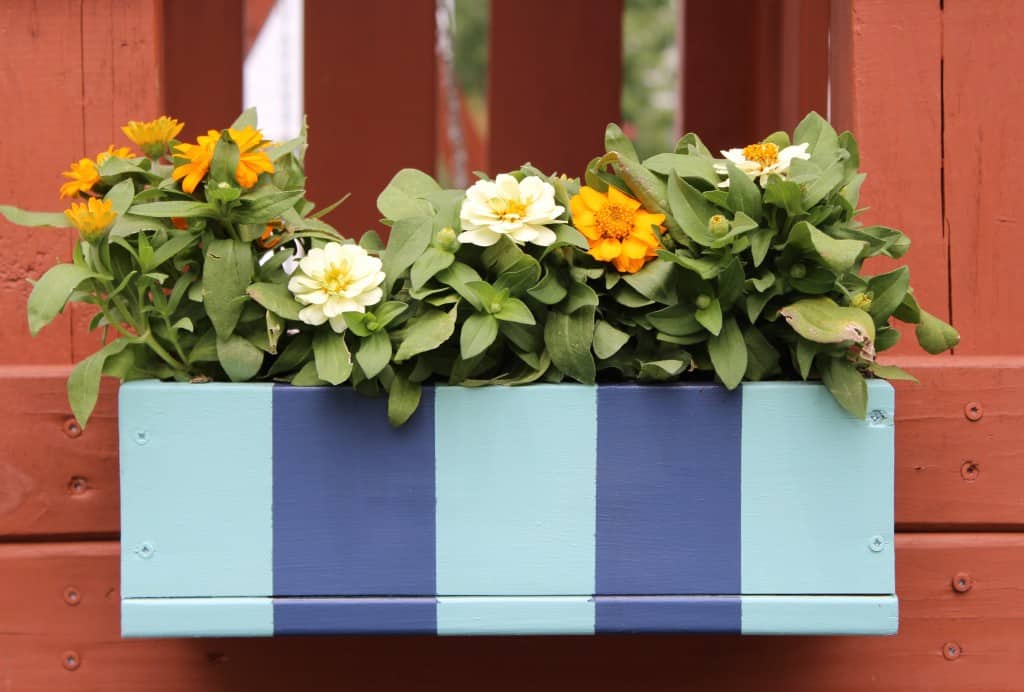
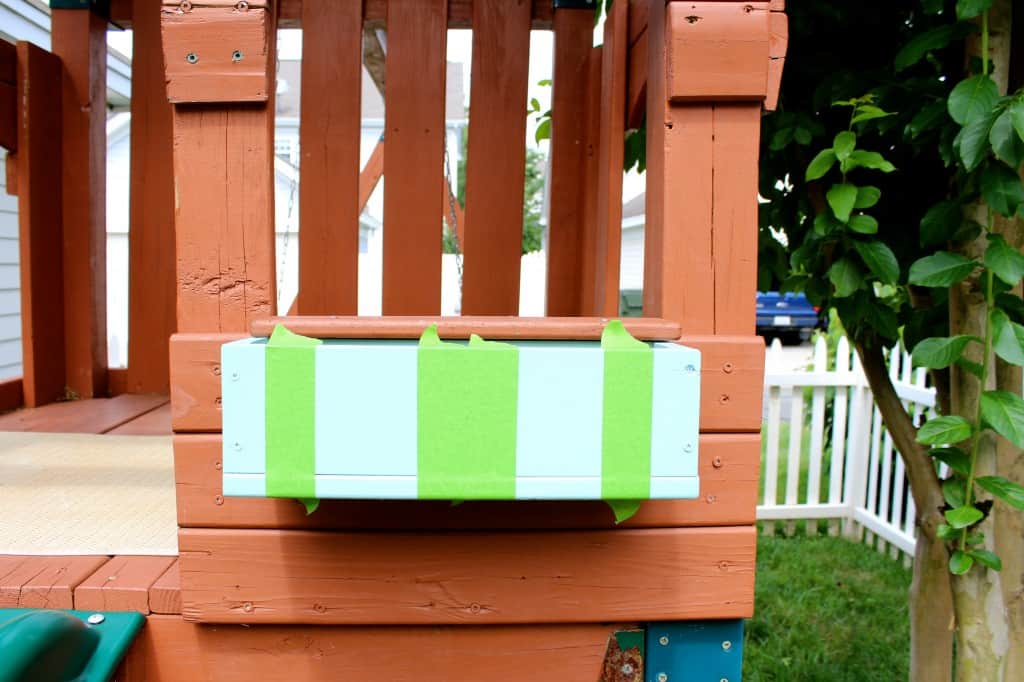
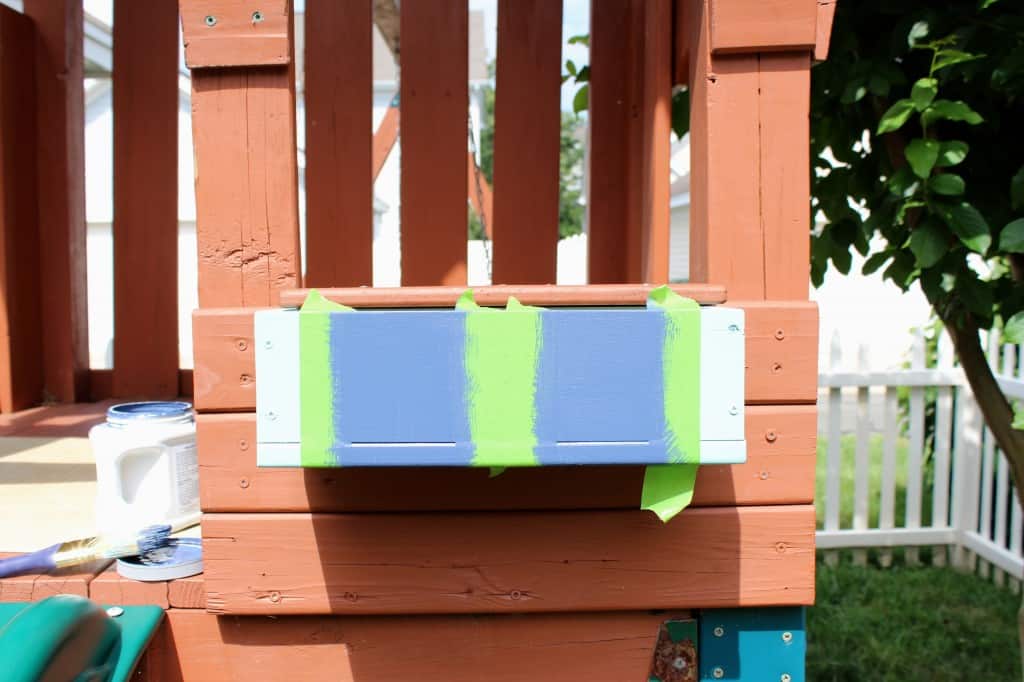
To paint the stripes I used my favorite Frog Tape painters tape and gave it two quick coats of Sherwin Williams, Indigo Batik. It was hot outside so it took only a few minutes for the first coat to dry enough to paint the second.
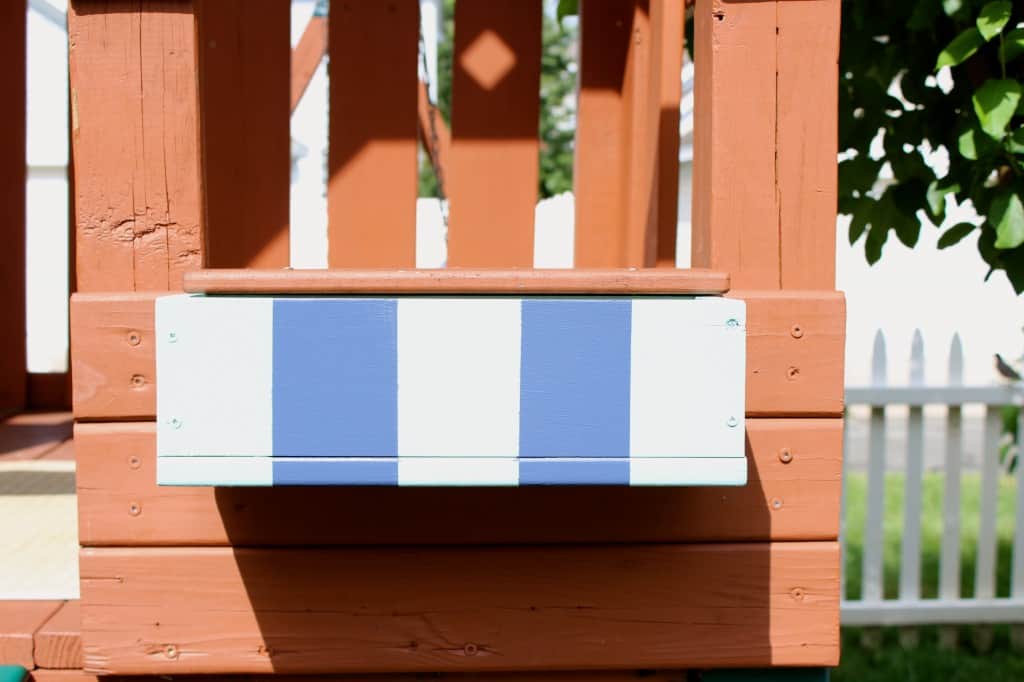
Then I removed the tape and voila!
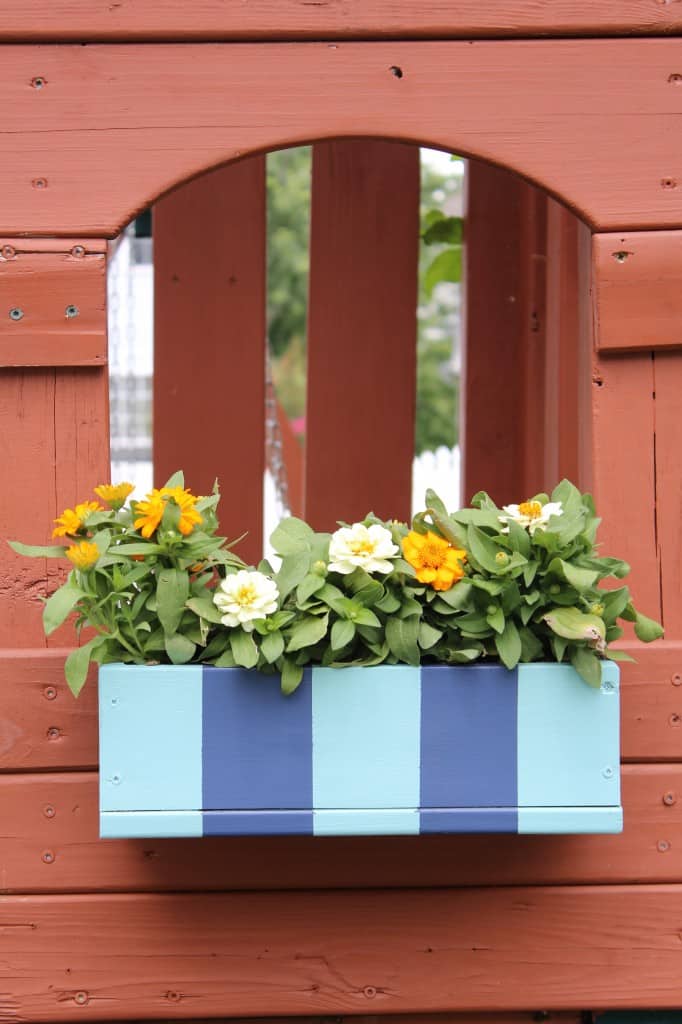
We planted some pretty flowers that we grabbed from Home Depot and gave them a good watering. Isn’t it cute?
You should check out this post too for another planter box option. I really love Melaine’s tape idea!
I hope you all have a wonderful week and stay tuned for more backyard projects and style challenge updates!
LINKING UP:
Upcycled Treasures // Place Of My Taste // Just A Girl And Her Blog // Joy In Our Home // Savvy Southern Style // Everyday Enchanting // AKA Design + Life // Living Well Spending Less // Remodelaholic // Just A Girl And Her Blog

Very very nice and thanks for the tutorial. I have been eyeing DIY window boxes for some time and this helps :)
Thanks so much!
So cute! And I can’t wait to see what you do with the Style Challenge!
Thanks so much Kris!! I’m stressing but crossing my fingers it will come together :)
This is darling! you seriously make some awsome DIY. Maybe I can comission you to make some for me and I can get them from you at Haven? ;-)
Thanks Krystine! Of course you can :)
Love it! Such a great idea to spruce up his play structure :)
Thanks Kendra!!
Super adorable!
Thanks Julia!
This is so cute, Summer! I love simple and colorful projects!Pinning!♥
Thanks so much Aniko!