How To Refinish A Natural Wood Dining Room Tabletop
Happy Monday friends!
I’m excited to finally share the simple tutorial for our recently refinished tabletop today! Now this is not rocket science, but in the event that someone (like me) gets that itch for decor change on a regular basis this is an easy DIY to make a quick change.
Our dining table was my very first furniture DIY – probably 8 or so years ago – and I truly still love it! It was unfinished when I bought it off of Craigslist and I painted and distressed the legs and stained the top dark with a glossy clear coat. This style served us well for many years (don’t worry it’s still very in style, you know, modern farmhouse and all) but I needed a change to something a little more fresh and modern for my taste.
I recently saw a similar table in one of our favorite cafés, Amelie’s, and decided I love the raw, natural wood with a matte finish rather than glossy. Then and there I decided I wanted to change our table and the next day I had it in our garage ready to sand. Luckily I knew the paint and distressing on the legs would work fine with the new tabletop but the process would be the same if you wanted to sand the legs too. It would just take a little more hand sanding to get in those grooves.
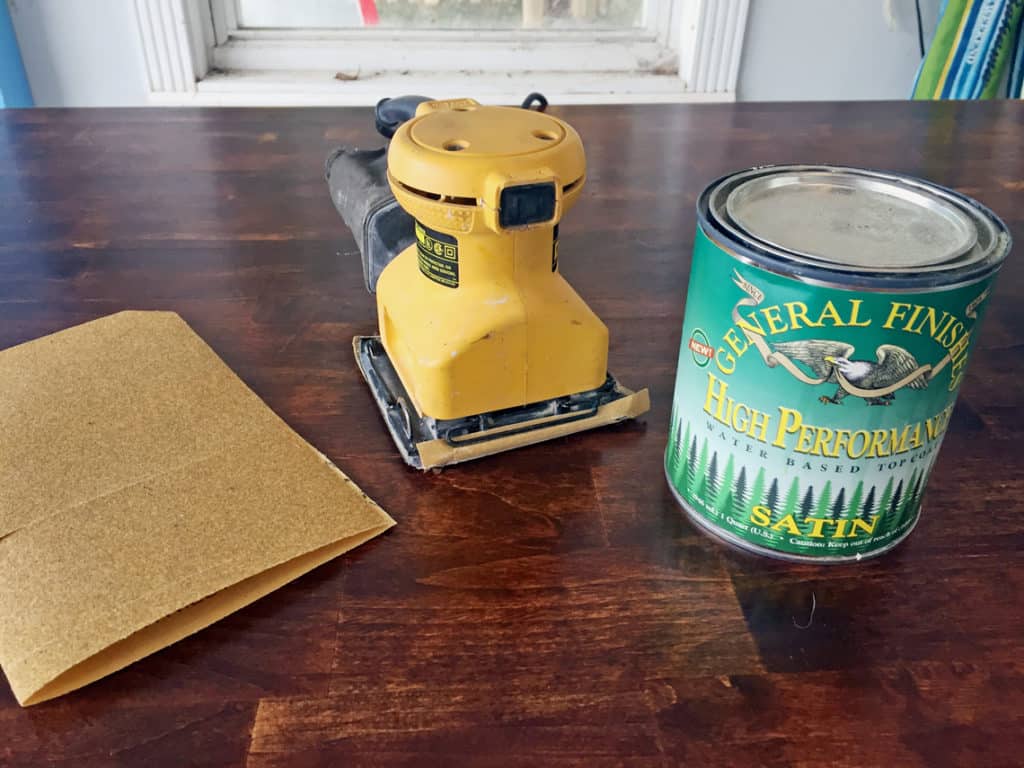
Like I said this isn’t a very difficult DIY, it just takes a little time to make sure you get it sanded down the way you want. Here are the tools you need and the process I used:
Tools
- Electric sander
- Sandpaper (a low grit 60 or 80, and a high grit 220)
- Towels or cheese cloth
- Clear top coat (I use General Finishes Clear Satin Top Coat)
- Rubber gloves
- Good paper towels (I used Viva)
Instructions
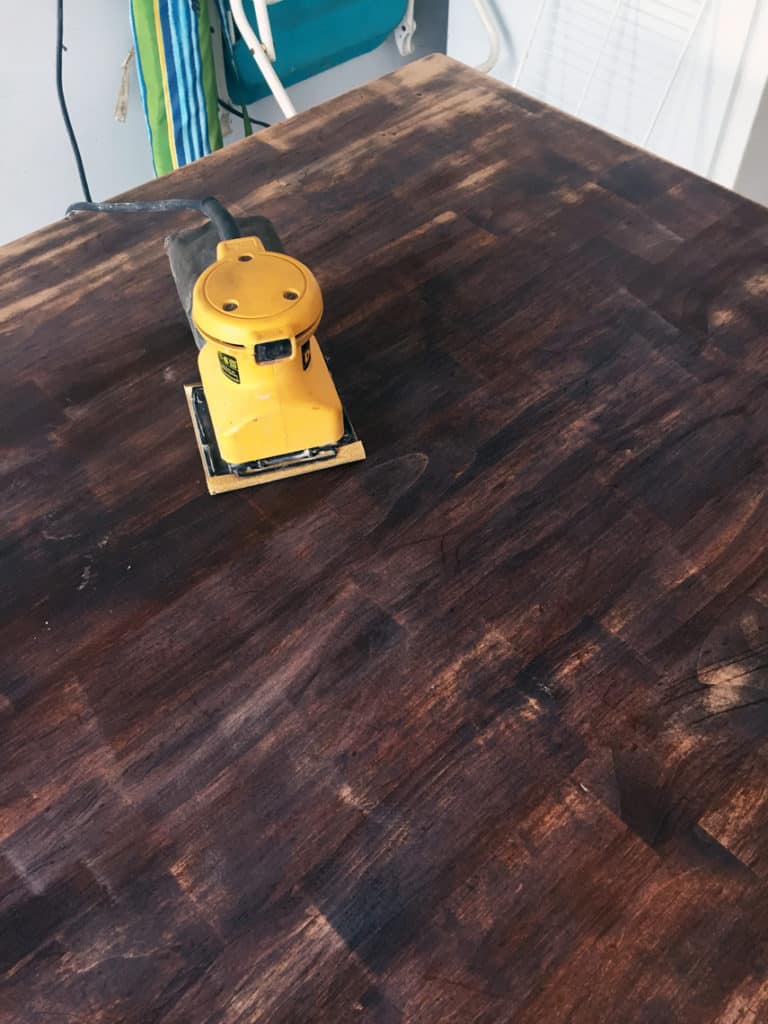
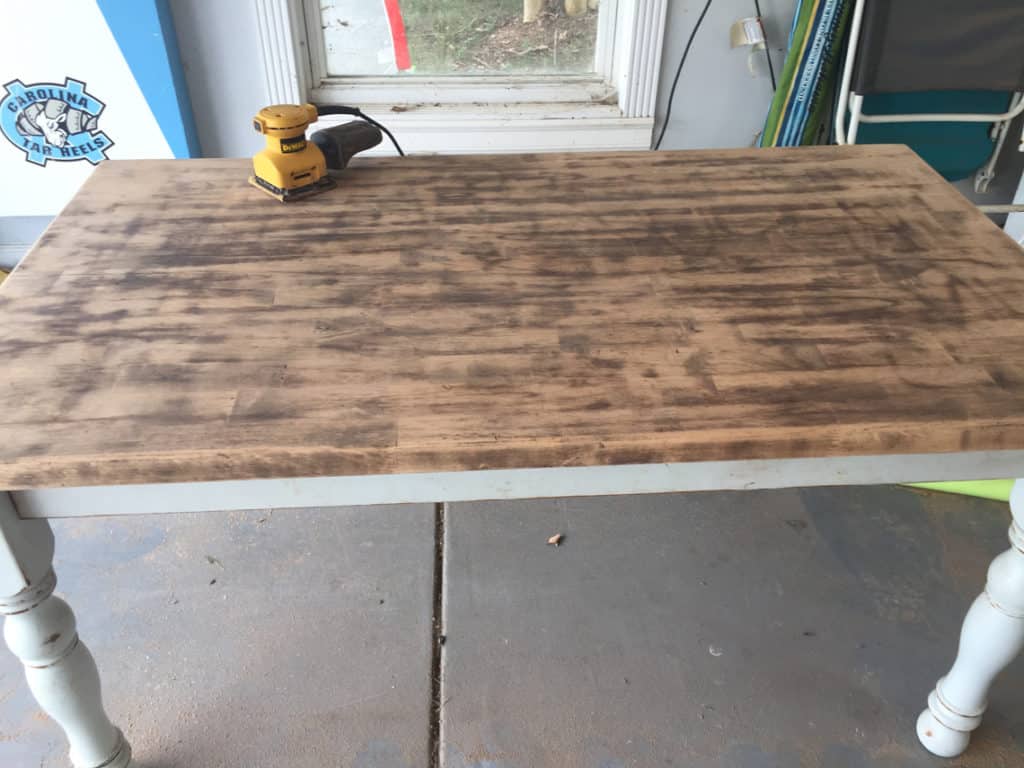
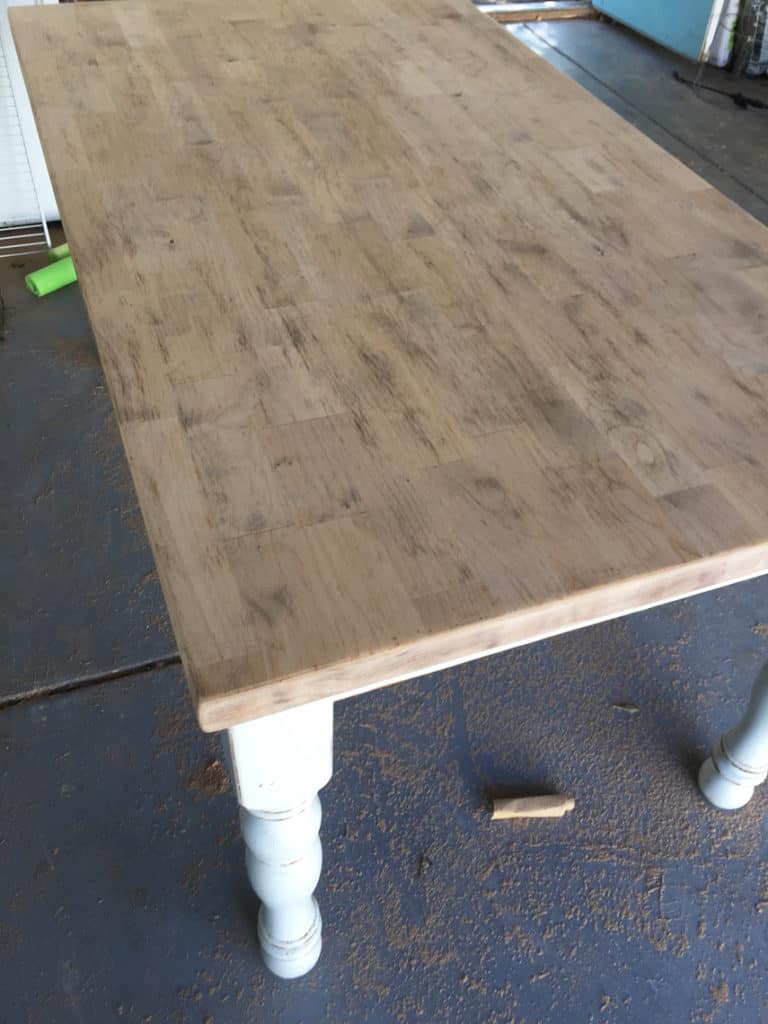
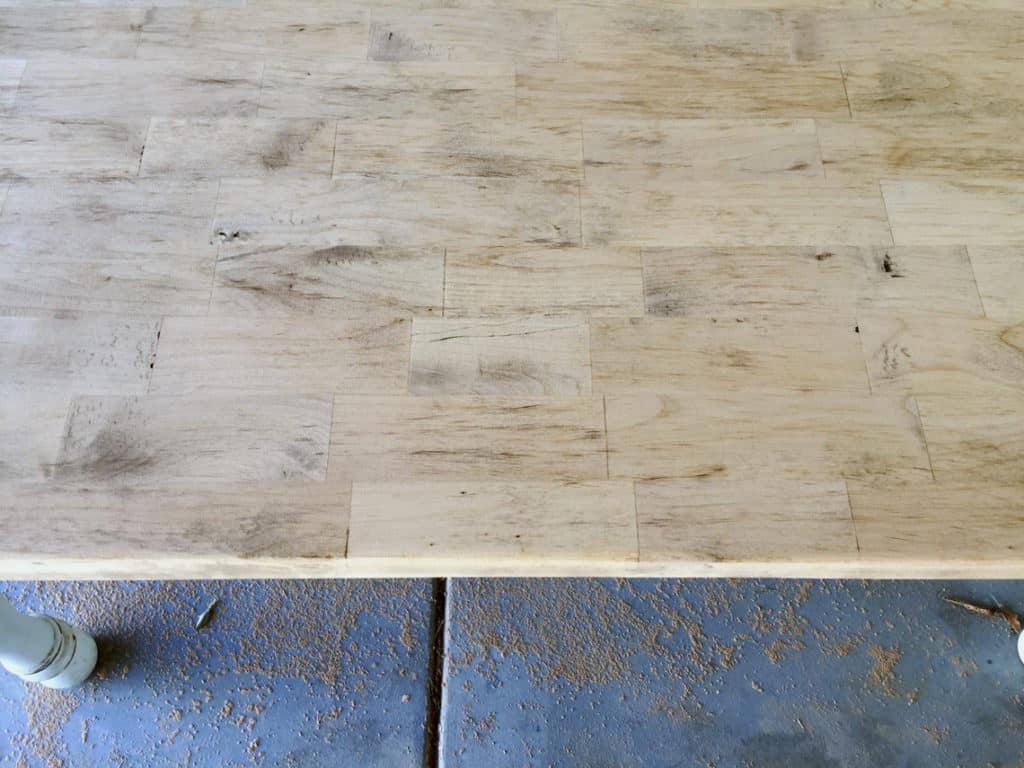
Using your electric sander and the low grit sandpaper, sand the table until all of the the stain is gone. When you wipe the dust away the natural wood should be showing to your liking and as even as possible. The lower the sandpaper grit the quicker it will go but be patient, it could take quite a few sheets of paper until you get it where you want it. Wipe the table down and when you’re happy with it, lightly sand it all over with the 220 grit sandpaper until the wood is smooth.
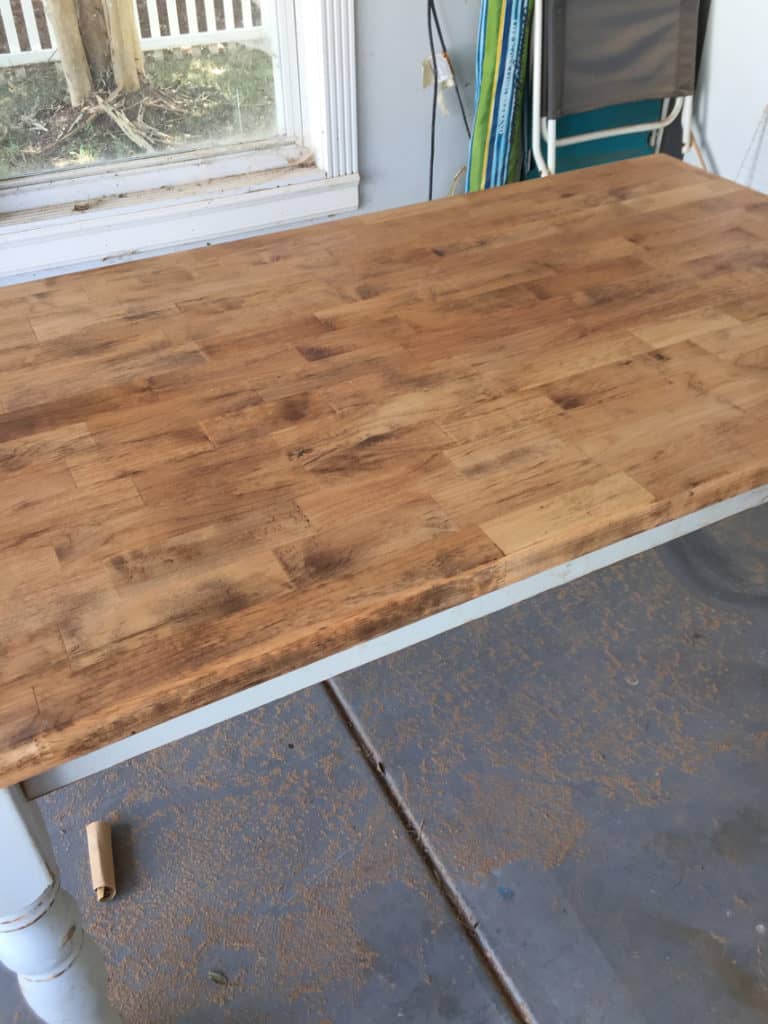
Next, wipe the table down several times with cheese cloth or a damp towel (then dry towel) making sure all of the dust is gone. Once the dust is gone and the table is dry it’s time to seal. Put on your rubber gloves and pour a generous amount of top coat onto a section of the table and wipe on using a pad of paper towels, making sure to wipe off any excess. I’m sure there is a fancier tool to use instead of paper towels but I prefer them. Don’t use cheap paper towels with patterns in them as they tend to flake off. The plain Viva paper towels are perfect. And I suggest pulling off a few and folding into squares to have ready as this process goes fast. Do this until the entire table and edges are evenly covered.
Once you have the top coat rubbed evenly into the entire tabletop let it dry per the instructions on the can. When the top coat is fully dry, lightly sand again with the 220 grit sandpaper just until smooth. Repeat this process again totaling 3 coats of the top coat. Let the last coat cure for at least 24 hours then admire your handy work and start serving meals again :)
Here is the table before.
The key tools.
The beginning of the sanding process.
The middle of the sanding process.
Almost at the end of sanding.
Where I want it.
Clear coat on but still wet.
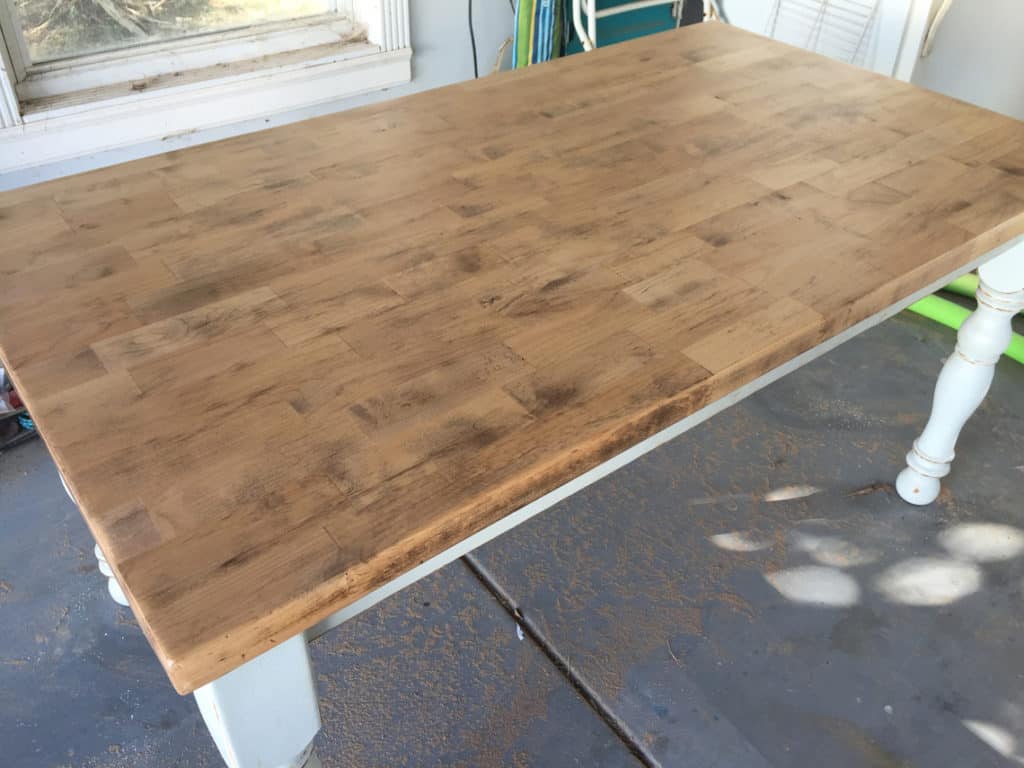
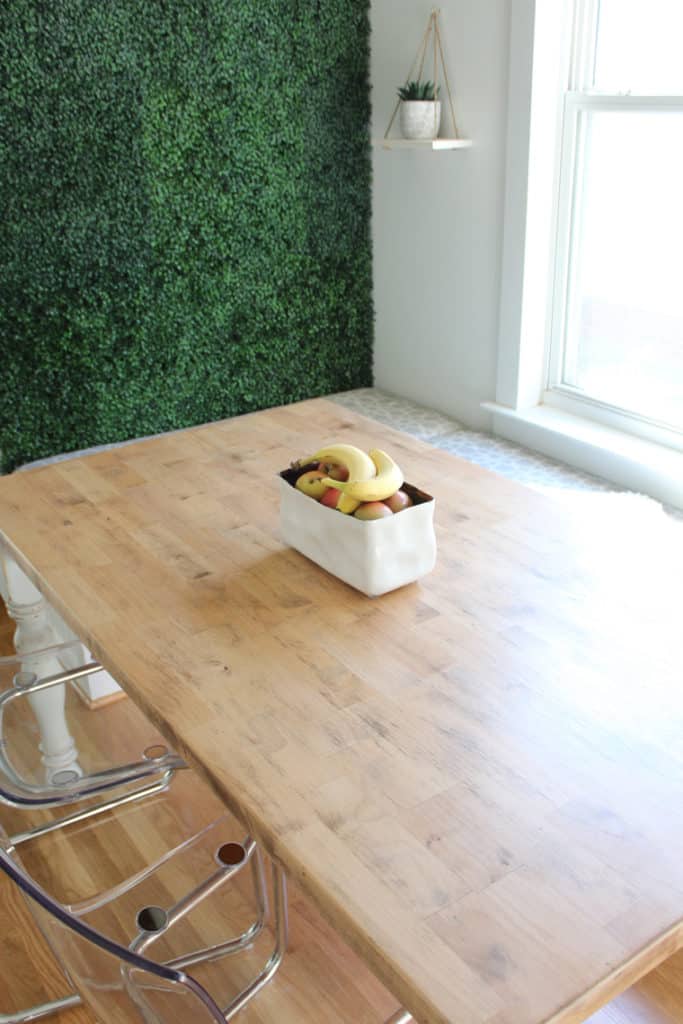
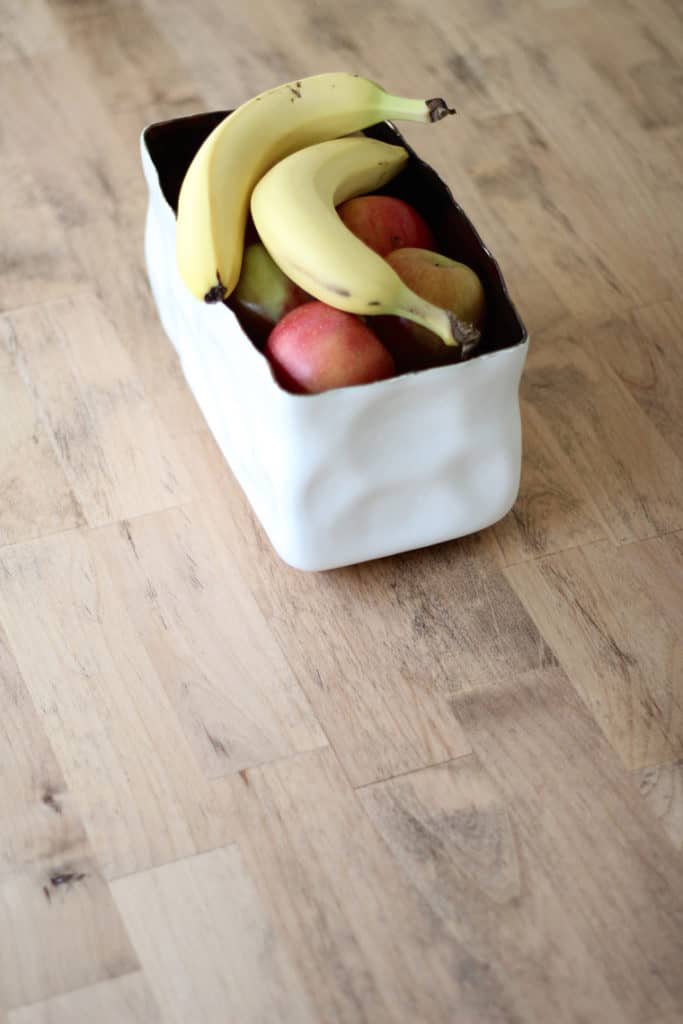
Clear coat dry and table finished.
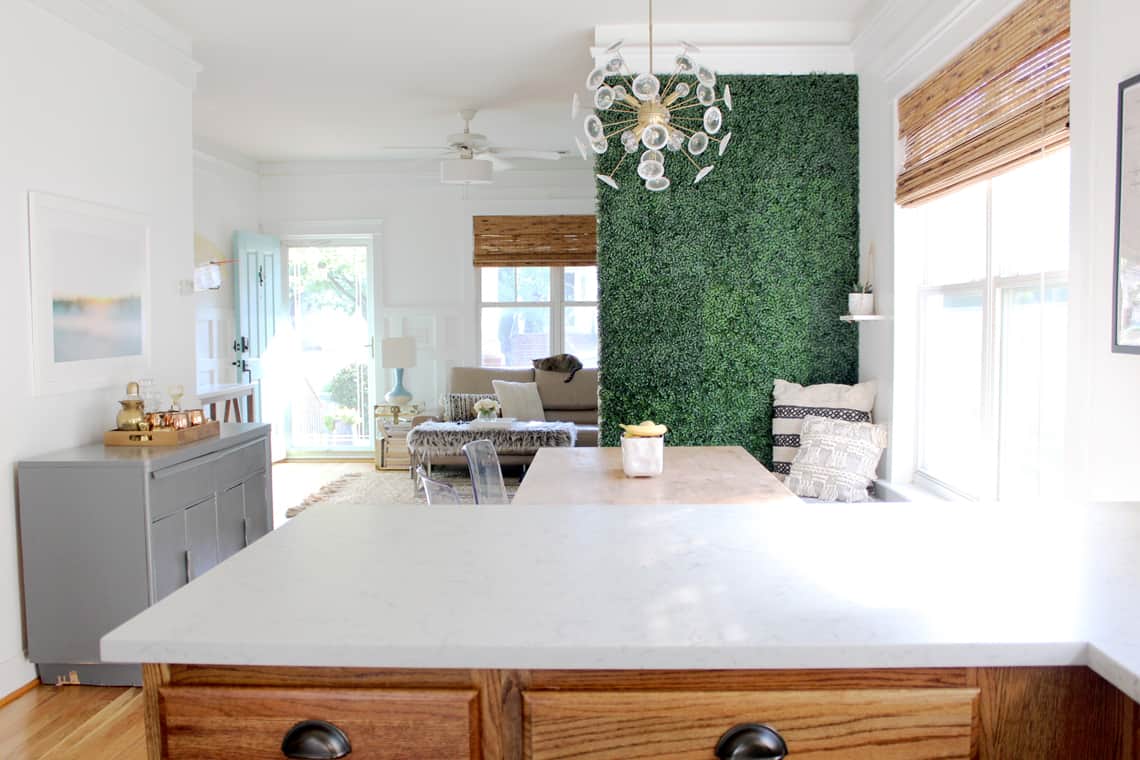
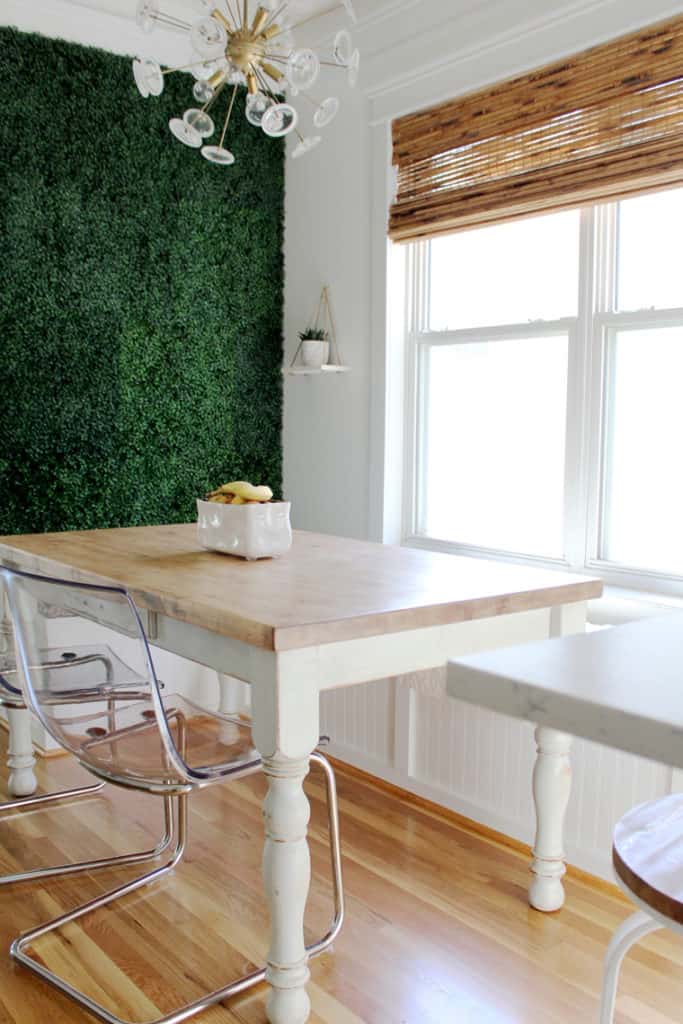
Back in action.
Do you see how the satin top coat is not glossy at all? This is exactly what I was going for.
Easy peasy, right?!?! What do you guys think? Does refinishing furniture scare you or have you tried it before?
If I can do this you definitely can! This one is more about patience than technique really, but you can definitely tackle it in one weekend!
Cheers!





I love it. I am really loving the light natural wood finishes too and the matte finish is perfect.
Me too! Thanks so much Marty!