DIY Chalkboard Pizza Peel Teacher Gifts
Hi Y’all,
I hope you’re having a great day. Mom and I decided to take little man to see Santa Claus today and do you know what his response was? “No thanks.” At least he used his manners, right?
But against better judgment we tried anyway thinking he would change his mind but no such luck. He apparently does not feel the need to see Santa. Oh well, he knows what he wants.
Okay, so let’s move on to the main point of this post.
I have seen lots of chalkboard cutting boards on the internet like this or this and I knew that these would be a great gift for someone, at some point.
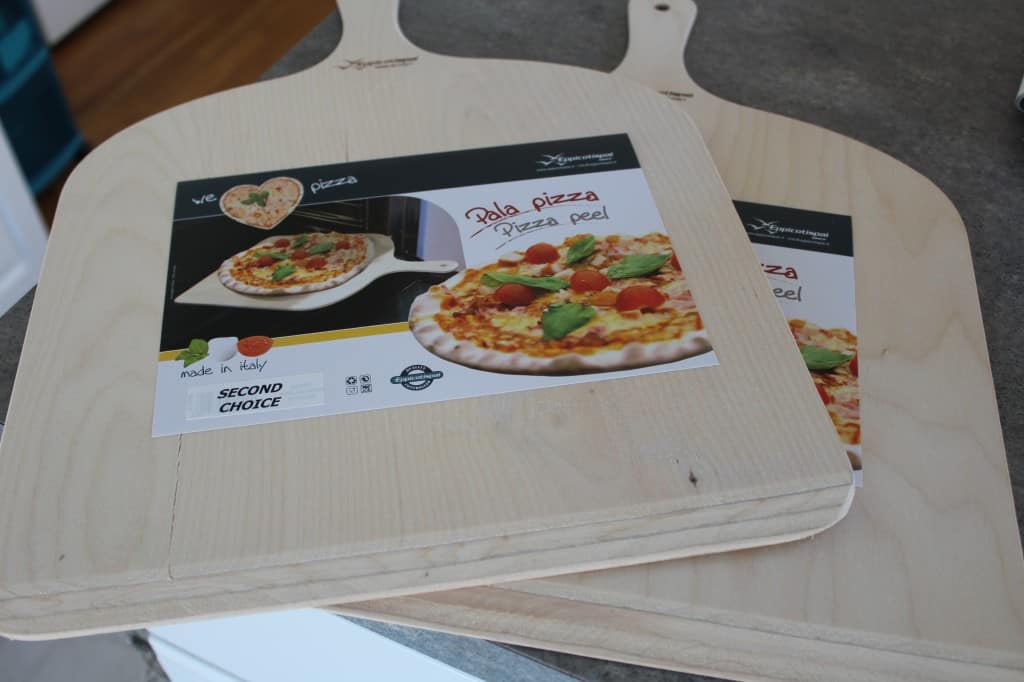
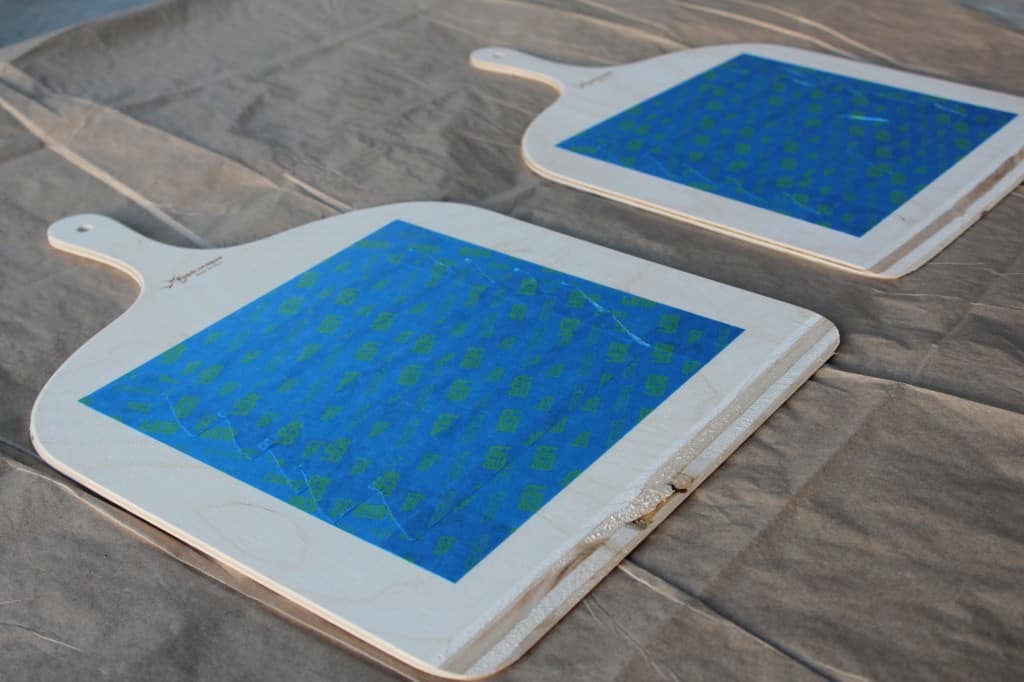
I started to see lots of boards at HomeGoods and then I ran across these pizza peels and a light bulb went off. (By the way I had no idea these things were called pizza peels, that’s just what the label said! LOL).
They were prefect. Thin and not to heavy to hang on the wall and raw wood = blank canvas. They also had predrilled holes in the handles. But best of all the price was $2.99 each so naturally I grabbed four.
Little man and I decided that this would be a perfect gift for his teachers. So we got to work.
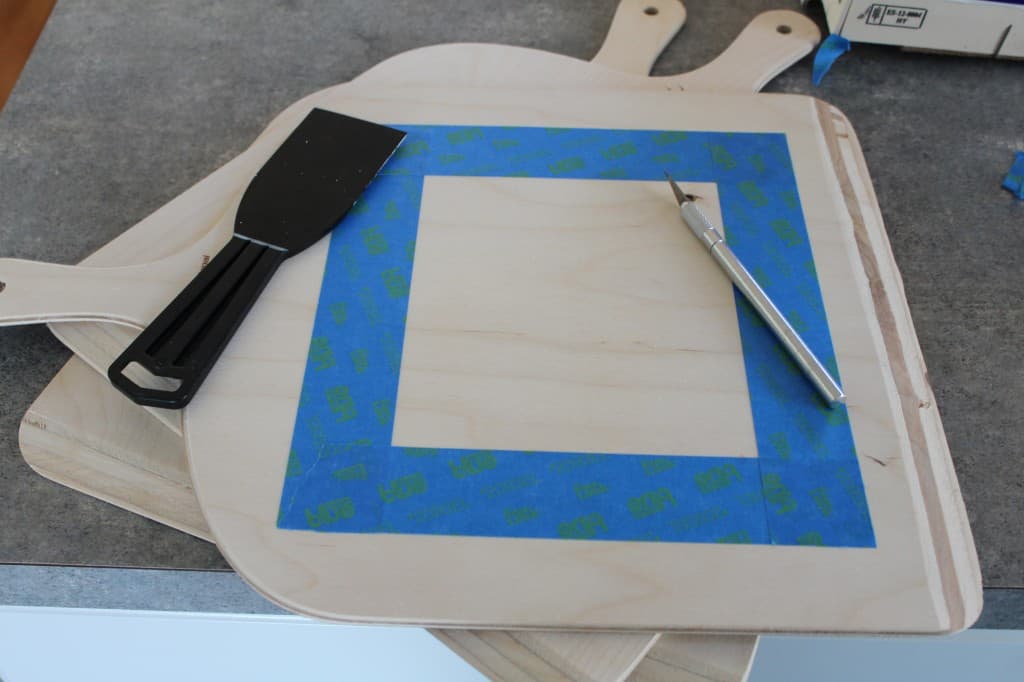
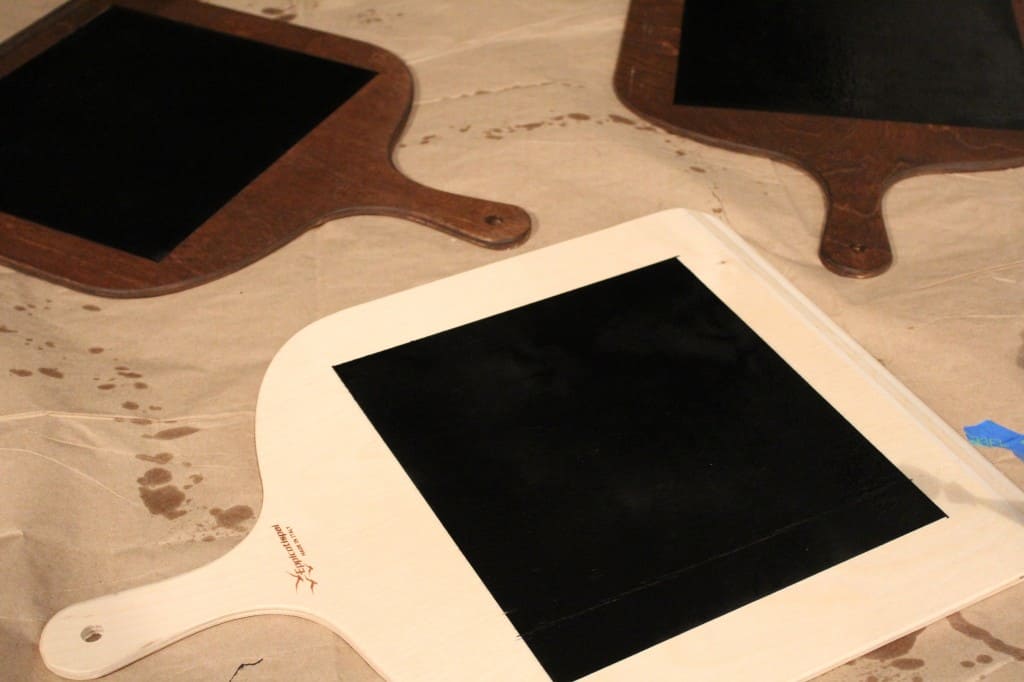
We decided to stain two of the boards and leave one natural. For the stained ones we taped off a square where we wanted the chalkboard paint to go and covered it while we stained.
I thought it would be easier to paint the chalkboard directly on the wood instead of staining it and then going back and using the chalkboard paint on top of the stain.
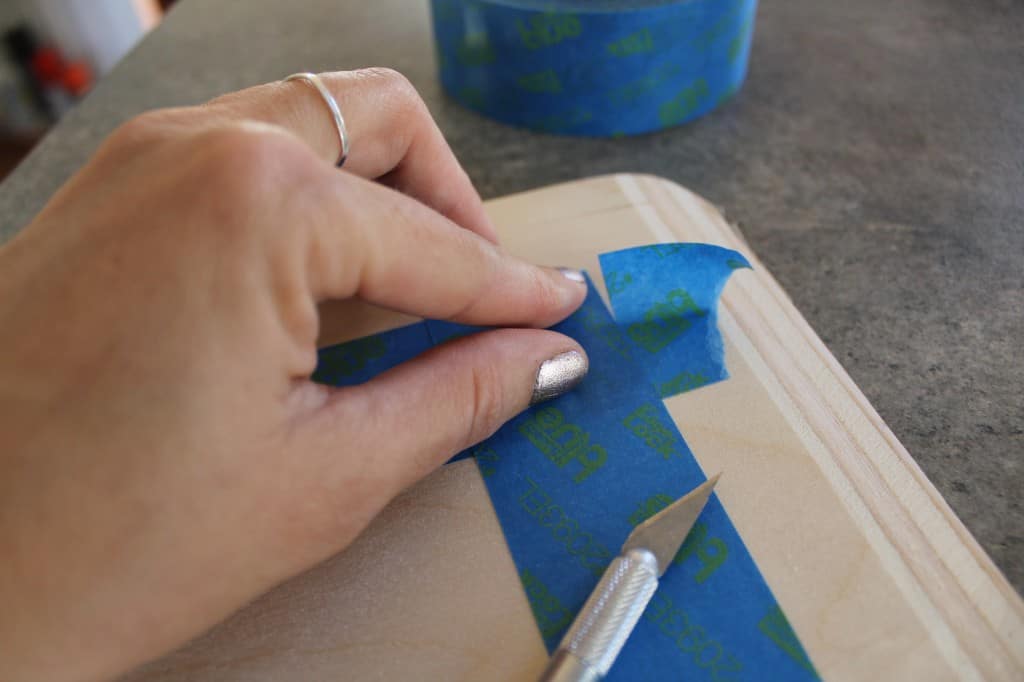
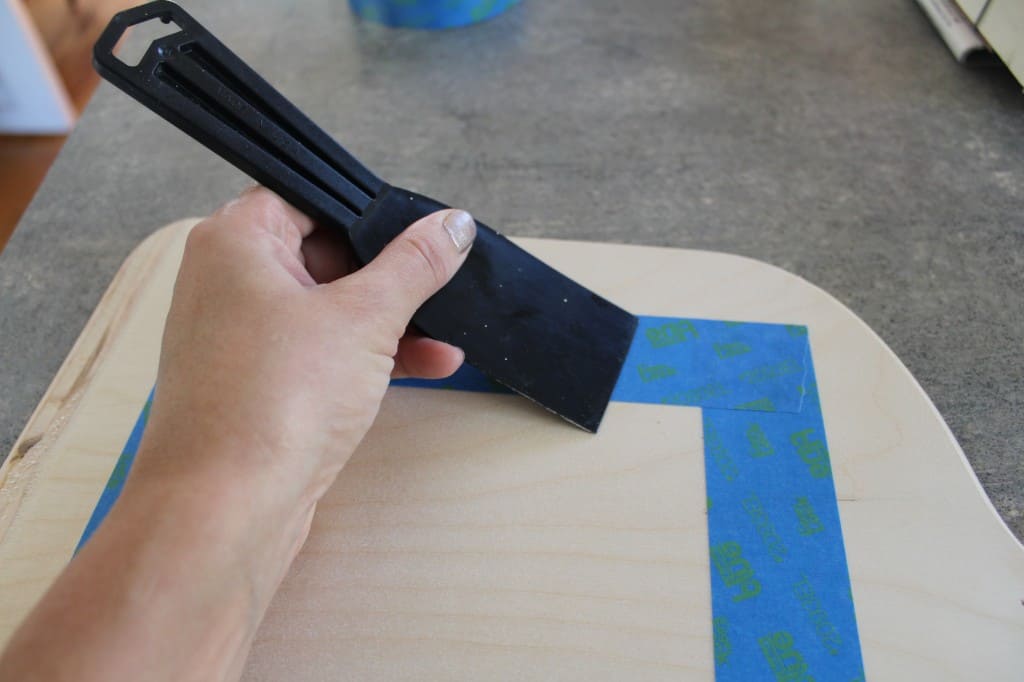

I used my X-Acto knife to trim the edges of the tape and the black spackle knife to make sure the tape was sealed. Then we took them to the garage for staining.
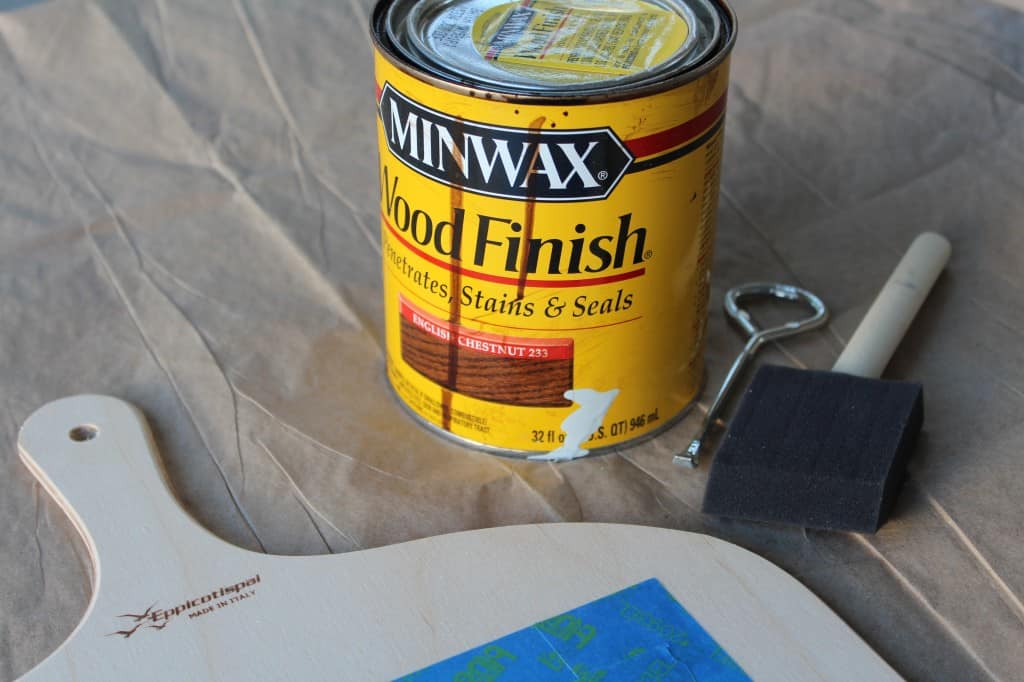
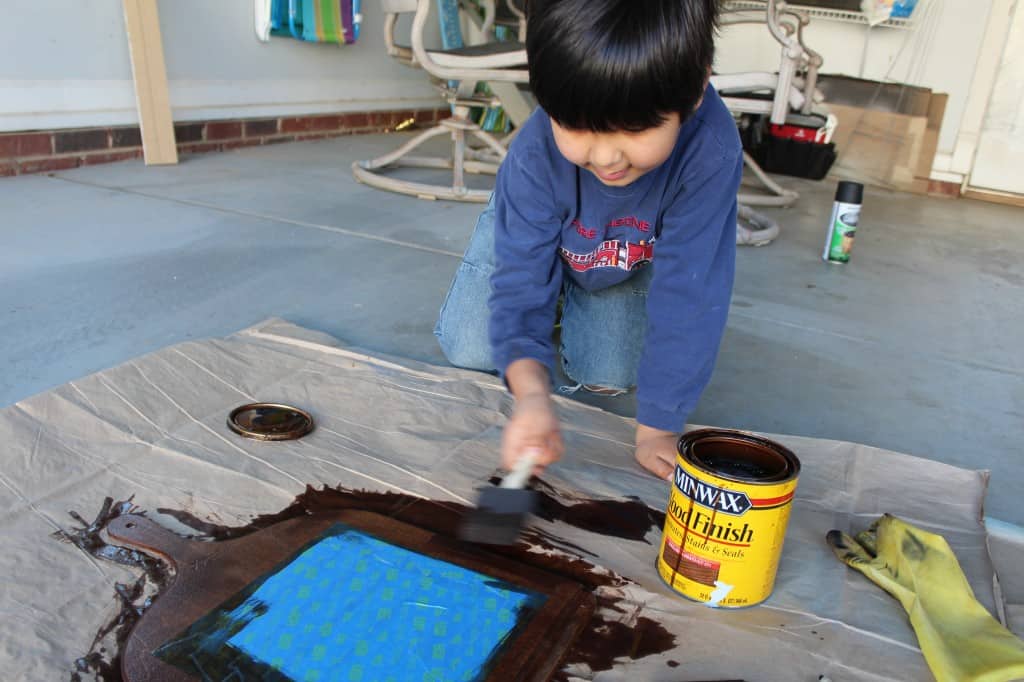
We applied two coats of stain and then wiped the boards with a dry cloth. About 20 minutes after we applied the second coat we pulled off the tape.
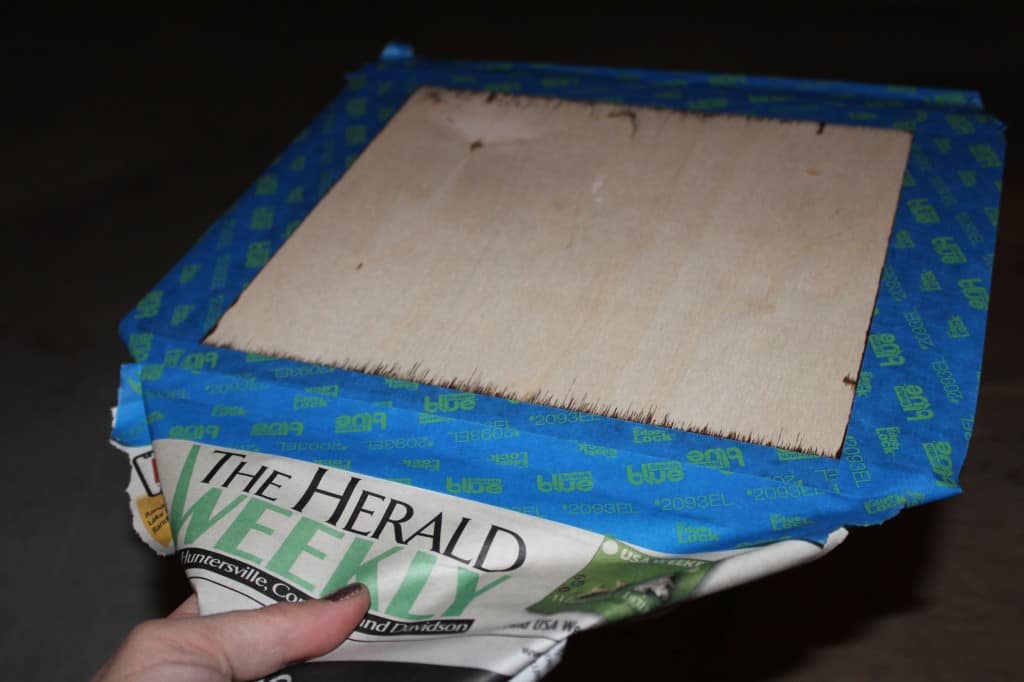
Then we let the stain dry for about 24 hours. It could have dried for a little longer but we were down to the wire on time now. Next we taped off the outside of the bare square and covered the stained part of the board with tape and newspaper.
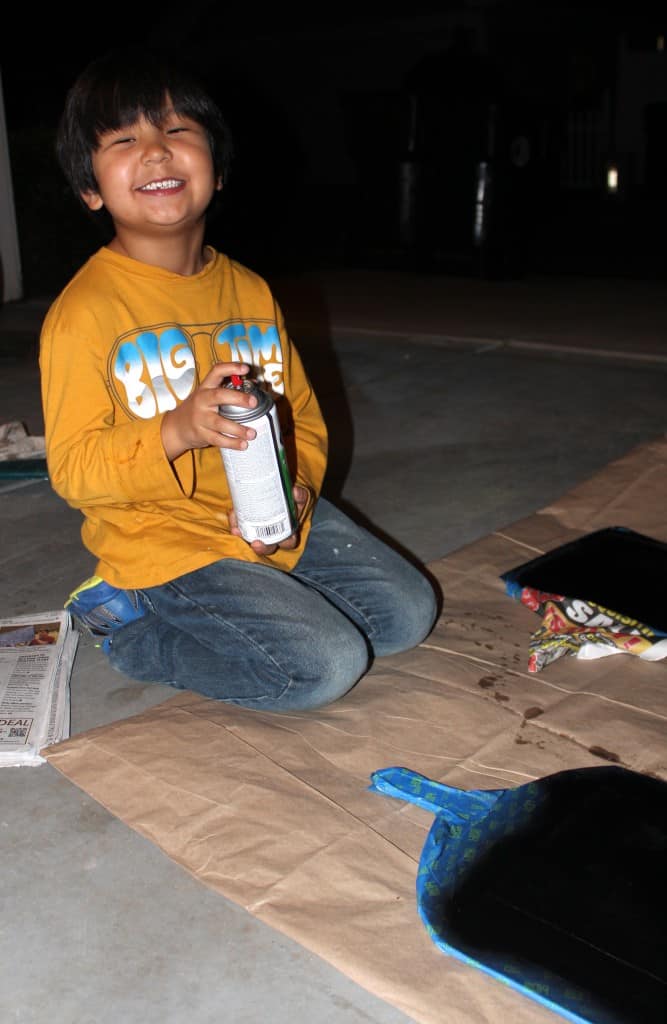
Then we sprayed two coats of chalkboard paint onto the square and after about 10-15 minutes we pulled the tape off. For crisper lines I always like to pull off my painters tape when the paint is still wet.
Sorry, these pics are pretty bad because we were painting in the garage and it was dark outside :)
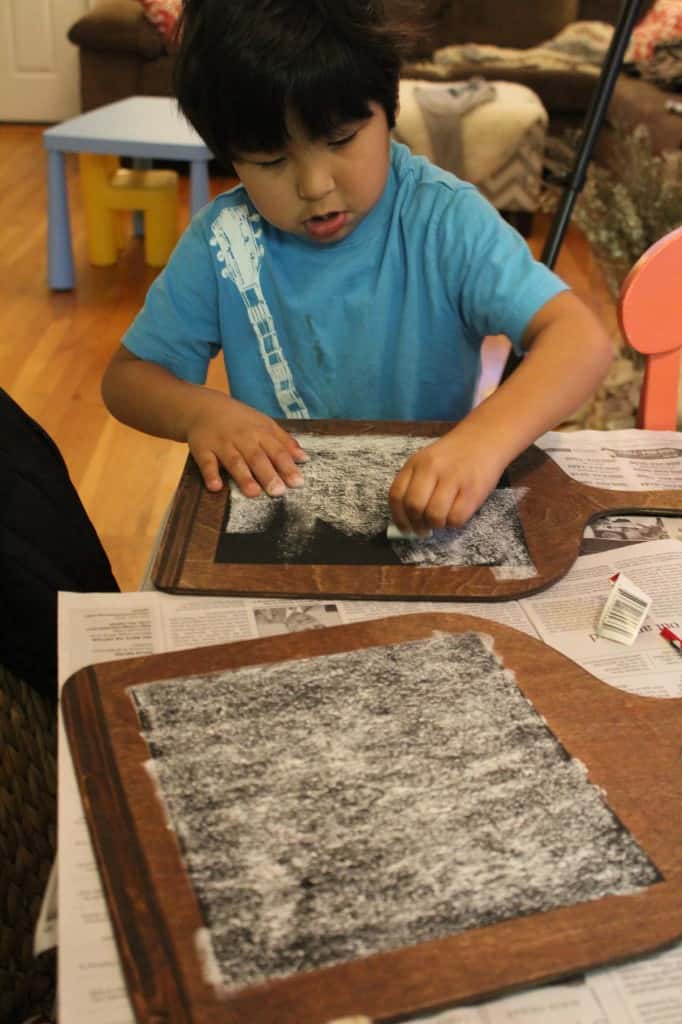
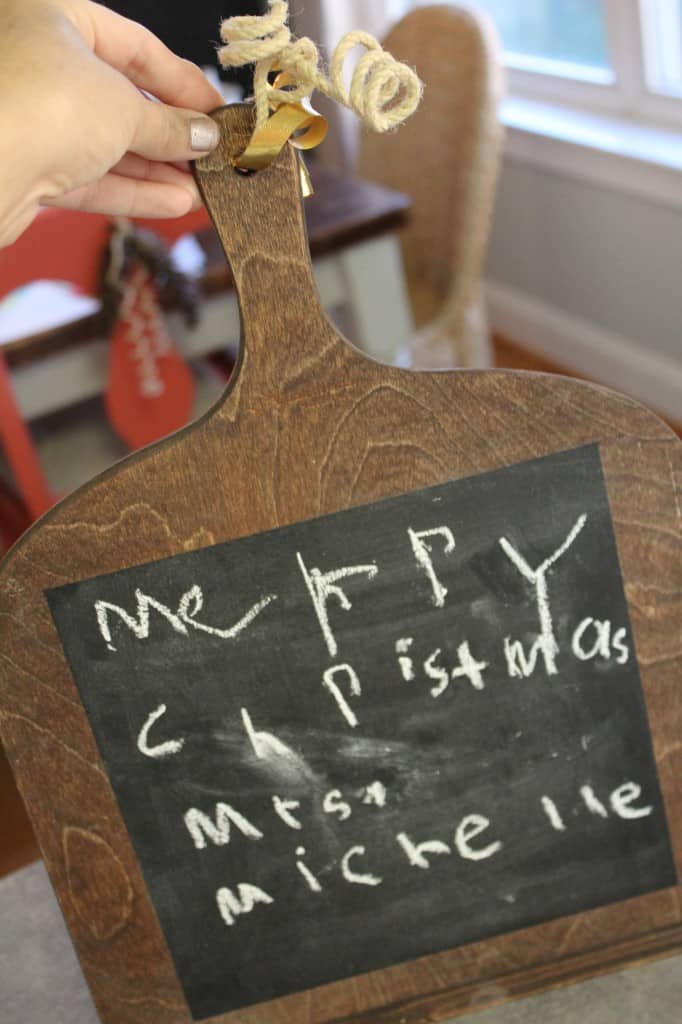
Once the paint was dry we little man seasoned them with chalk, wiped them down and wrote messages to each of his teachers.
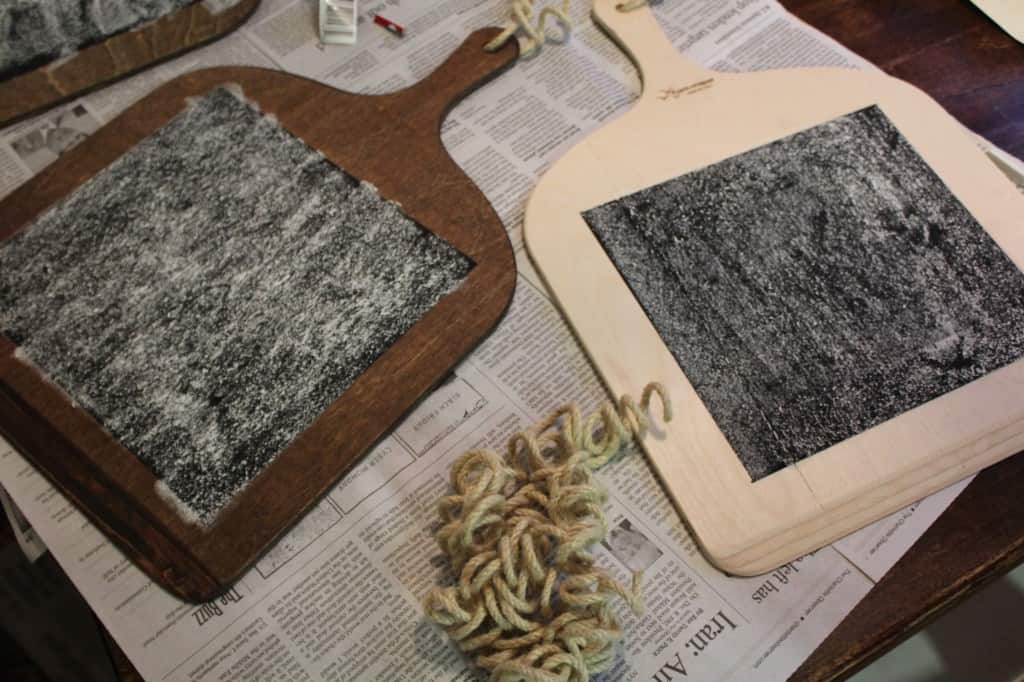
Finally we used twine to string through the hole in the handles and tied at the ends to make a loop to use for hanging.
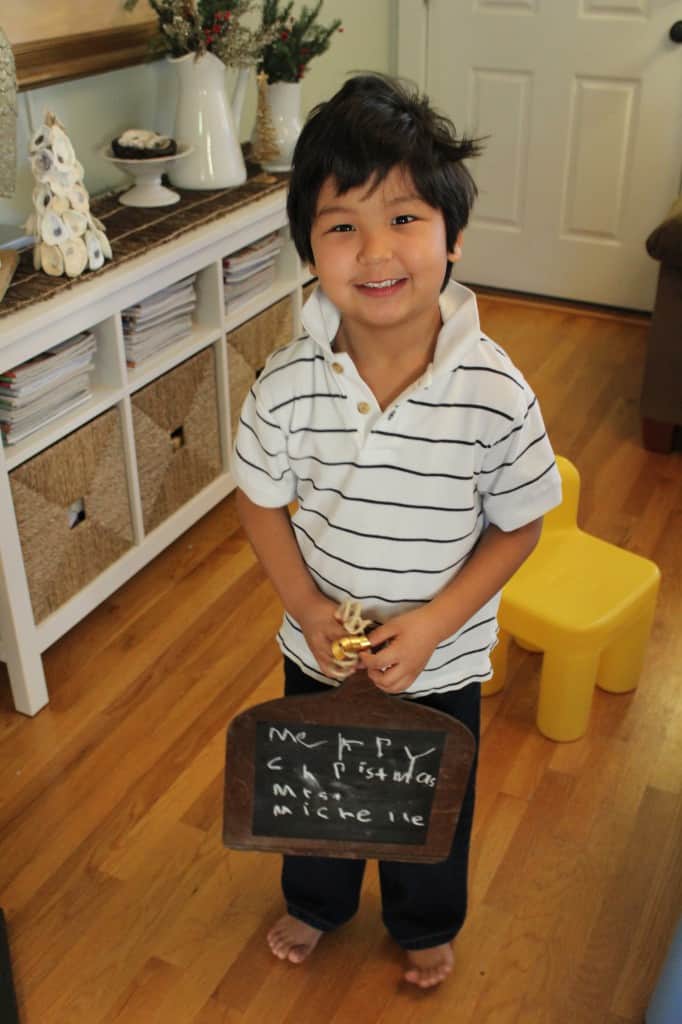
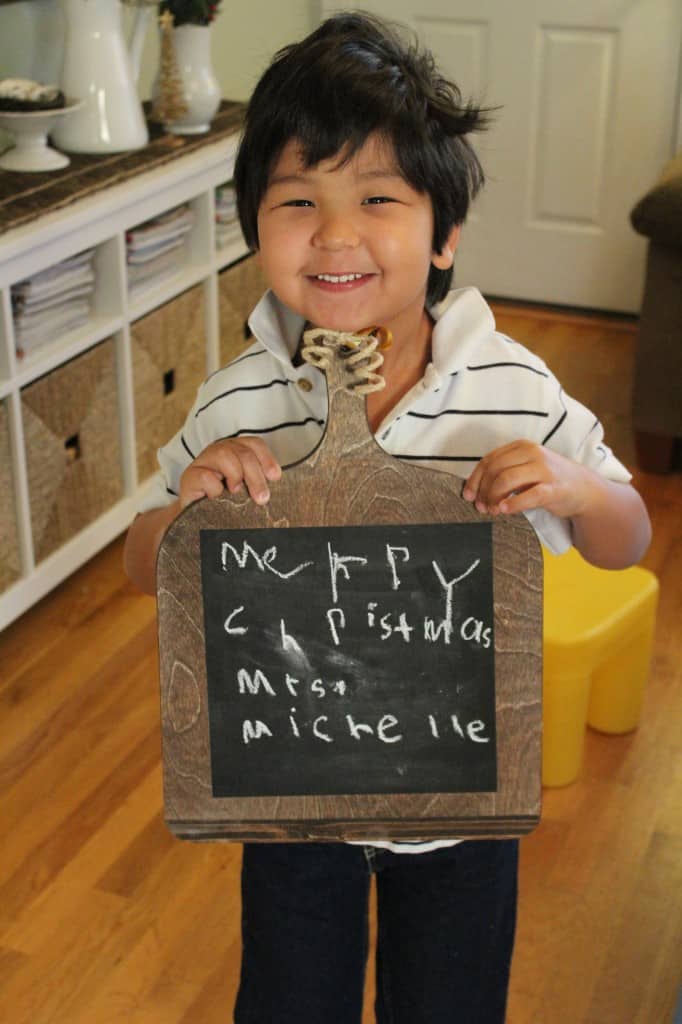
I thought these turned out as great teacher gifts since they are DIY of course but also because they are different and something that little man could participate in making. He was so proud of them and that makes me feel good as a mama.
What did you guys buy/make for teacher’s gifts?
This is always a tough one because they are probably getting 20-30 gifts and you really want to show them how much you appreciate them. I know we have been incredibly blessed with an amazing group of kindergarten teachers and I am so thankful for them!
**If you would like to pin this project you can do so by clicking on the DIY Project tab on the navigation bar and scrolling down to this project**


These are super cute gift ideas! I want one!!!
Thanks! I have one more :)
Ugh!!! This is an awesome idea! I wish I had seen it sooner. We did Brixx gift cards and pizza cutters this year. You’re so clever, Summer!!!
Thanks Rach :)
Such a great idea. I’m the lazy when it comes to teachers’ gifts. Gift cards it is for me ;)
Thanks Julia! This was only our first year of school so I know this won’t happen every year but it was fun this time :)