Blogger Stylin’ Home Tour: Organic Coastal Christmas 2013
Hi Y’all! Welcome to my home! I am so glad you’re here.
If you are joining me from Kristin’s site, Bliss at Home, thank you so much for stopping by! Isn’t Kristin amazing!
If you read my Christmas Sneak Peek post you probably already know that I decided to go with an organic coastal Christmas theme this year. I love all things coastal but I also fell in love with vegetable centerpieces when I saw Emily A. Clark’s blog post.
And since I have been committed to using what I already have around my home and spending less I thought this theme would be perfect.
So here is what I ended up with and it has been so much fun!
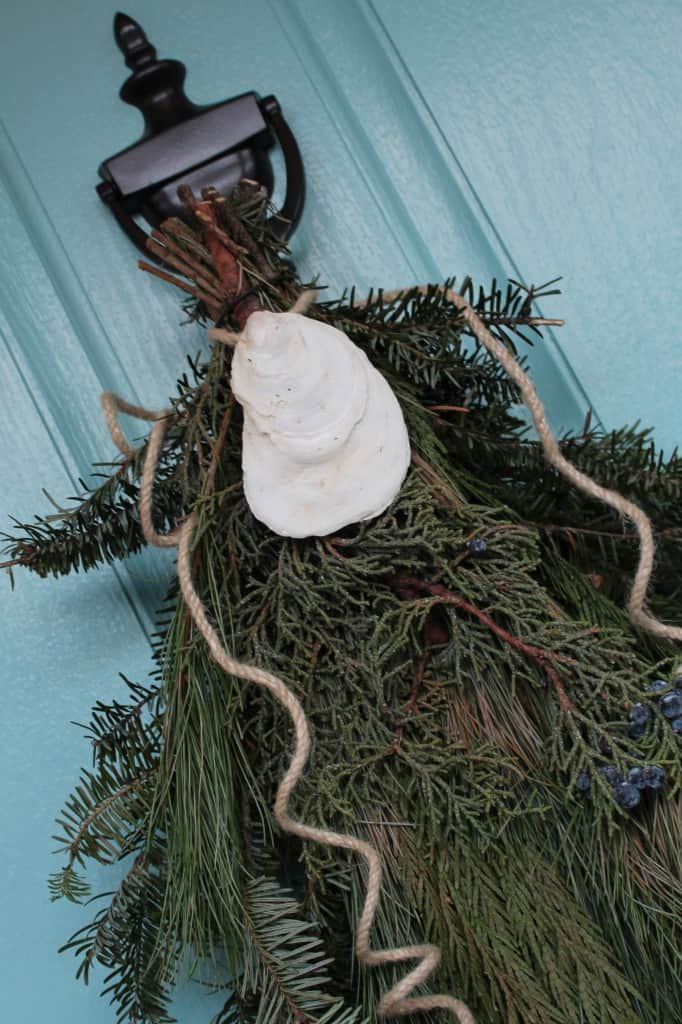
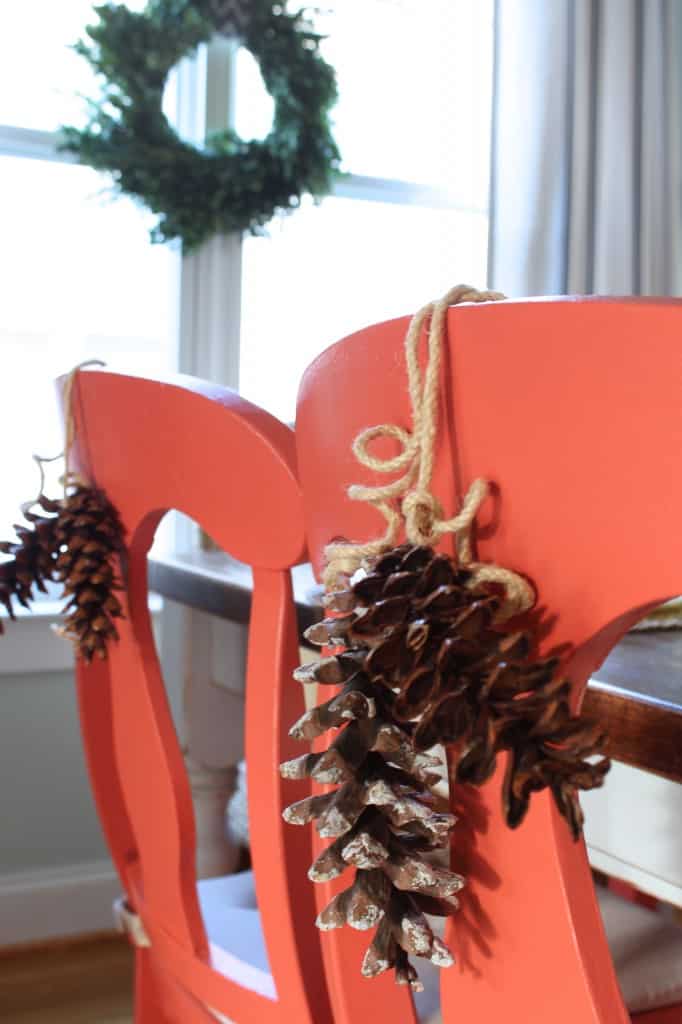
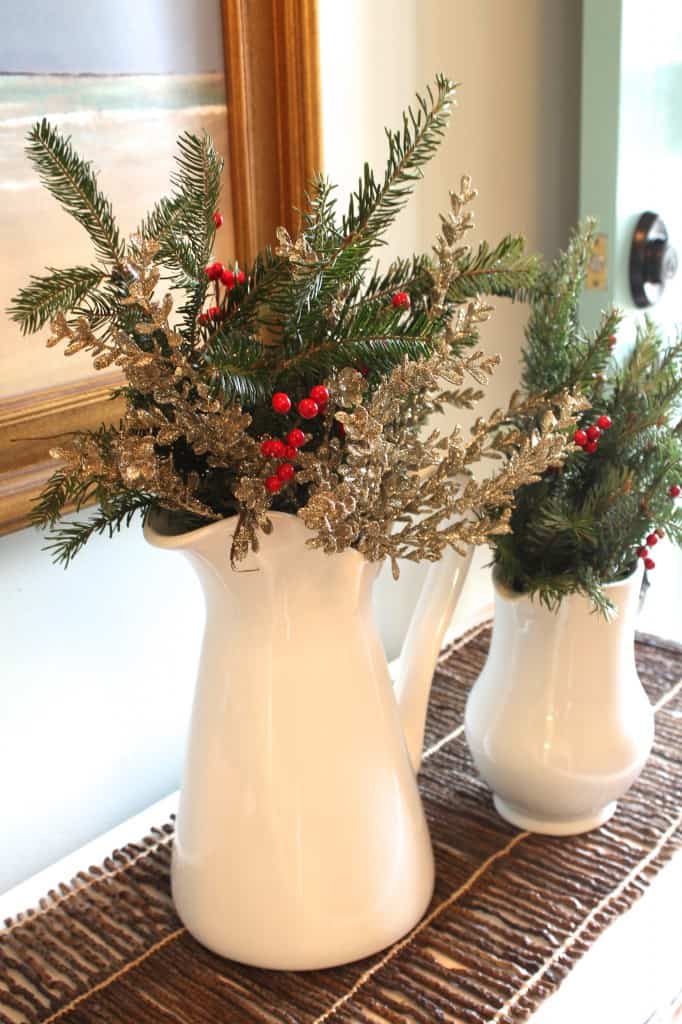
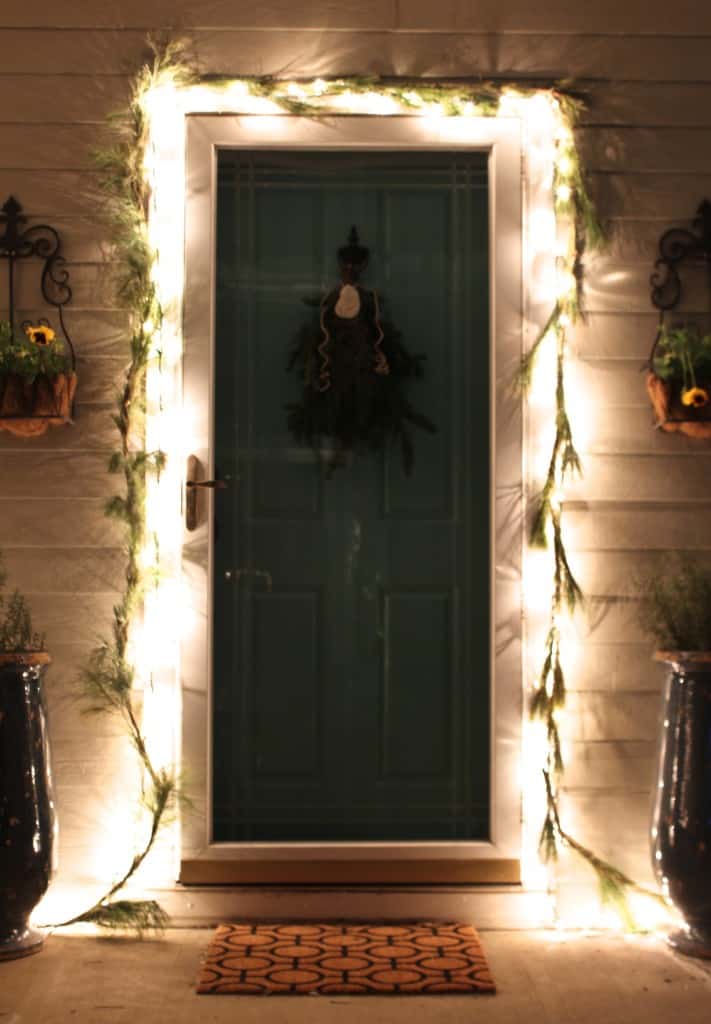
I am loving swag! I have never used or really thought about swag before but I think it gives a modern edge to traditional holiday decor. I’ve found that Trader Joe’s is the best source for inexpensive swag, garland and wreaths but you’ve got to get it early. All of mine came from TJ’s.
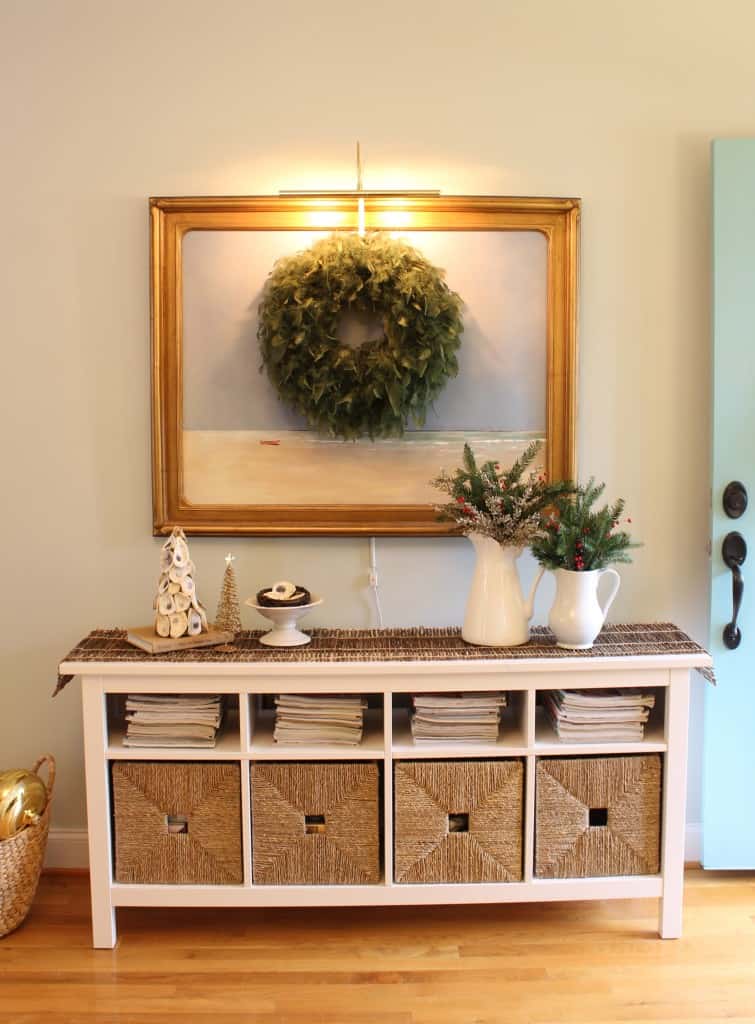
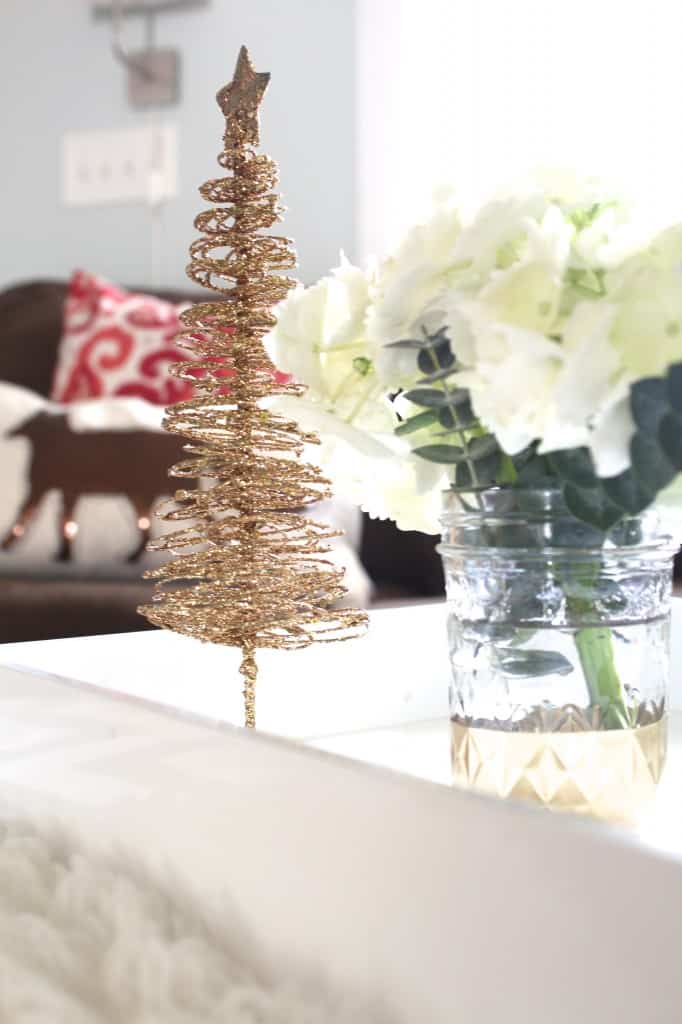
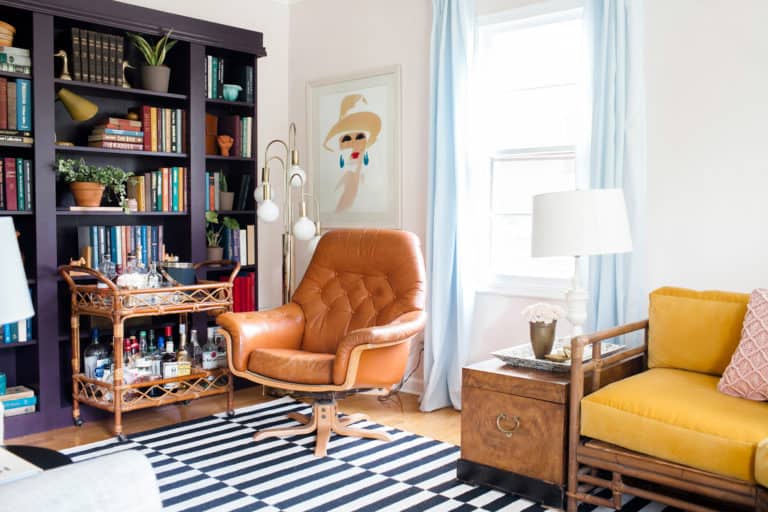
This is our entry way/living room and I love this IKEA buffet because it always makes a great place for a simple vignette.
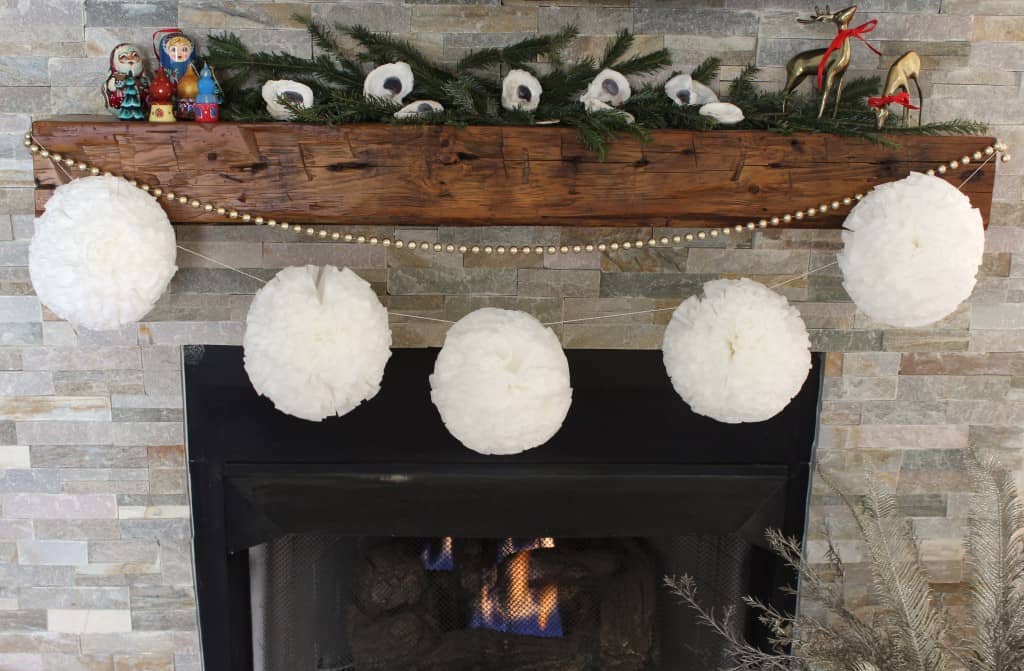
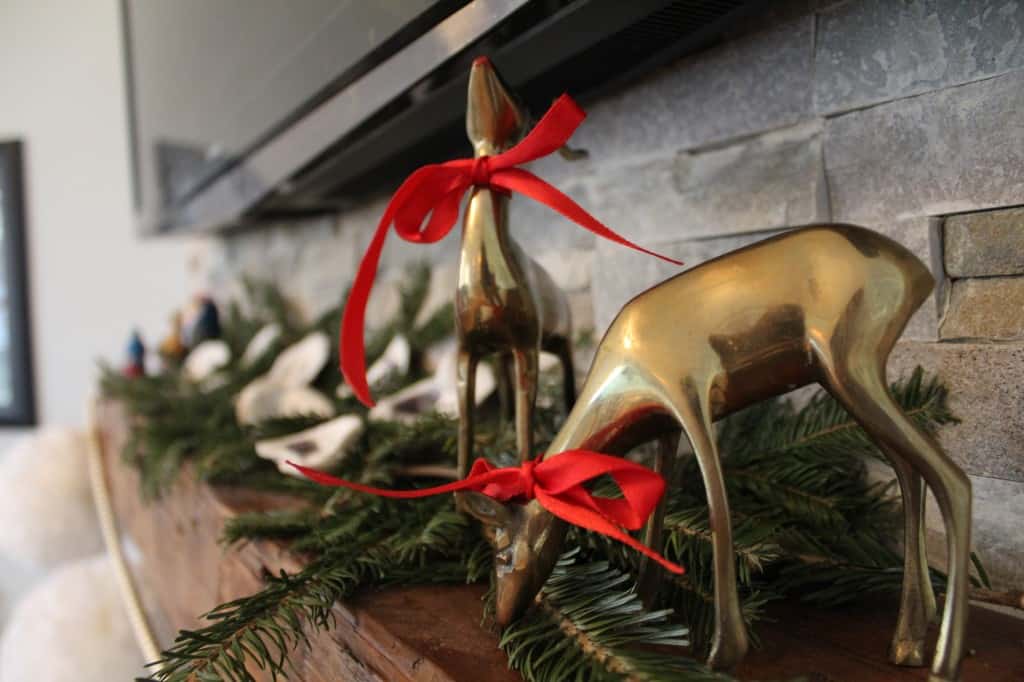
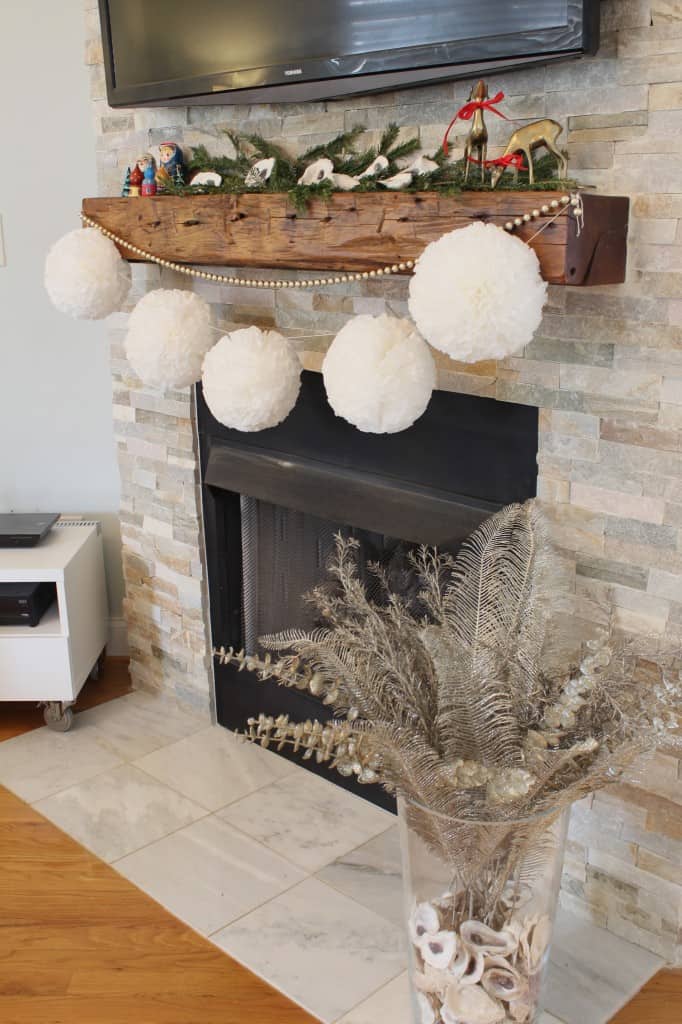
For our mantel I made these coffee filter pom poms and added some greenery, oysters shells, two deer that I borrowed from my mom, and our favorite Russian ornaments. So simple.
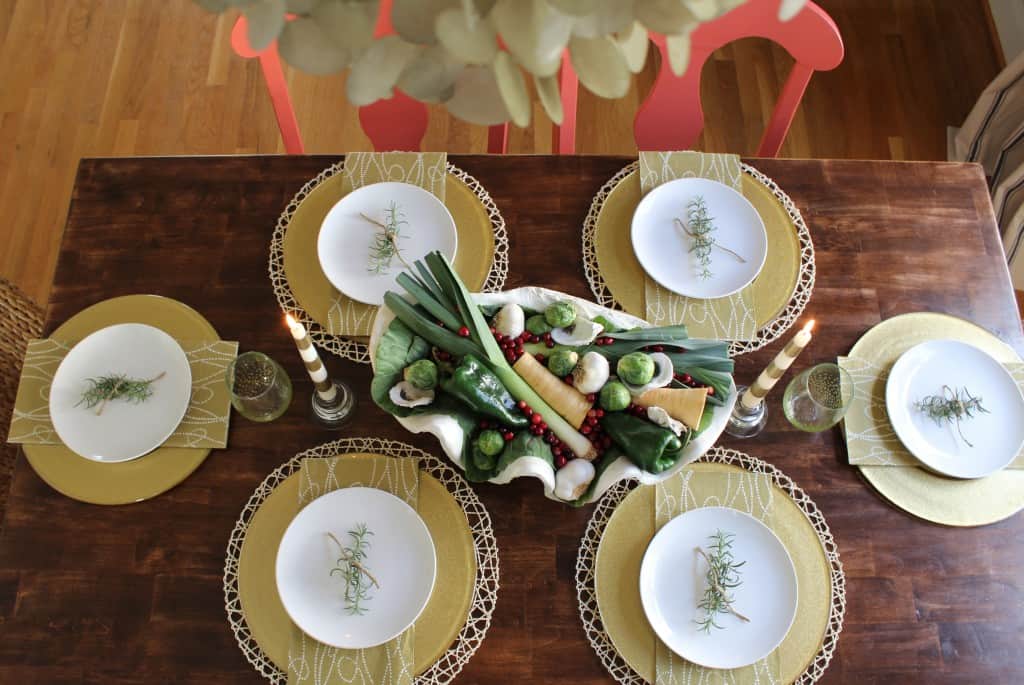
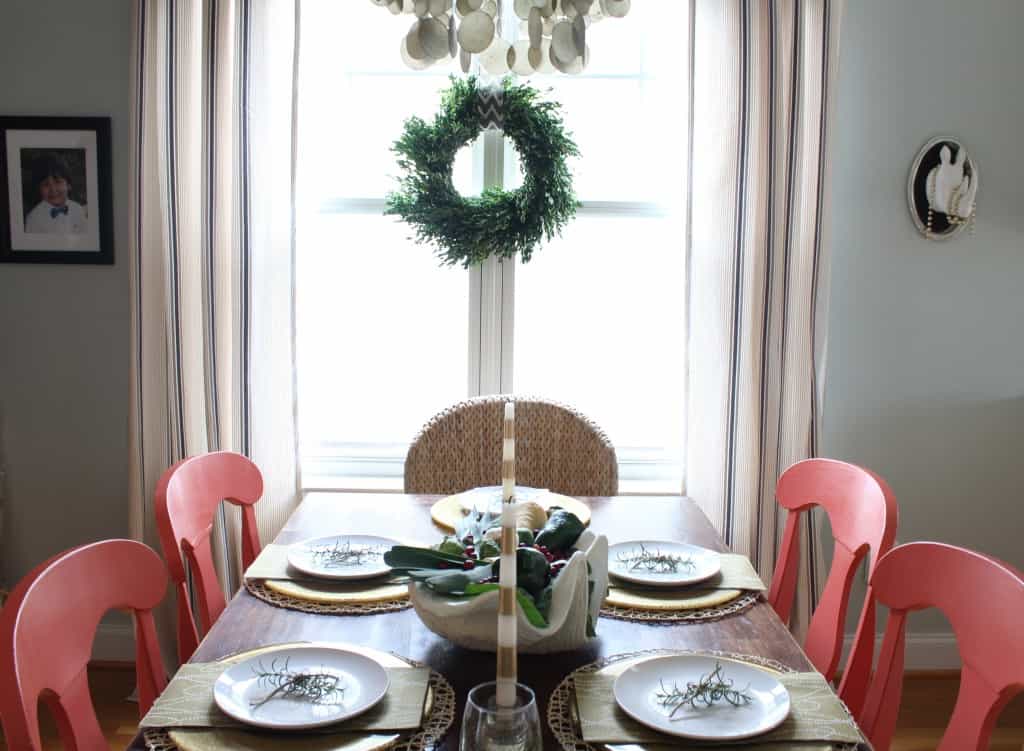
For the dining room and tablescape I wanted to go simple but bold.
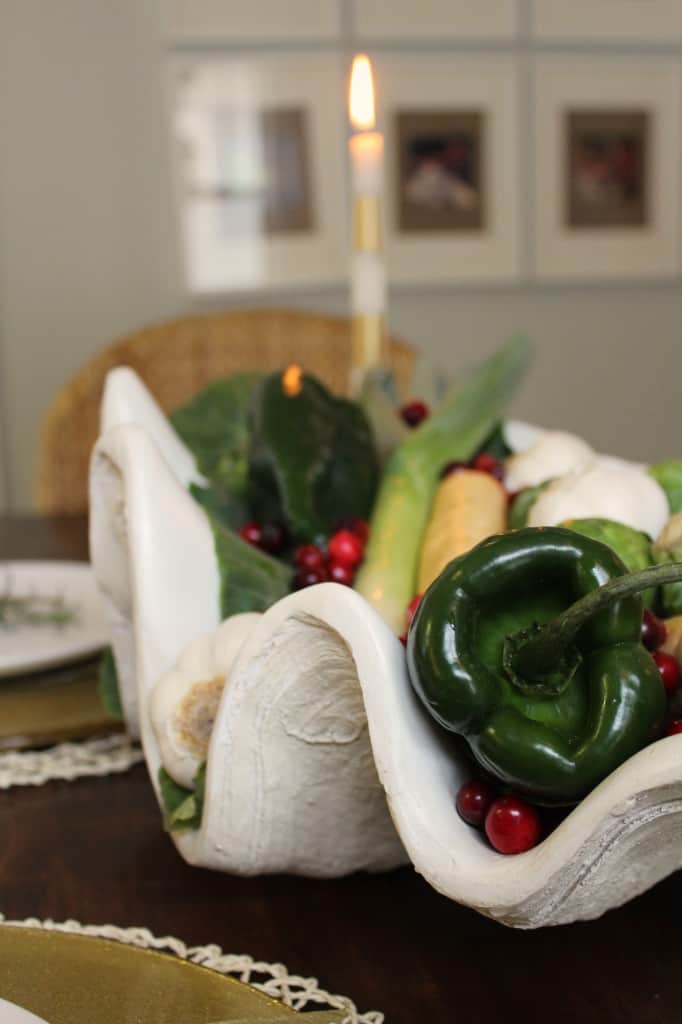
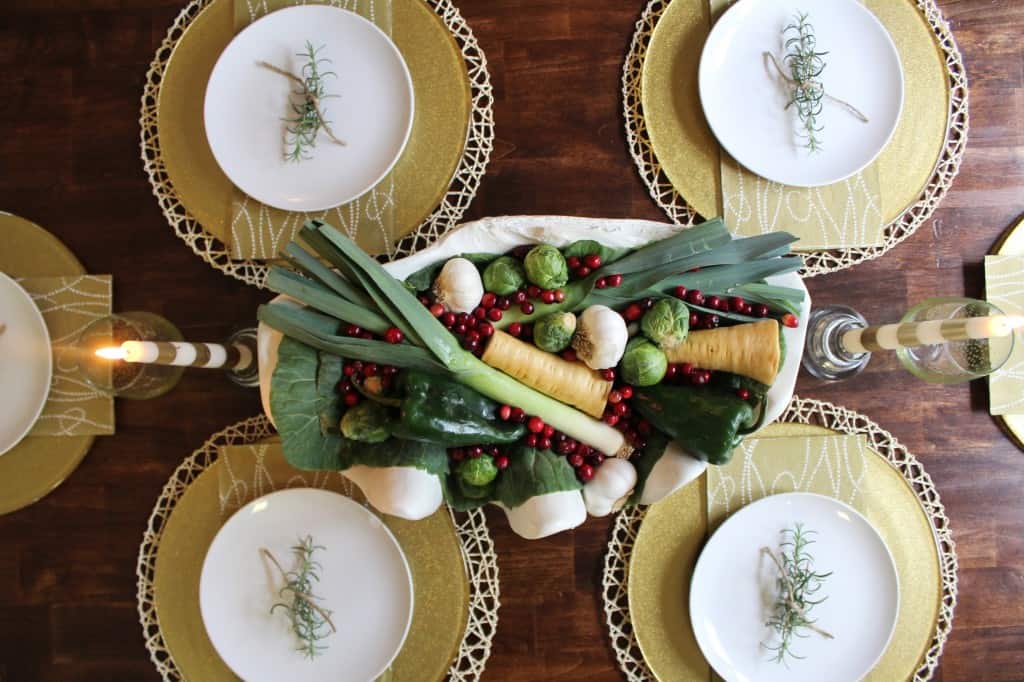
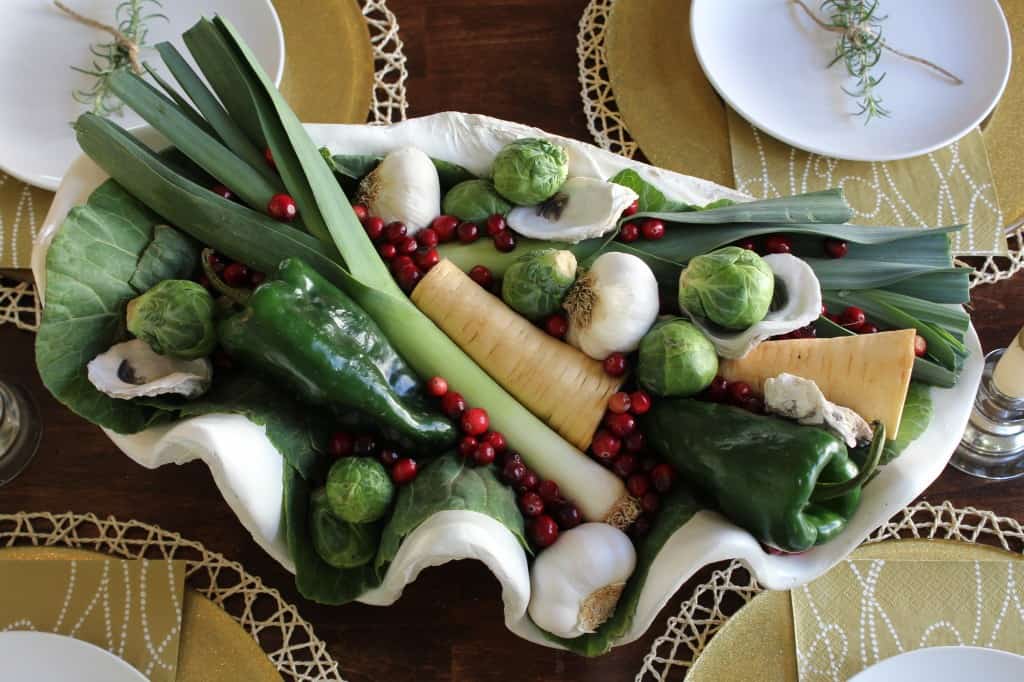
I created this vegetable centerpiece choosing vegetables that I thought I would use or could try in a new recipe. I layered them in my clam shell bowl and added a few oyster shells to top it off.
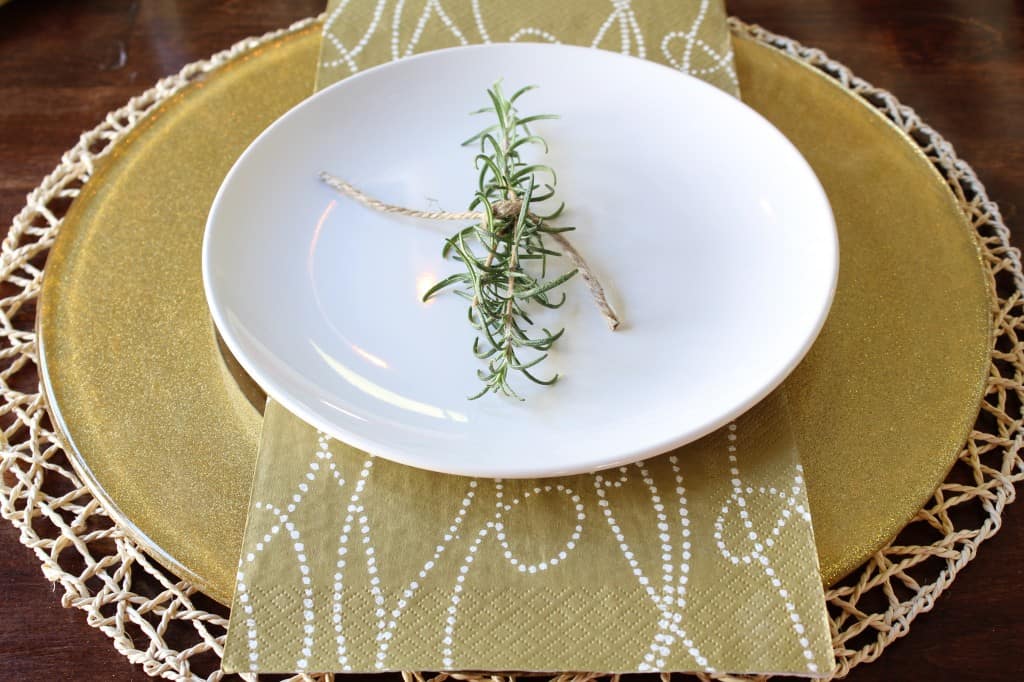
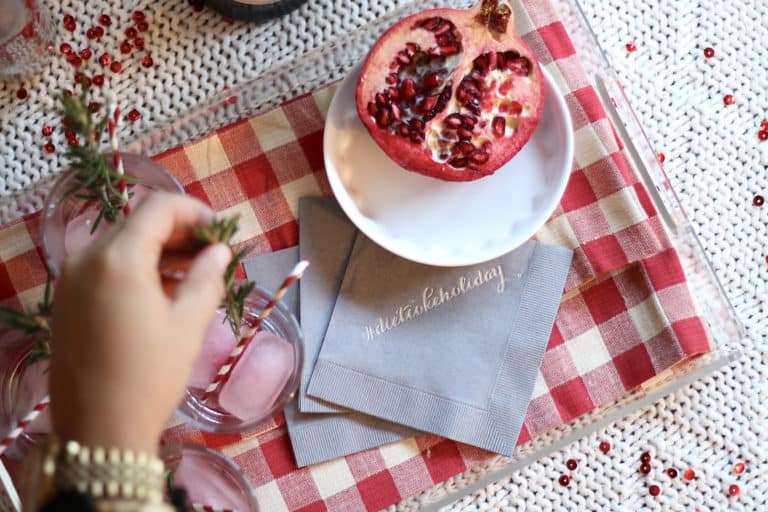
I had everything for the place settings already except the paper napkins (because we are a paper napkin kind of family!) which I bought for about $2 at the party store.
The placemats are from IKEA, the gold chargers are a Habitat Restore find for $2 each, the white plates are our everyday salad plates and the rosemary came from the pots outside our front door!
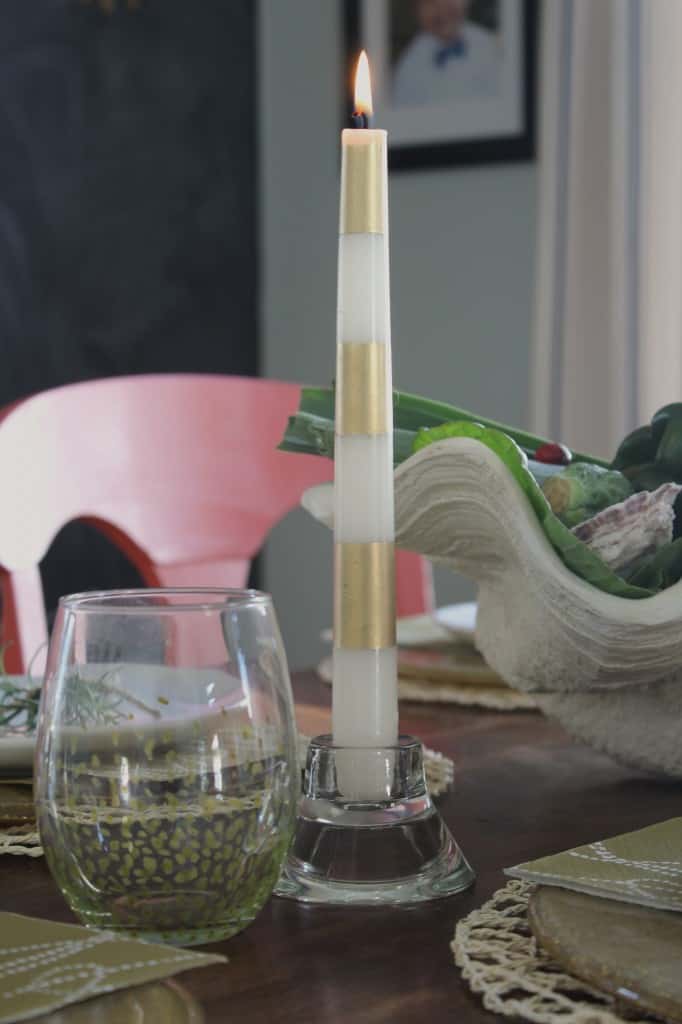
My white candlesticks came in handy and I spray painted them with gold stripes. I made the confetti wine glasses with a gold glass paint pen and a stemless wine glass from the Target dollar bin. The Target dollar bin just keeps getting better and better, right?
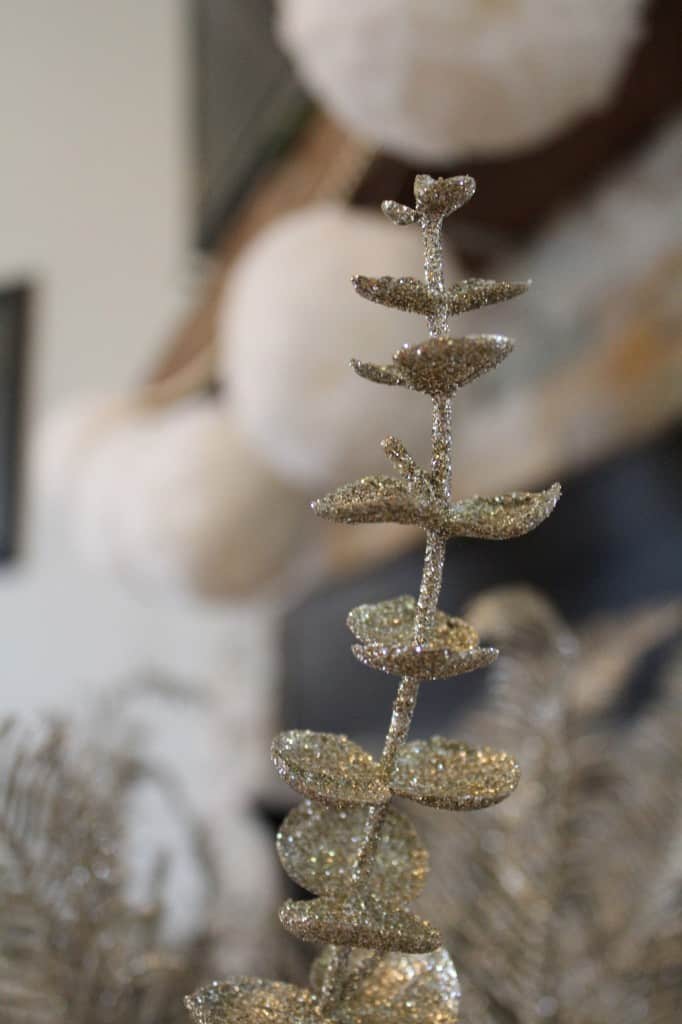
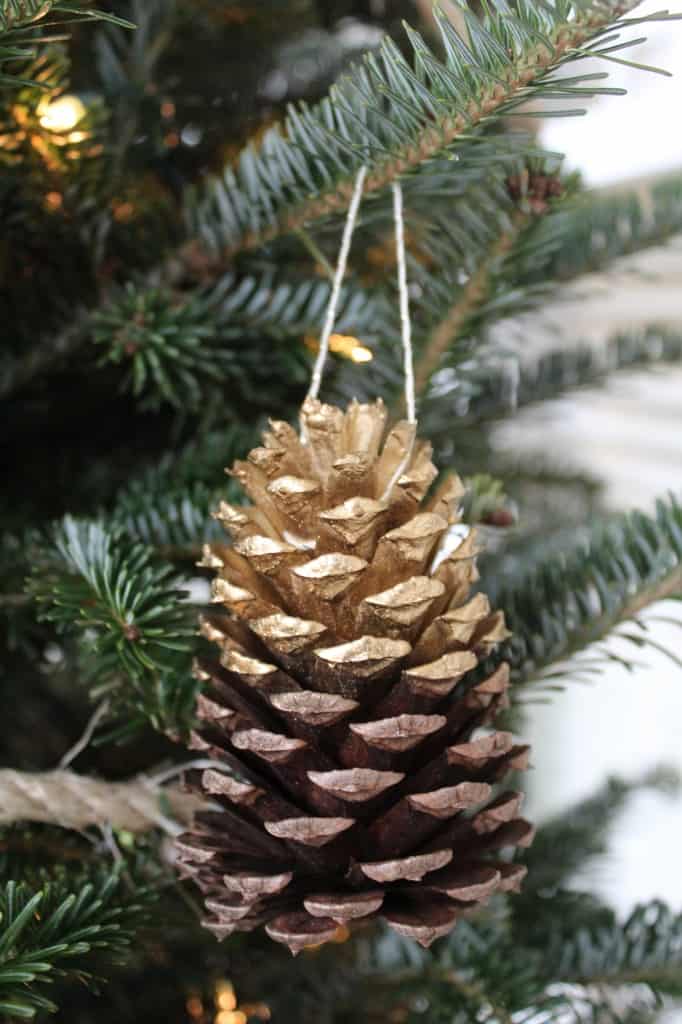
And here is more swag! These pinecones came from a park near our house and I had the twine from another project. Can you say FREE!
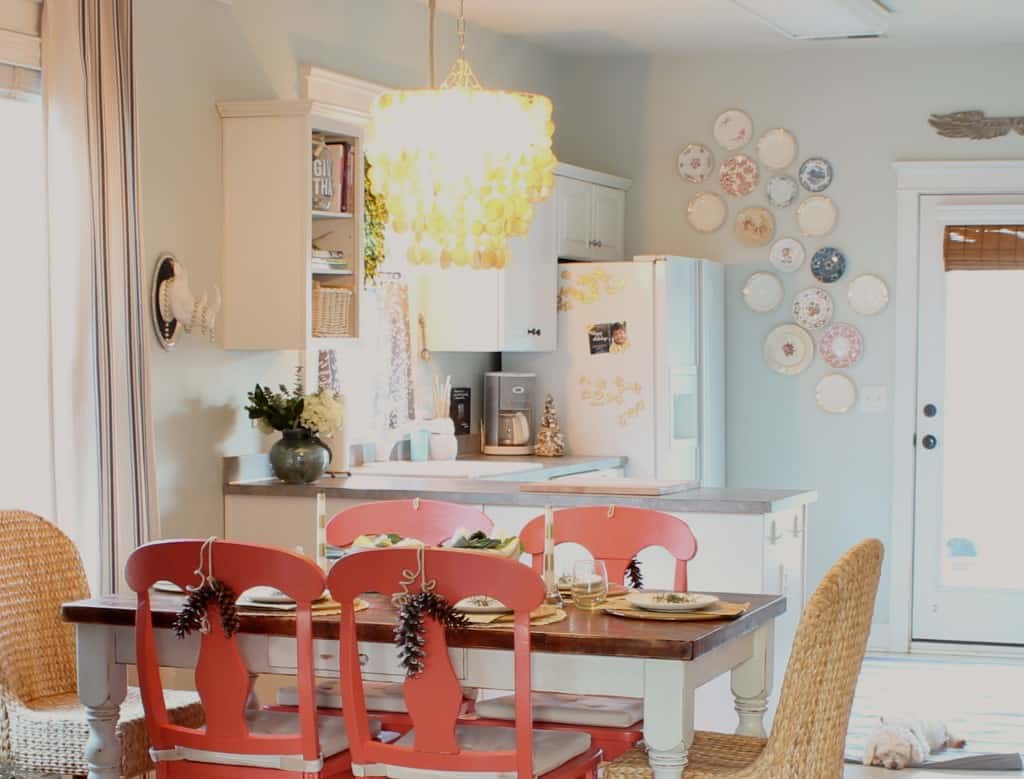
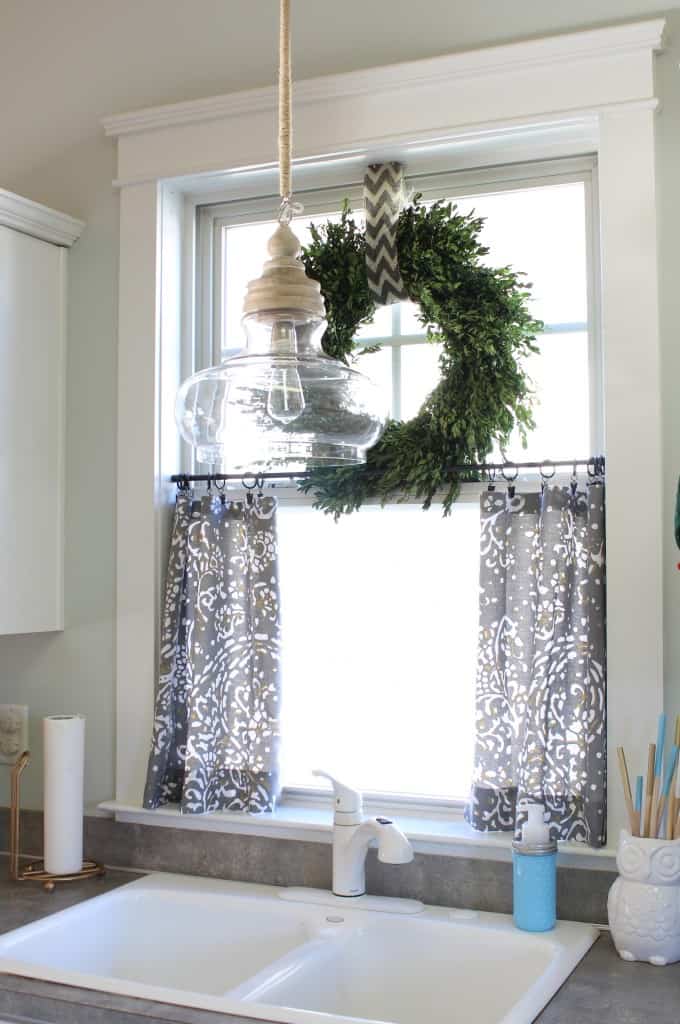
On to the kitchen. Other than doing a lot of de-cluttering I only changed a few things in here. I added a boxwood wreath to the window above the sink, some fresh flowers and a big decorative ornament that I got from a Walmart after Christmas sale last year.
To make a few fun accessories I painted my paper towel holder (gold of course), made the soap dispenser out of a mason jar, and painted the tips of some wooden spoons and put them in the owl utensil holder upside down.
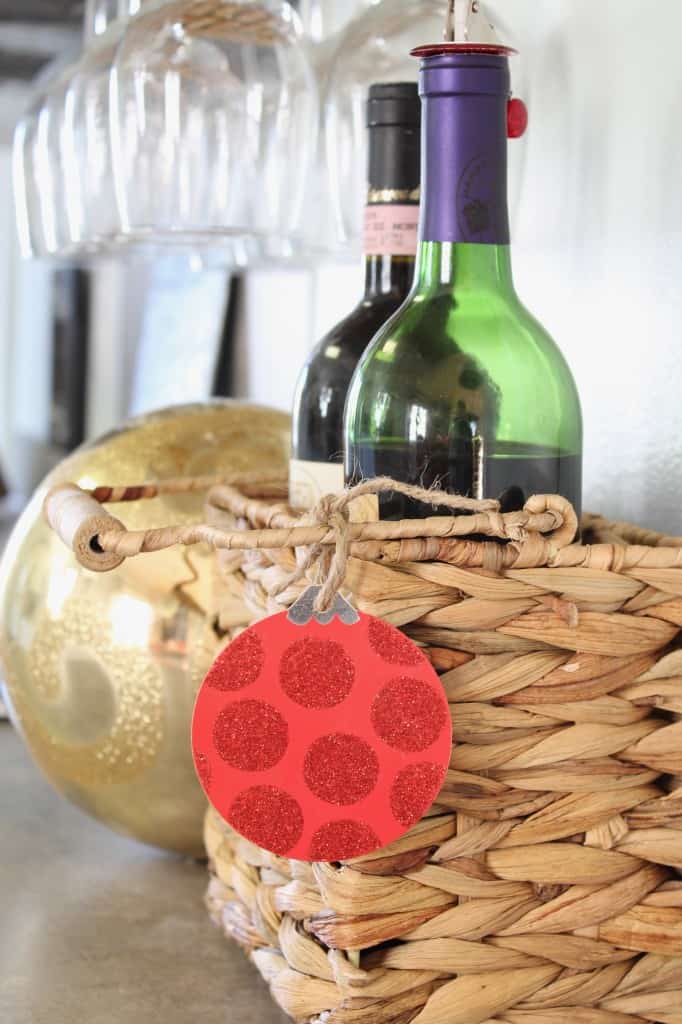
I did buy this woven wine basket from HomeGoods for $6.99 because it was too cute to pass up and could be used as a utensil and napkin caddy in the future. And yes, I did open that bottle already :)
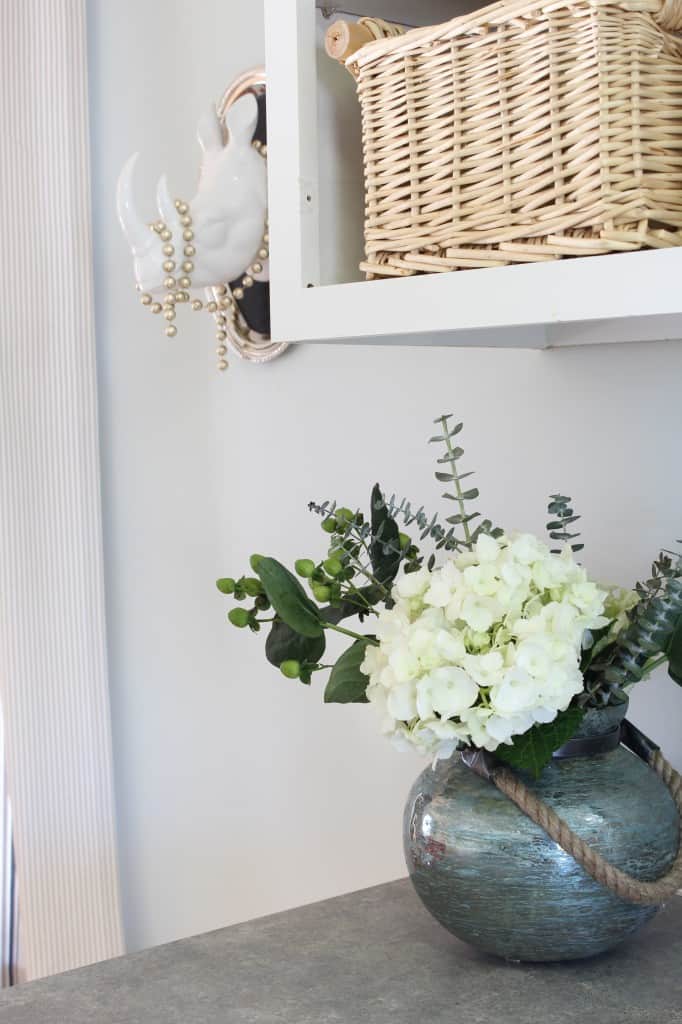
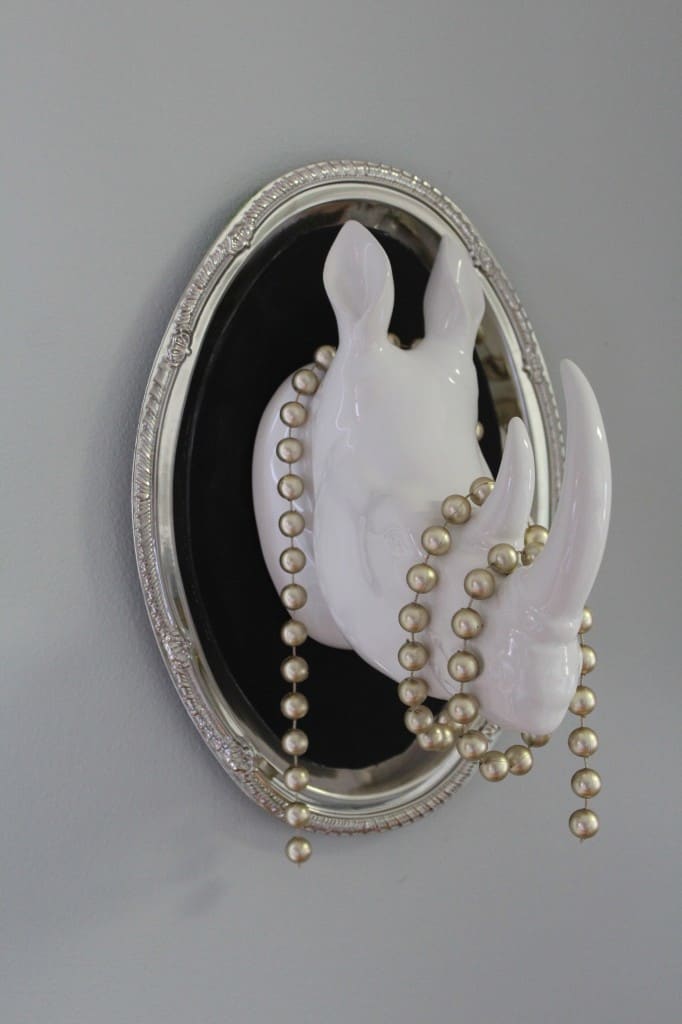
Of course any decor is not complete without faux taxidermy (and a little bling) and this one has a story behind it. I have wanted one for awhile and my mom finally ran across this one (either at Ross or Hobby Lobby, sorry I can’t remember) for less than $10 so I thought that was a steal.
There is also a craze over these silver dollar store trays that are SO versatile. Look at what Jennifer at Dimples and Tangles has done with them! I was only able to find one at our store so I spray painted it with chalkboard paint and was going to use if for a menu board or just chalkboard art until my son gave his two cents.
I was wandering around the house trying to figure out where to use the tray and where to hang Mr. Rhino and my 5-year-old said he knew what I could do. So he grabbed the tray and the rhino and held it up telling me (in his words) to mount it on the tray and hang it in the dining room. And that is where it is. What an eye he has, my little partner!!!
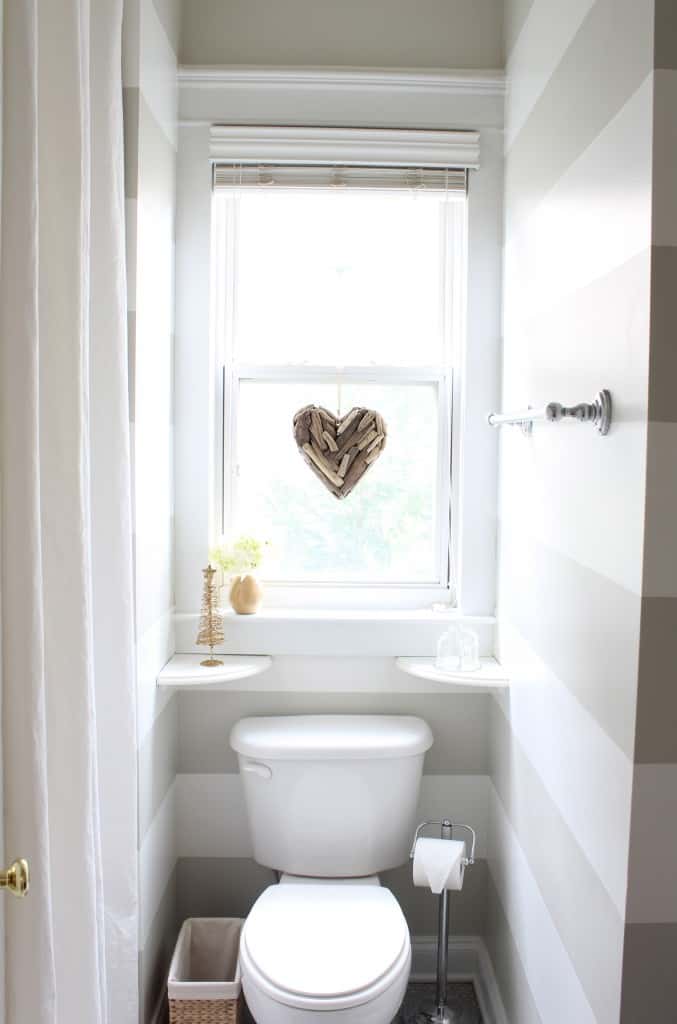
Moving on to the newly updated downstairs bathroom. Our home is a pretty small, open concept home so I also decided to add a little Christmas to our bathroom. There will be a full post about the makeover on the blog soon so stay tuned.
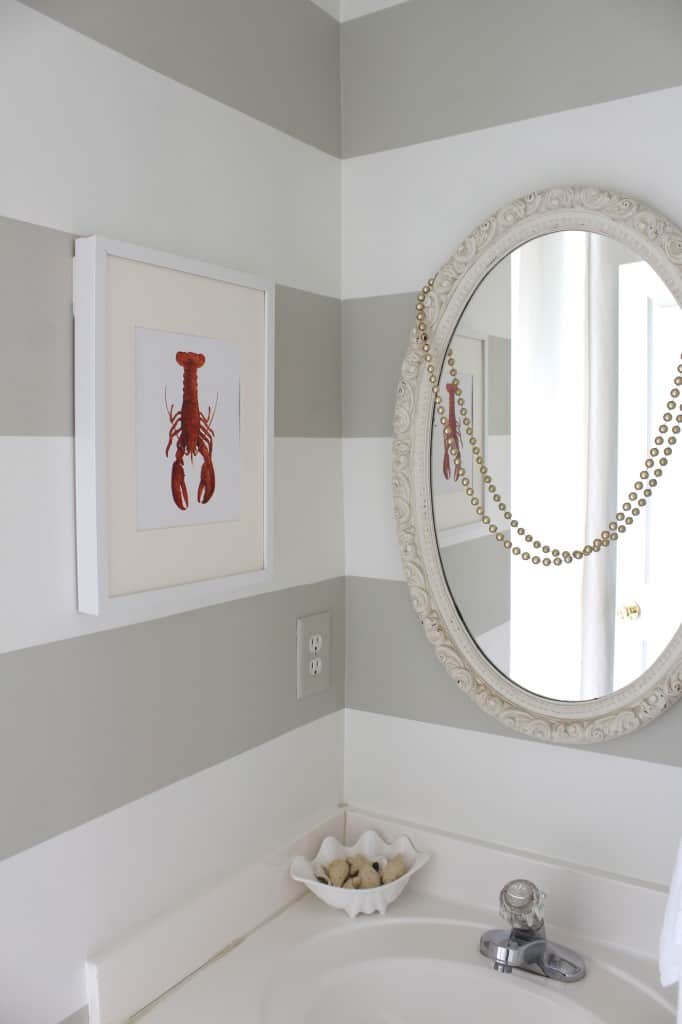
The lobster print comes from The Handmade Home book series Art For The Traditional Home. If you haven’t seen their books, full of tons of great artists, you should check them out.
They would also make great Christmas gifts. Every page is perforated so you can tear them out and frame them for your own wall art. Genius!
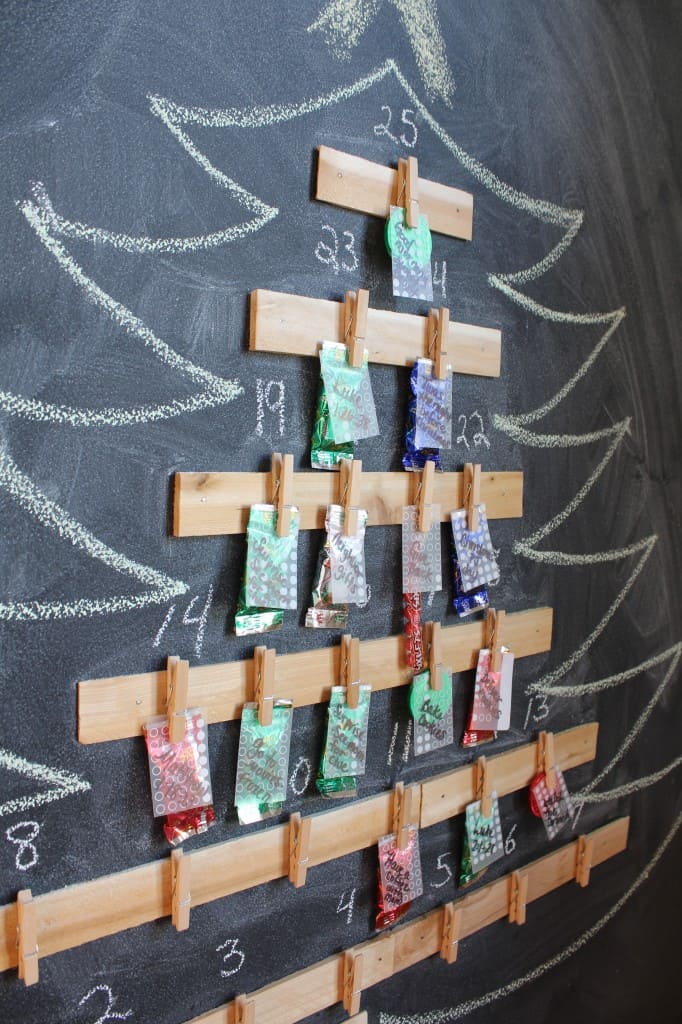
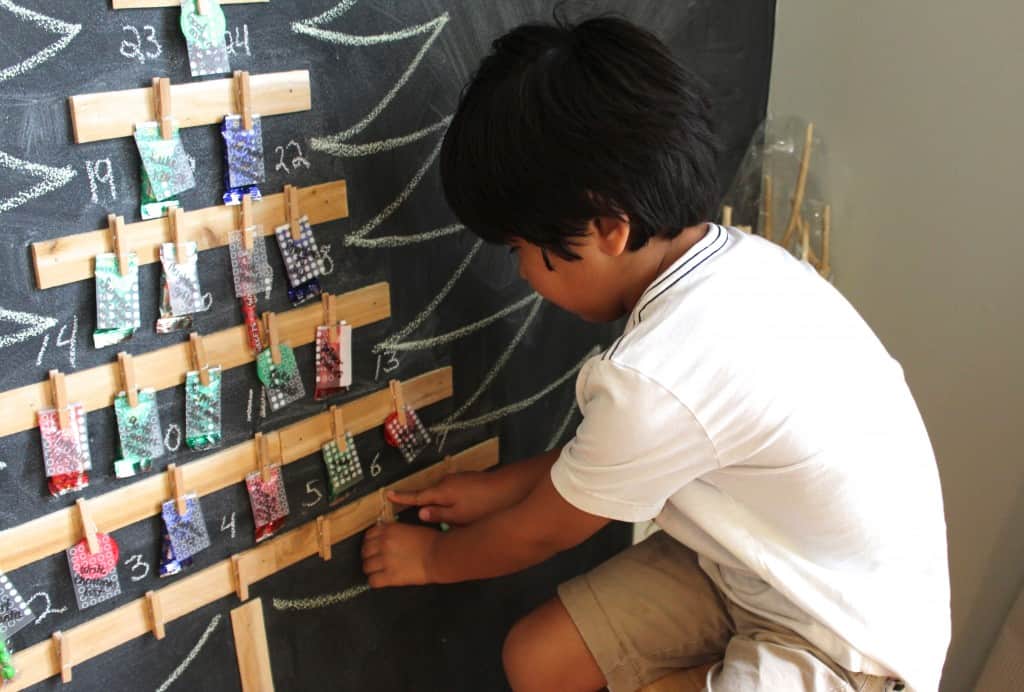
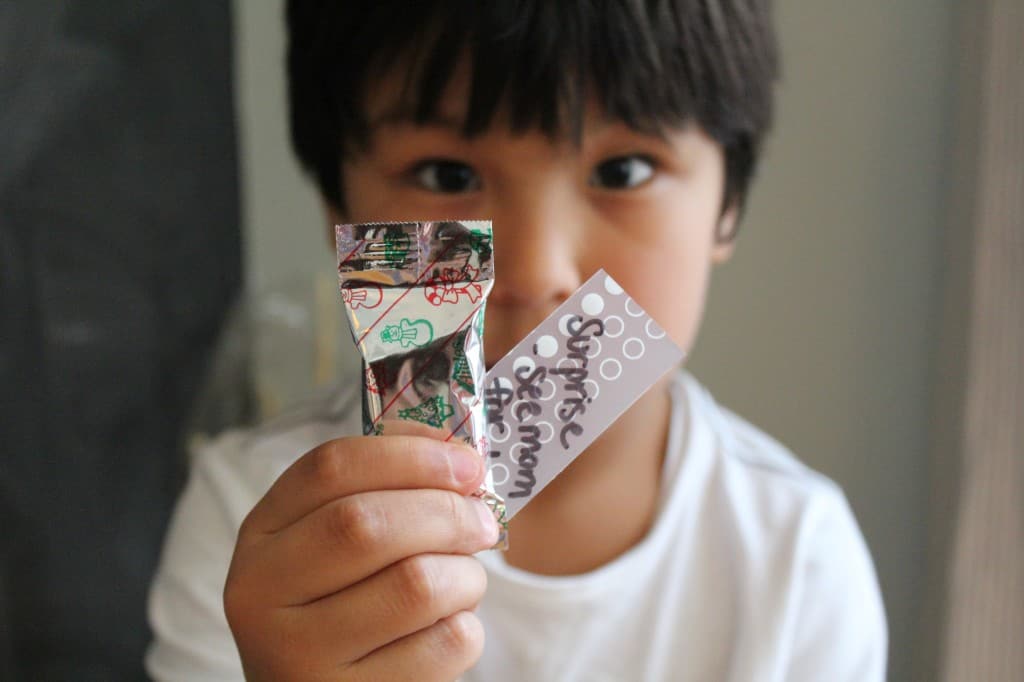
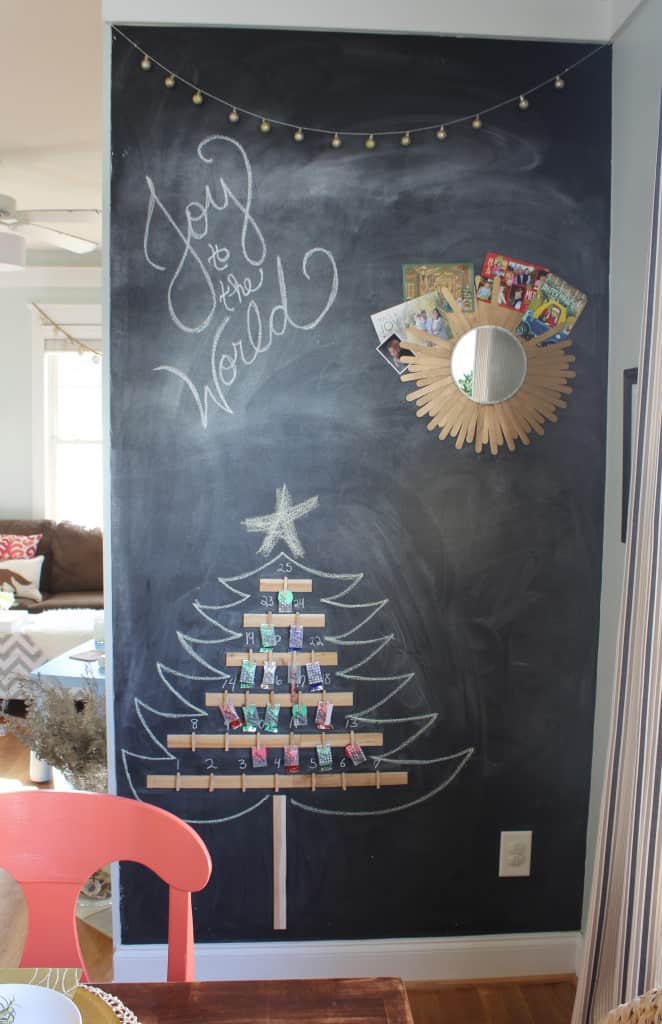
Christmas would not be complete without an advent calendar and a chalkboard and this is my DIY version.
I seriously nailed these wood shims directly to the wall and hot glued the small clothes pins to them. I wrote the advent cards on a plastic notebook divider I had laying around and clipped them with a piece of candy. So easy!
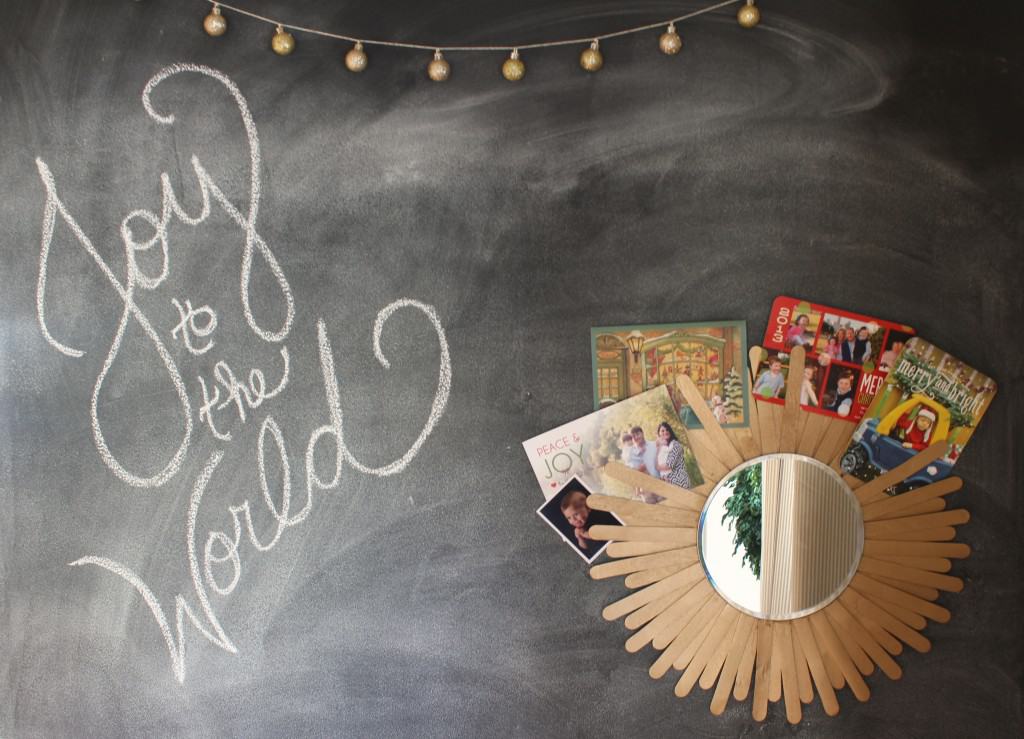
Also on the chalkboard wall is the sunburst Christmas card holder that I made out of popsicle sticks and a small round mirror from Michaels.
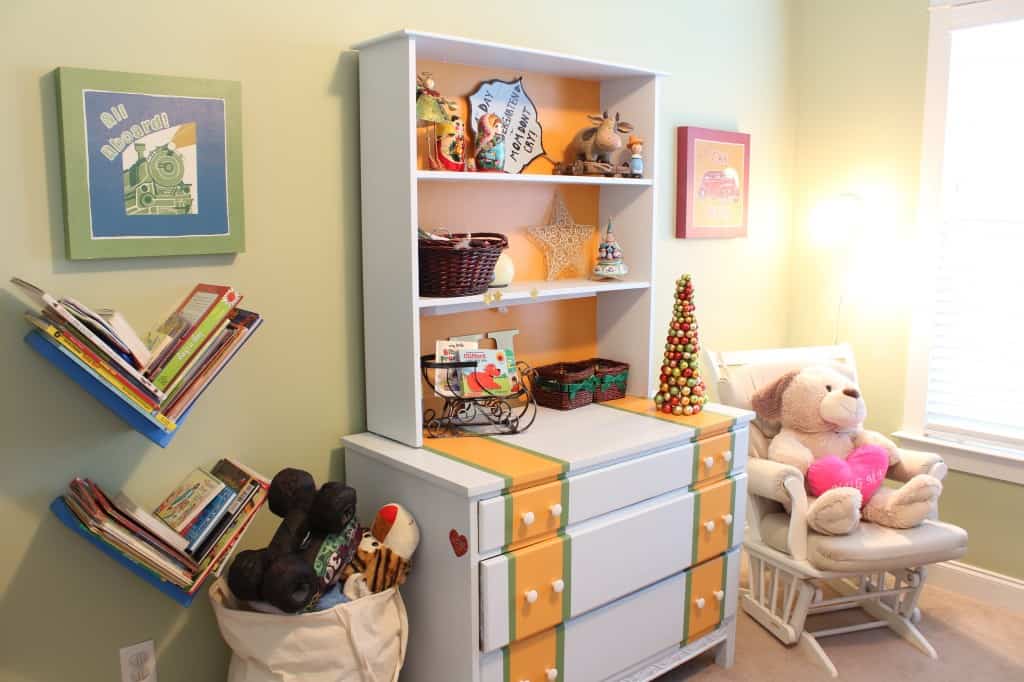
The tour wouldn’t be complete without a picture of little man’s festive room!
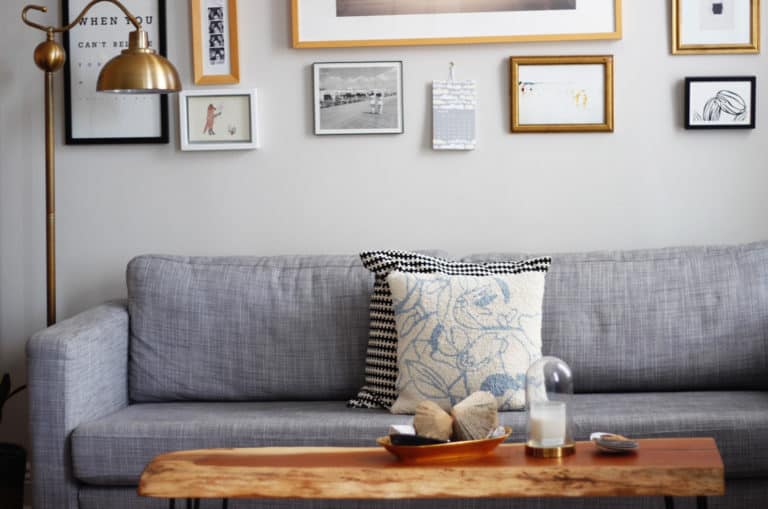
Here are a few other pictures of random accessories around our home.
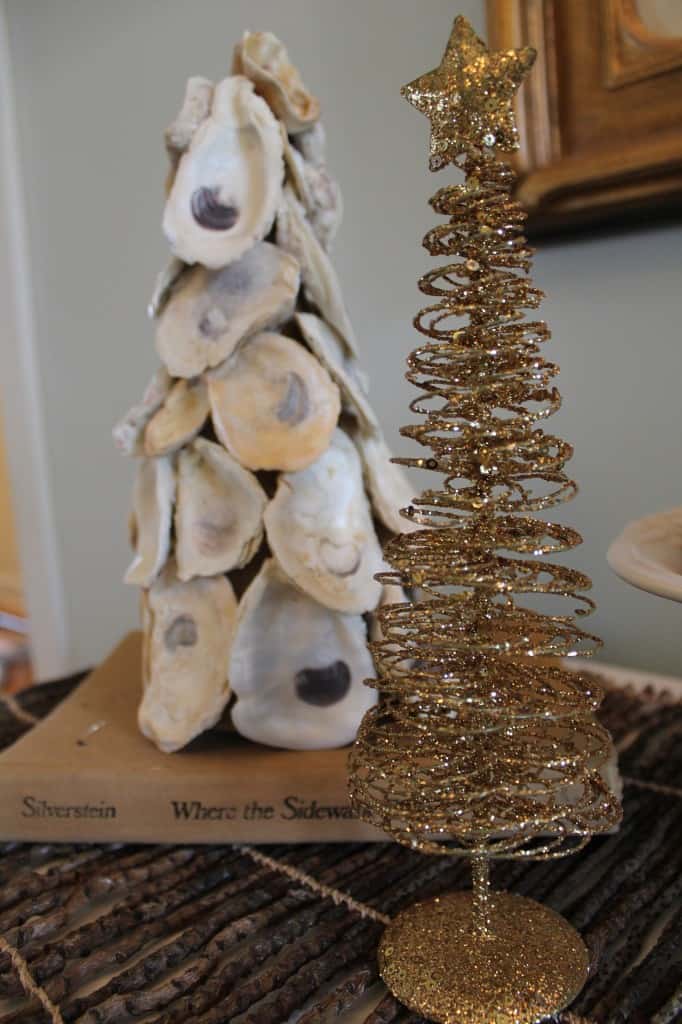
DIY oyster shell christmas tree project.
Say hello Angel the Elf.
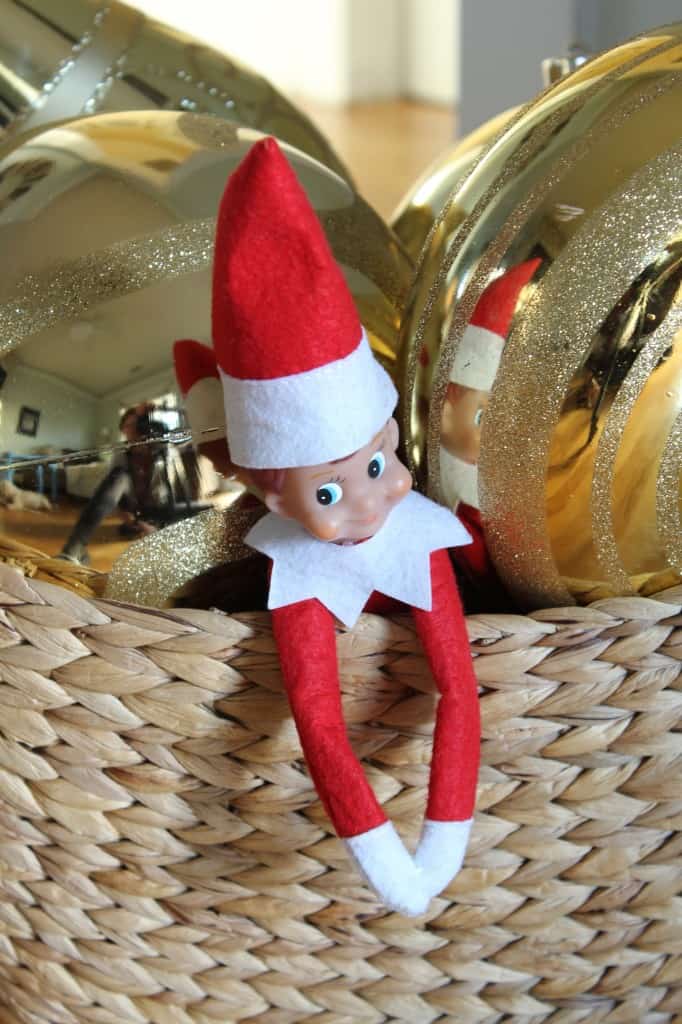
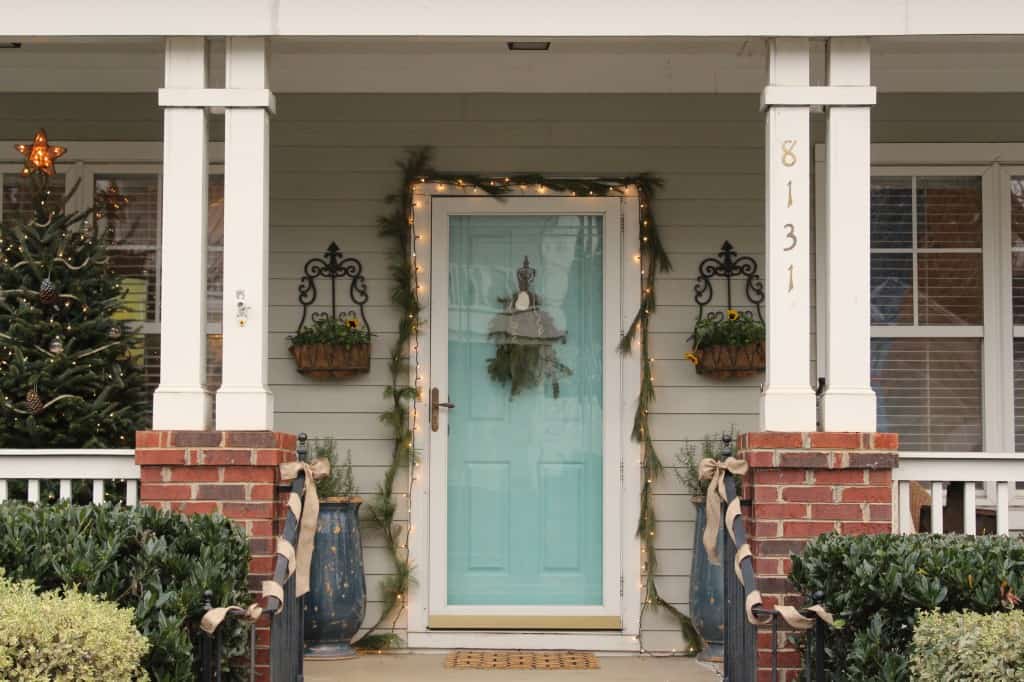
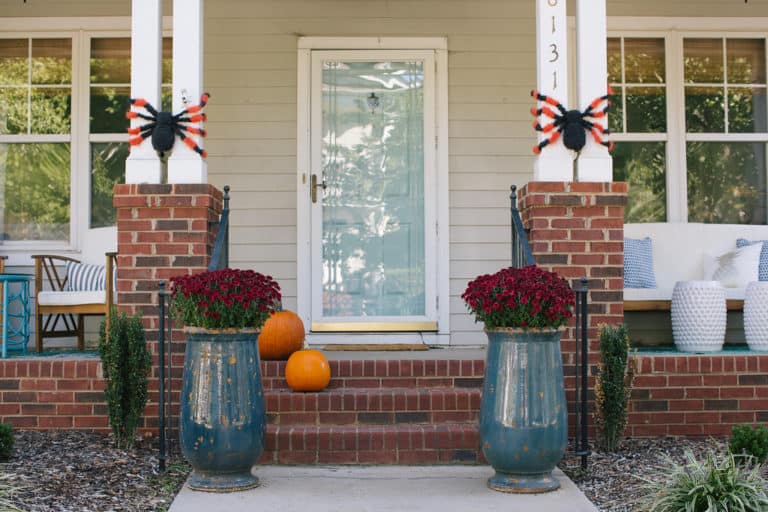
You might be wondering where our tree is but if you look at the first picture again you will see it. Yes, it is on our front porch.
This may be weird but I have decided that it is cool because no one else on the block has one on their porch! I decided to do this because our space is so small that it is really cramped with the tree in the living room.
Since we were putting the tree up pretty early this year I decided we would decorate it pretty on the porch and then bring it inside in a couple of weeks and add all of our fun ornaments.
So we are decorating our tree twice…sort of. I will make sure to post a picture of the indoor tree later.
As for the ornaments on this tree, I spray painted the tips of pinecones silver and gold, I filled plain glass ornaments with sand and wrote letters on them with my glass pen and used nautical rope for garland!

Thank you so much for joining me on this tour. I am humbled to be a part of this amazing group and thanks to Lindsay at The White Buffalo Styling Co. for hosting and inviting me!
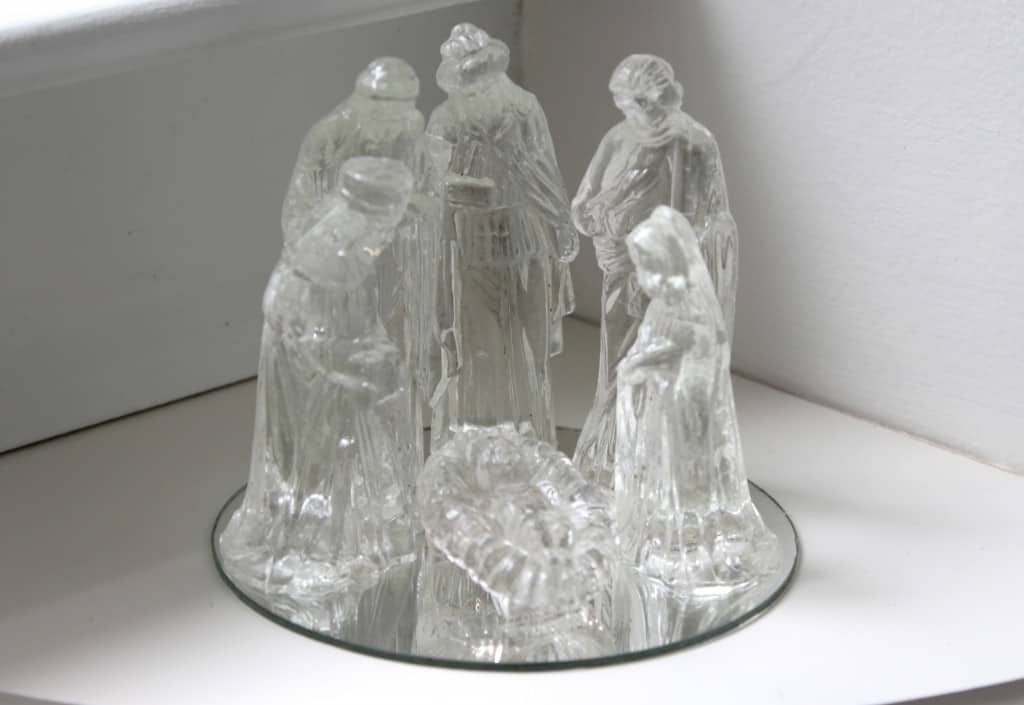
I hope you and your family have a wonderful Christmas and holiday season. Keep it simple and give thanks. The birth of Christ is an incredible reason for celebrating.
I will be posting some follow ups on these DIY Christmas projects over the next couple weeks so stay tuned OR sign up to get my posts delivered directly to your email! It is super easy, just use the subscribe box at the top right.
Please hop on over to Sarah’s site, Laquer & Linen, for the next leg of the tour. She is incredibly talented so you will not want to miss it!
And here is the line up for the rest of the week! You can see Monday’s and Tuesday’s bloggers here.

Wednesday:
Emily – Jones Design Company
Jamie – C.R.A.F.T.
Lucy – Craftberry Bush
Michelle – Decor and the Dog
Whitney – The Curtis Casa
Kristin – Bliss at Home
Summer – Simple Stylings
Sarah – Lacquer and Linen
Danika – Gorgeous Shiny Things
Kelly – View Along the Way
Thursday:
Kennesha – Restoration House Interiors
Jenna – SAS Interiors
Chris – Just a Girl
Kelly – Eclectically Vintage
Michelle – Iron and Twine
Amanda – Our Humble Abode
Julia – Cuckoo 4 Design
Bethany – Dwellings by Devore
Lindsay – Makely Home
Jennifer – Dimples & Tangles
Friday:
Shauna – Perfectly Imperfect
Traci – Beneath My Heart
Jen – The Chronicles of Home
Jennifer – Tatertots and Jello
Kristin – Hunted Interior
Eileen – A Creative Day
Gabbi – Retro Ranch Reno
Shannon – Shannon Berry Design
Lakeitha – Lakeitha Duncan
Kristen – KFD Designs
Jessica – Dear Emmeline
Sarah – Royal Marigold
Carmel – Our Fifth House


Hello, this blog is SO inspiring! I love the grey, white, and yellow curtains over the kitchen sink, do you remember where you got them?! Thank you!
Hi there to all, the contents present at this site are in fact amazing for people knowledge, well, keep up the nice work
fellows.
Howdy! This is my first comment here so I just wanted to give a quick shout
out and tll you I really enjoy reading your posts. Can you suggest any other
blogs/websites/forums that cover thhe same subjects? Thanks a ton!
Good post. I learn something new and challenging on sites
I stumbleupon every day. It will always be helpful to read content from other writers and use something from their websites.
If some one desires expert view about blogging afterward i advise him/her to pay a quick visit this webpage,
Keep up the good job.
Appreciation to my father who shared with me concerning this web
site, this website is in fact amazing.
Thanks for finally talking about > Blogger Stylin' Home Tour: Organic Coastal Christmas 2013
– Simple Stylings < Loved it!
Can you please share the paint info for the two stripes? So pretty!
Hi Allison! Thank you! The paint colors are: Dark stripe: Ocean Pearl – Behr; Light stripe: Sea Salt – Behr. You can find the rest of our home paint colors here https://simplestylings.com/the-complete-guide-to-our-home-paint-colors/
How did you hang the wreath in the kitchen window? I love it!
Thanks so much Anna! I actually used a dab of hot glue on the ribbon and a small nail :)
I adore those kitchen window curtains. Please tell me where you got them I hope they are still available somewhere!
Thanks so much Tina! I actually made them. You can read the tutorial here :) https://simplestylings.com/no-sew-cafe-curtains-day-22/
I am really loving the theme/design of your blog. Do you ever run into any browser
compatibility issues? A handful of my blog readers have
complained about my blog not working correctly in Explorer but looks great in Chrome.
Do you have any advice to help fix this problem?
I really don’t sorry :(
Love the light fixture over the kitchen sick! Like I’m really, really in love!!! The picture came up on Pinterest. That’s how I’ve found your blog. Would you please be so kind as to share about it. It’s probably not for sale any longer, but I’d dearly love to find out more about it. Please :)
Hi Jonia! I actually bought the pendant from a local store in our area called Dutchman’s (http://www.dutchmansdesigns.com, I don’t see the light online) but here is a similar one http://www.shadesoflight.com/pickled-wood-and-clear-glass_pendant-with-rope-cord.html
Hope this helps and thanks so much for visiting! :)
I love your Christmas decorating. Painting the plain candlesticks was so smart. I have some white and gold striped ones that I didn’t want to use because I love the look of them. Now, I am going to spray paint my own and use them whenever I want. Thanks for the inspiration. I also love your glass ornaments filled with sand. I am going to borrow that one. Merry Christmas!
Thank you so much for stopping by! I wasn’t sure the regular gold spray paint I had on had would work on the wax but it worked perfectly and burned just fine. I used some painters tape to mark of the stripes and sprayed away. I have a bit if a gold spray paint addiction :) Thanks for your sweet comments and Merry Christmas to you and your family!
Wow! Your home is stunning! And the Christmas decor is perfect.
Thanks so much Amanda! I really appreciate you stopping by!
So many beautiful touches! I really love the big shell in the center of your table, such a great look!
Thank you so much Gwen!
Your house looks amazing! What great ideas you have. Congrats on the home tour!!
Thanks LE! You are a sweet friend. See you soon!
Your home is lovely Summer! I love your idea to style your tree in your outdoor space in order to save room inside!
Thank Jessica! I thought the tree would be weird outside at first but I have to admit it grew on me :) Thanks for stopping by! Can’t wait to see your home!
Absolutely beautiful! I love those coffee filter pom poms!
Thank you Kelly! I am so glad you stopped by! I love your elegant dining room and the story of the Anti-Christmas :)
Really beautiful and love your soothing colour palette. Followed the trail from Instagram:-)
Thank you so much Stacey and I am glad you stopped by!! I agree the coastal colors are so soothing. Now if I only had an actual beach house we would be set :)
What a beautiful home tour! So fun to be a part of this tour with you. Sharing on my FB page today ;)
Hugs,
Jamie @ somuchbetterwithage.com
Thanks so much Jamie! This is a great tour! I love your dining table decor!!
Love this and am SO happy you joined us :)
Thanks girl! This has been so much fun and thanks for signing up :)
I love all the fresh greenery in your home, it adds such a lovely natural touch to your holiday decor. Everything is just so homey and pretty!!
Thank you so much Sarah! I appreciate you stopping by! I can’t get over your dining table in your kitchen. I love and eat in kitchen like that and your place settings! Gorgeous!
Your home is lovely! I love the coastal Christmas vibe. The giant coffee filter pom poms are awesome as are the little brass deer and your chalkboard Christmas tree! Great tour!
Thanks so much Caitlin! This is such a fun tour! I adore your white money :) and your front door and patio!
Love taking a holiday tour through your home! And that little heart hanging in your amazingly-striped bathroom. I die. It was beautiful!
Thank you so much Gabbi! I can’t wait for your tour!! What a pain those stripes were but worth it in the end. I don’t know if you can tell but that bathroom is tiny!
You have always had STYLE.
Your home looks amazing! You have definitely found your niche. Keep it up, friend!
Thanks so much Liz :) You are too sweet!
You home is beautiful, Summer! I love all the special touches you added like that wreath on the piece of art and that shim tree is just adorable!!! I just saw one of those oyster shell trees the other day and I love yours…so pretty and coastal! Gorgeous tour! ;) xo Jesse
Thank you so much Jesse! I am so glad you stopped by and I adore your home as well! Such a fun tour!
well, you had me at the color of the door….it’s a perfectly coastal Christmas…xo
Thank you so much Lucy! I love turquoise too! It competes with gold in my house! Love your home too!
Absolutely beautiful Summer!! I love all of the details. And I think it’s great that your precious guy has such an eye! Way to go little man!!
Thanks so much! Those little guys are funny aren’t they? Mine just wants to be like mommy…for now at least :)
Beautiful! I love all the natural coziness! And I have those same brass deer!
Thanks so much Jenna! I love those deer, they remind me of Christmas when I was little :) Thank you for stopping by! Love your home!
I love that veggie centerpiece on your table Summer!! Such a great idea! also love your chalkboard wall decked out for the holidays. Super cute! xo Kristin
Thanks Kristin! I appreciate you stopping by! I love your home as well!!
Hey Summer, I so enjoyed your gorgeous Christmas Home Tour.
Happy Holidays!
Thanks so much Julia! I am so glad you stopped by!
Gorgeous!!
Thanks and thanks for your help!!